CHAPTER 4: TWO-TIER CONFIGURATION 13
Connect Second-Tier MasterConsole(s) to the Base Unit
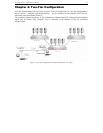
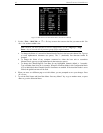
1. Connect MasterConsole(s) to any Channel(s) of the base MasterConsole II.
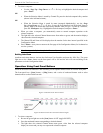
a. Using a Universal cable kit (CCPnnU), plug the 25-pin connector into one of the numbered
Channels on the base MasterConsole II back panel.
b. Plug the cable's other connectors into the Keyboard, Monitor, and Mouse ports of the second-tier
MasterConsole II or MasterConsole P Model.
c. Power on the MasterConsole unit according to the following instructions:
Note: All second-tier MasterConsole P Models must be MasterView ready. To determine
if your P Model does have this feature, check the white label on the bottom of the unit *.
This label shows the unit's level and style of firmware: MDSP-nnn. If it is MDSP-1AC or
higher (MDSP-1AD, etc.), the unit is MasterView ready. If not, you need to upgrade. Call
Raritan Technical Support for details.
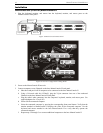
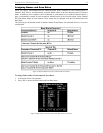
IMPORTANT: For MasterConsole II, the unit must be programmed as a second-tier unit.
(The default setting is first-tier) To program any MasterConsole II as a second-tier unit,
power ON while pressing the Channel #2 button on the front panel and hold for 3 seconds.
When the unit is programmed as a second-tier unit, the LED on the far right of the unit's
front panel (2ND) will be lit continuously. Note: Any unit can be re-programmed to be a
first-tier unit by pressing the Channel #1 button on the front panel during a subsequent
power ON process.
For MasterConsole P Model: Turn the power switch on.
1. Repeat steps 4a through 4c to connect additional second-tier MasterConsole units to the base
MasterConsole II.
2. For second-tier units located more than 30 feet away from the base unit, see Remote Access Using
Cat5 Reach, page 25.
Connect Computers to Second-Tier MasterConsole(s)
Connect computers to the channels of second-tier MasterConsole(s).
1. Follow Steps 3a through 3f to connect the computers to each second-tier MasterConsole II.
2. For MasterConsole P Models, follow installation instructions in the P Model manual.
Configuration
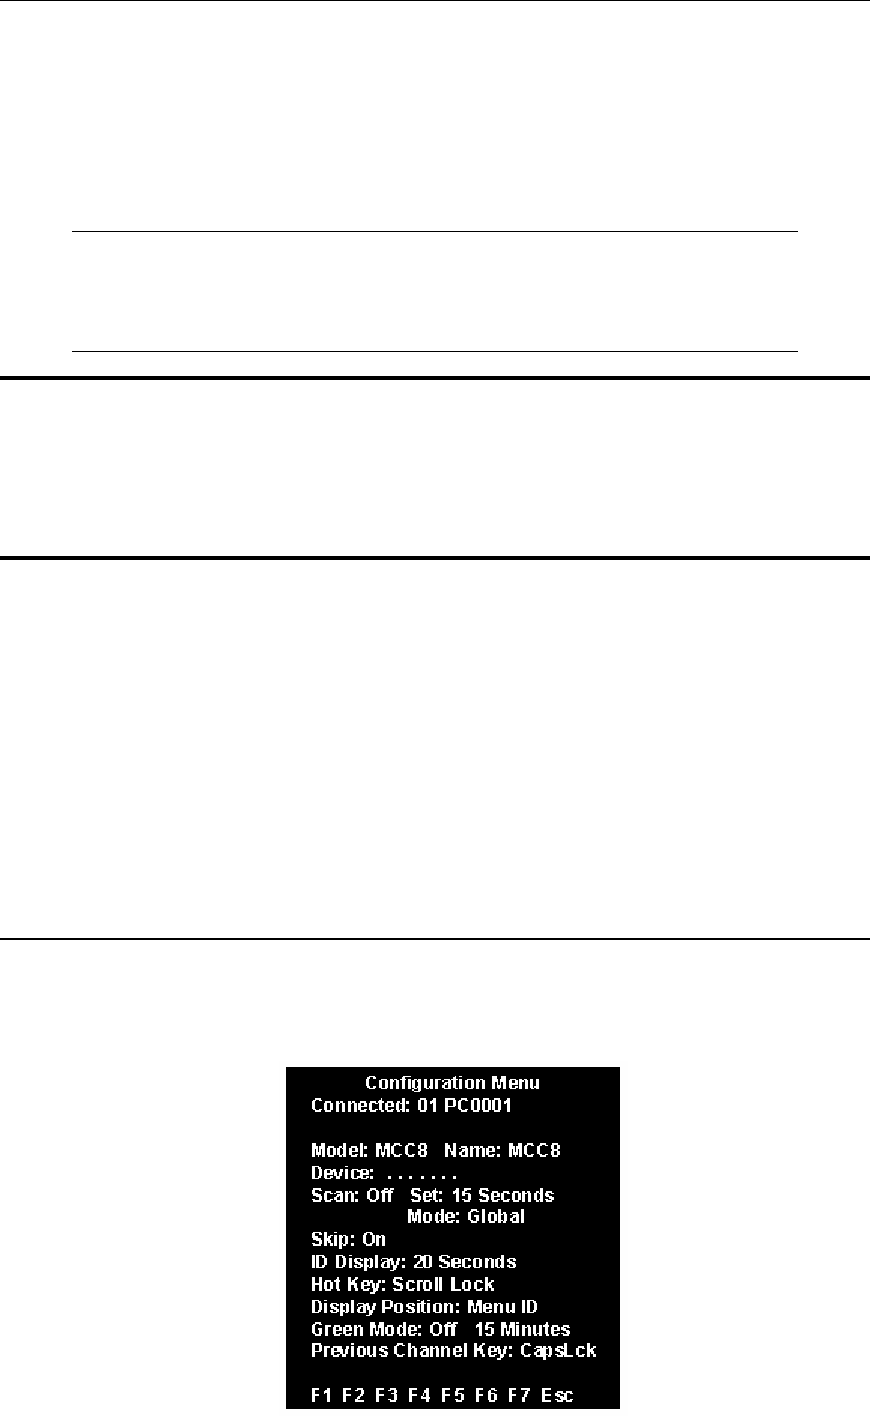
The Configuration Menu is used to specify your base MasterConsole II configuration and to set/change
parameters for operation.
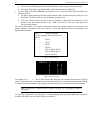
1. Activate on-screen user interface by pressing the hot-key (<Scroll Lock> by default) twice rapidly.
2. Press <F4> to access the Configuration Menu.
Figure 20 Configuration Menu (Two-Tier)


