Y-200 Modem Module Installation and Operating Manual
2
Installation and Set-up
Note: A PCMCIA card might be necessary on some
laptop computers for proper operation.
Modem Board Installation
1. Remove power from the Y-200 control.
2. Install the plug-in modem module (P/N 601741)
on to connectors “J22” and “J23” as shown on
the PCB. (See Fig. #.)
3. Plug an active phone line into “PJ1” on the mo-
dem board. (See Fig. #.)
4. Record the phone line number: _____________.
5. Restore power to the Y-200 control.
Computer Preparations and Dialing
1. From the menu, choose Programs,
Accessories, Communications, HyperTerminal.
(Make sure the Caps Lock is turned off when
using HyperTerminal.)
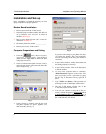
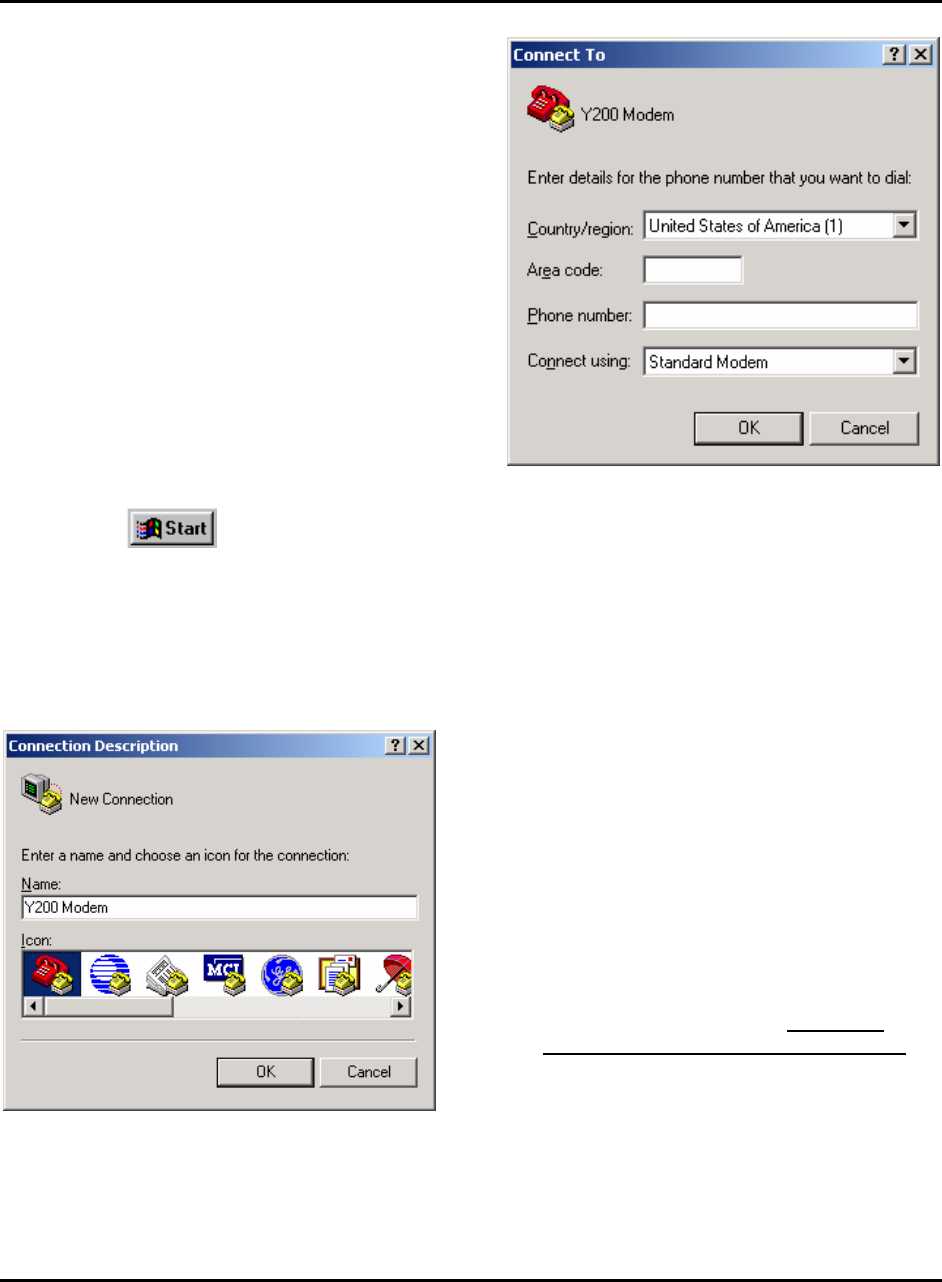
2. In the Connection Description window, select a
name and icon for the connection and select OK.
(See example in Fig. 1.)
Fig. 1
3. In the Connect To window, enter the area code
and phone number (no spaces, hyphens, etc.)
then select OK. (See Fig. 2.)
Fig. 2
If you have call waiting on your phone line, enter
*70 before the number. This will temporarily
turn off call waiting for the time your modem is
connected.
4. In the Connect window, modify the number and
the dialing propriety if necessary.
5. In the Connect window, click on the dial button
to dial the number.
6. As soon as the computer makes a connection,
“Enter Password:” appears on the screen. (If it
does not prompt you for a password try typing
the “U” key or disconnect and try again till it
does.)
7. Type “Y200” and <Enter>. (This password can
be changed on the Y-200 display window #29.)
8. The first Y-200 display window (#1) of the
Y-200 will be placed on the screen.
9. You can now operate or setup the Y-200 re-
motely, with the exception of screen # 30 which
is programmed at the Y-200 control only). If
you attempt to reprogram screen #30 remotely
the Y-200 will kick you off line.


