


42
MENU
V-KEYSTONE H-KEYSTONE VOL.
EXIT
ENTER
1~6
6
QUICK ALIGN.
PC VIDEO
VOLUME
PRESET HIDE
ENTER
MENU EXIT
FREEZE
OPERATE
V-KEYSTONE H-KEYSTONE
SCREEN
DIGITAL
ZOOM
FOCUS
W
S
1~6
6
´
´
´´´´´ ´
Image adj.
Set up
Logo
Options
Language
Information
A
ENTER
ENTER
(-) (+)
12
(-) (+)
12
GB
R
Capture menu
Menu pos.
Horiz.move
Vert.move
Horiz.size
Vert.size
Capture start
Image adj.
Set up
Logo
Options
Language
Information
A
ENTER
(-) (+)
12
(-) (+)
12
GB
R
Capture menu
Menu pos.
Horiz.move
Vert.move
Horiz.size
Vert.size
Capture start
Image adj.
Set up
Logo
Options
Language
Information
A
ENTERENTER
(-) (+)
12
(-) (+)
12
GB
R
Capture menu
Menu pos.
Horiz.move
Vert.move
Horiz.size
Vert.size
Capture start
Image adj.
Set up
Logo
Options
Language
Information
A
ENTER
ENTER
(-) (+)
12
(-) (+)
12
GB
R
Capture menu
Menu pos.
Horiz.move
Vert.move
Horiz.size
Vert.size
Capture start
Image adj.
Set up
Logo
Options
Language
Information
A
ENTER
ENTER
(-) (+)
12
(-) (+)
12
GB
R
Capture menu
Menu pos.
Horiz.move
Vert.move
Horiz.size
Vert.size
Capture start
Image adj.
Set up
Logo
Options
Language
Information
A
(-) (+)
12
(-) (+)
12
GB
R
Capture menu
Menu pos.
Horiz.move
Vert.move
Horiz.size
Vert.size
Capture start
ENTER
ENTER
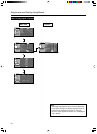
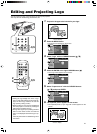
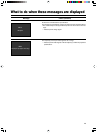
Editing and projecting logo
1.
Set the menu position as required.
• Select “Menu pos.” with the CURSOR buttons (ᮡ / ᮢ).
•Move the menu display position with the CURSOR buttons (ᮤ /
ᮣ) while viewing the projected image.
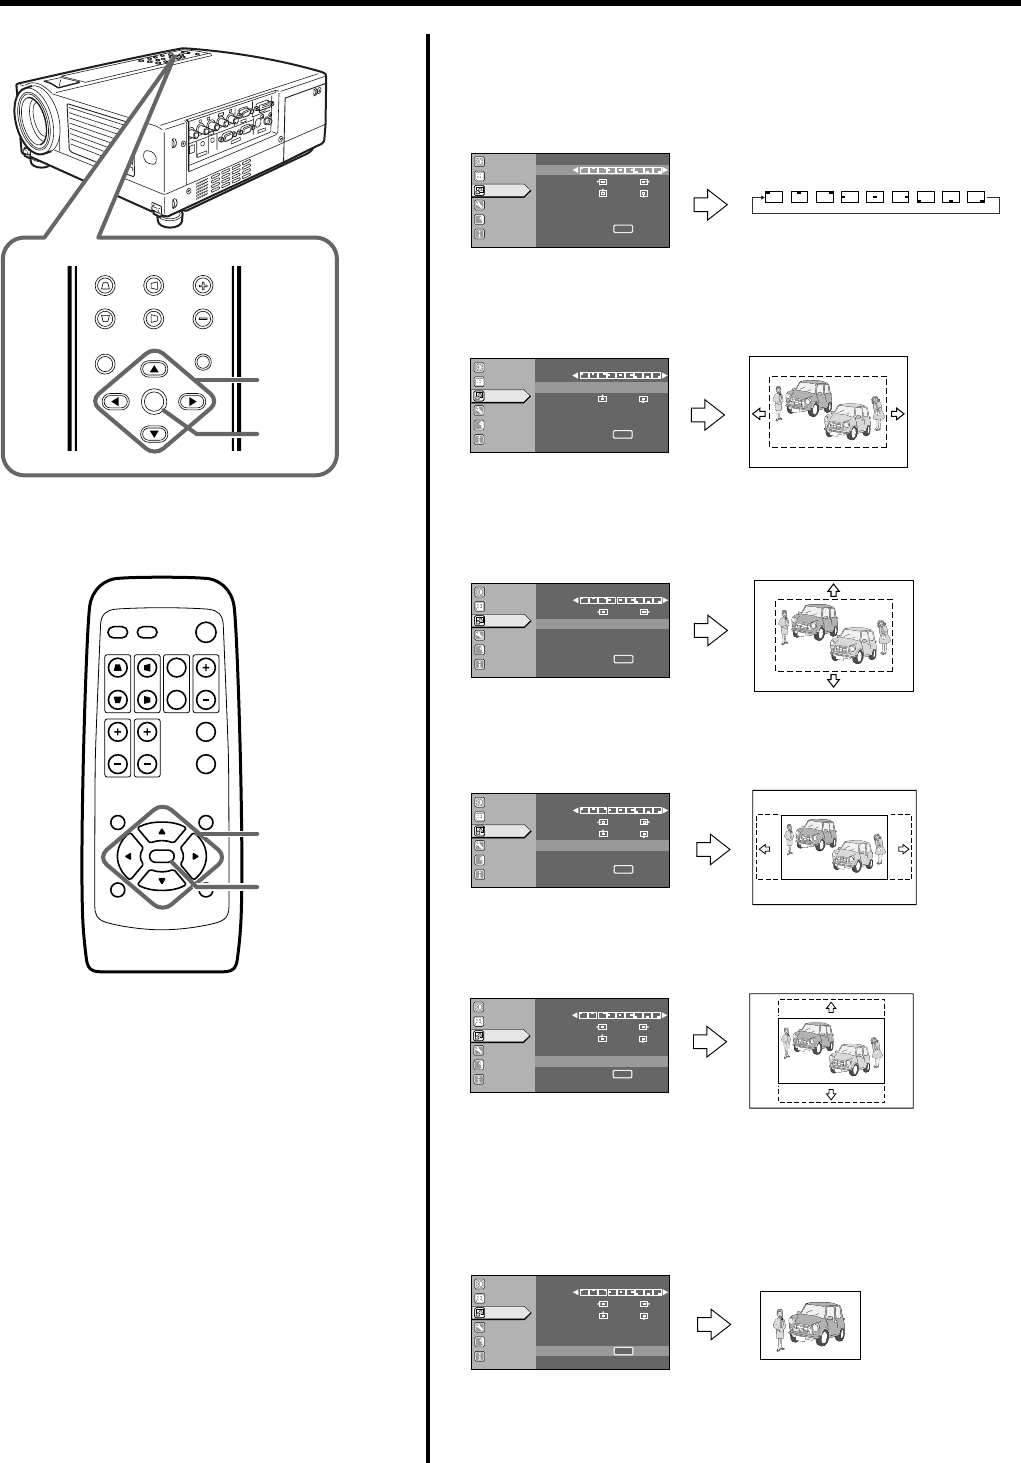
2.
Select “Horiz. move” with the
CURSOR
buttons (ᮡ / ᮢ).
•Move the logo left or right with the CURSOR buttons (ᮤ /ᮣ)
while viewing it on the screen.
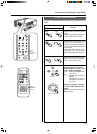
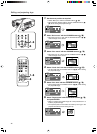
3.
Select “Vert. move” with the CURSOR buttons (ᮡ / ᮢ).
•Move the logo up or down with the CURSOR buttons (ᮤ / ᮣ)
while viewing it on the screen.
4.
Select “Horiz. size” with the CURSOR buttons (ᮡ / ᮢ).
• Set the width with the CURSOR buttons (ᮤ / ᮣ) while viewing
the projected image.
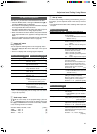
5.
Select “Vert. size” with the CURSOR buttons (ᮡ / ᮢ).
• Set the height with the CURSOR buttons (ᮤ / ᮣ) while viewing
the projected image.
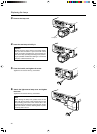
6.
Select “Capture start” with the CURSOR buttons (ᮡ / ᮢ),
and press ENTER.
• Begin to capture the framed image set in the procedures 2 to 5
from the projected image.
• The captured picture wil be taken into memory as a logo in the
projector and will be shown during start-up.