14
CRYSTALVIEW DVI FIBER INSTALLATION AND OPERATIONS MANUAL
5. Wait until the STATUS LINK LED illuminates
6. Connect the remote monitor’s video cable to the remote unit.
(Turn on the remote monitor power if power is off)
7. The remote monitor’s DDC information will be read automatically,
transferred to the local unit and stored into the DDC EPROM table.
8. The video OK LED on the local unit will blink rapidly for approximately
1 second upon successful programming of the remote DDC
information.
9. Switch off the power on the local and remote units.
10. Remove jumper JP2 and replace it back on JP3 in the same position
as it was removed.
11. Replace the cover on the LOCAL unit.
12. Turn on the local and remote units. The remote monitor’s DDC
information is now used.
Reset DDC table to default values
To reset the DDC information to the factory default values, perform the
following steps:
1. Remove power from the Local unit and remove the cover
2. Remove jumper JP1 (see internal PC board figure)
(JP1 and JP2 open)
3. Switch on the power to the Local unit
4. The Local Unit’s Video OK LED will blink rapidly for approximately
1 second upon successful re-programming of the default DDC values
5. Remove power from the Local unit
6. Replace jumper JP1, replace the cover, and power on the Local unit.
The DDC table now contains the default factory settings.
(NOTE: On the dual model, both upper and lower PC board’s jumper JP1
must be removed)
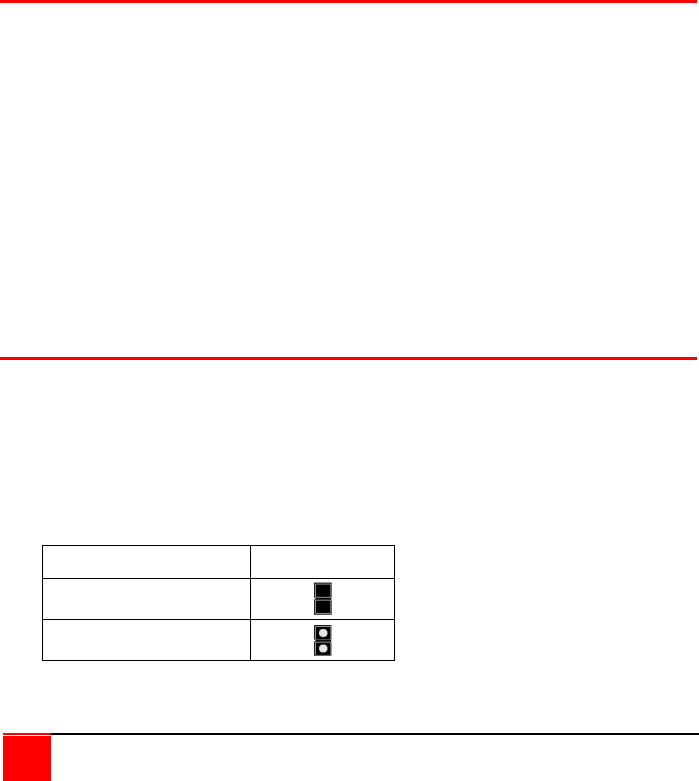
Color Depth Selection
The CrystalView DVI Fiber allows you to select the color depth desired. You
can select 18 Bit (256K) or 24 Bit (2M) color. The change the default setting
of 18 Bit to 24 Bit, perform the following procedure on the LOCAL unit.
1. Remove power from the Local unit
2. Remove the cover
3. Remove jumper JP3 (see below table)
4. Replace the cover and power on the Local unit.
