Q-1500d Series LED Home Theater Projection System Quick Setup Guide Page 4 020-1091-02 Rev. A (March 2014)
Serial Communications
© Copyright 2014 Runco International. All rights are reserved.
Trademarks and registered trademarks used in this document are the property of their respective owners.
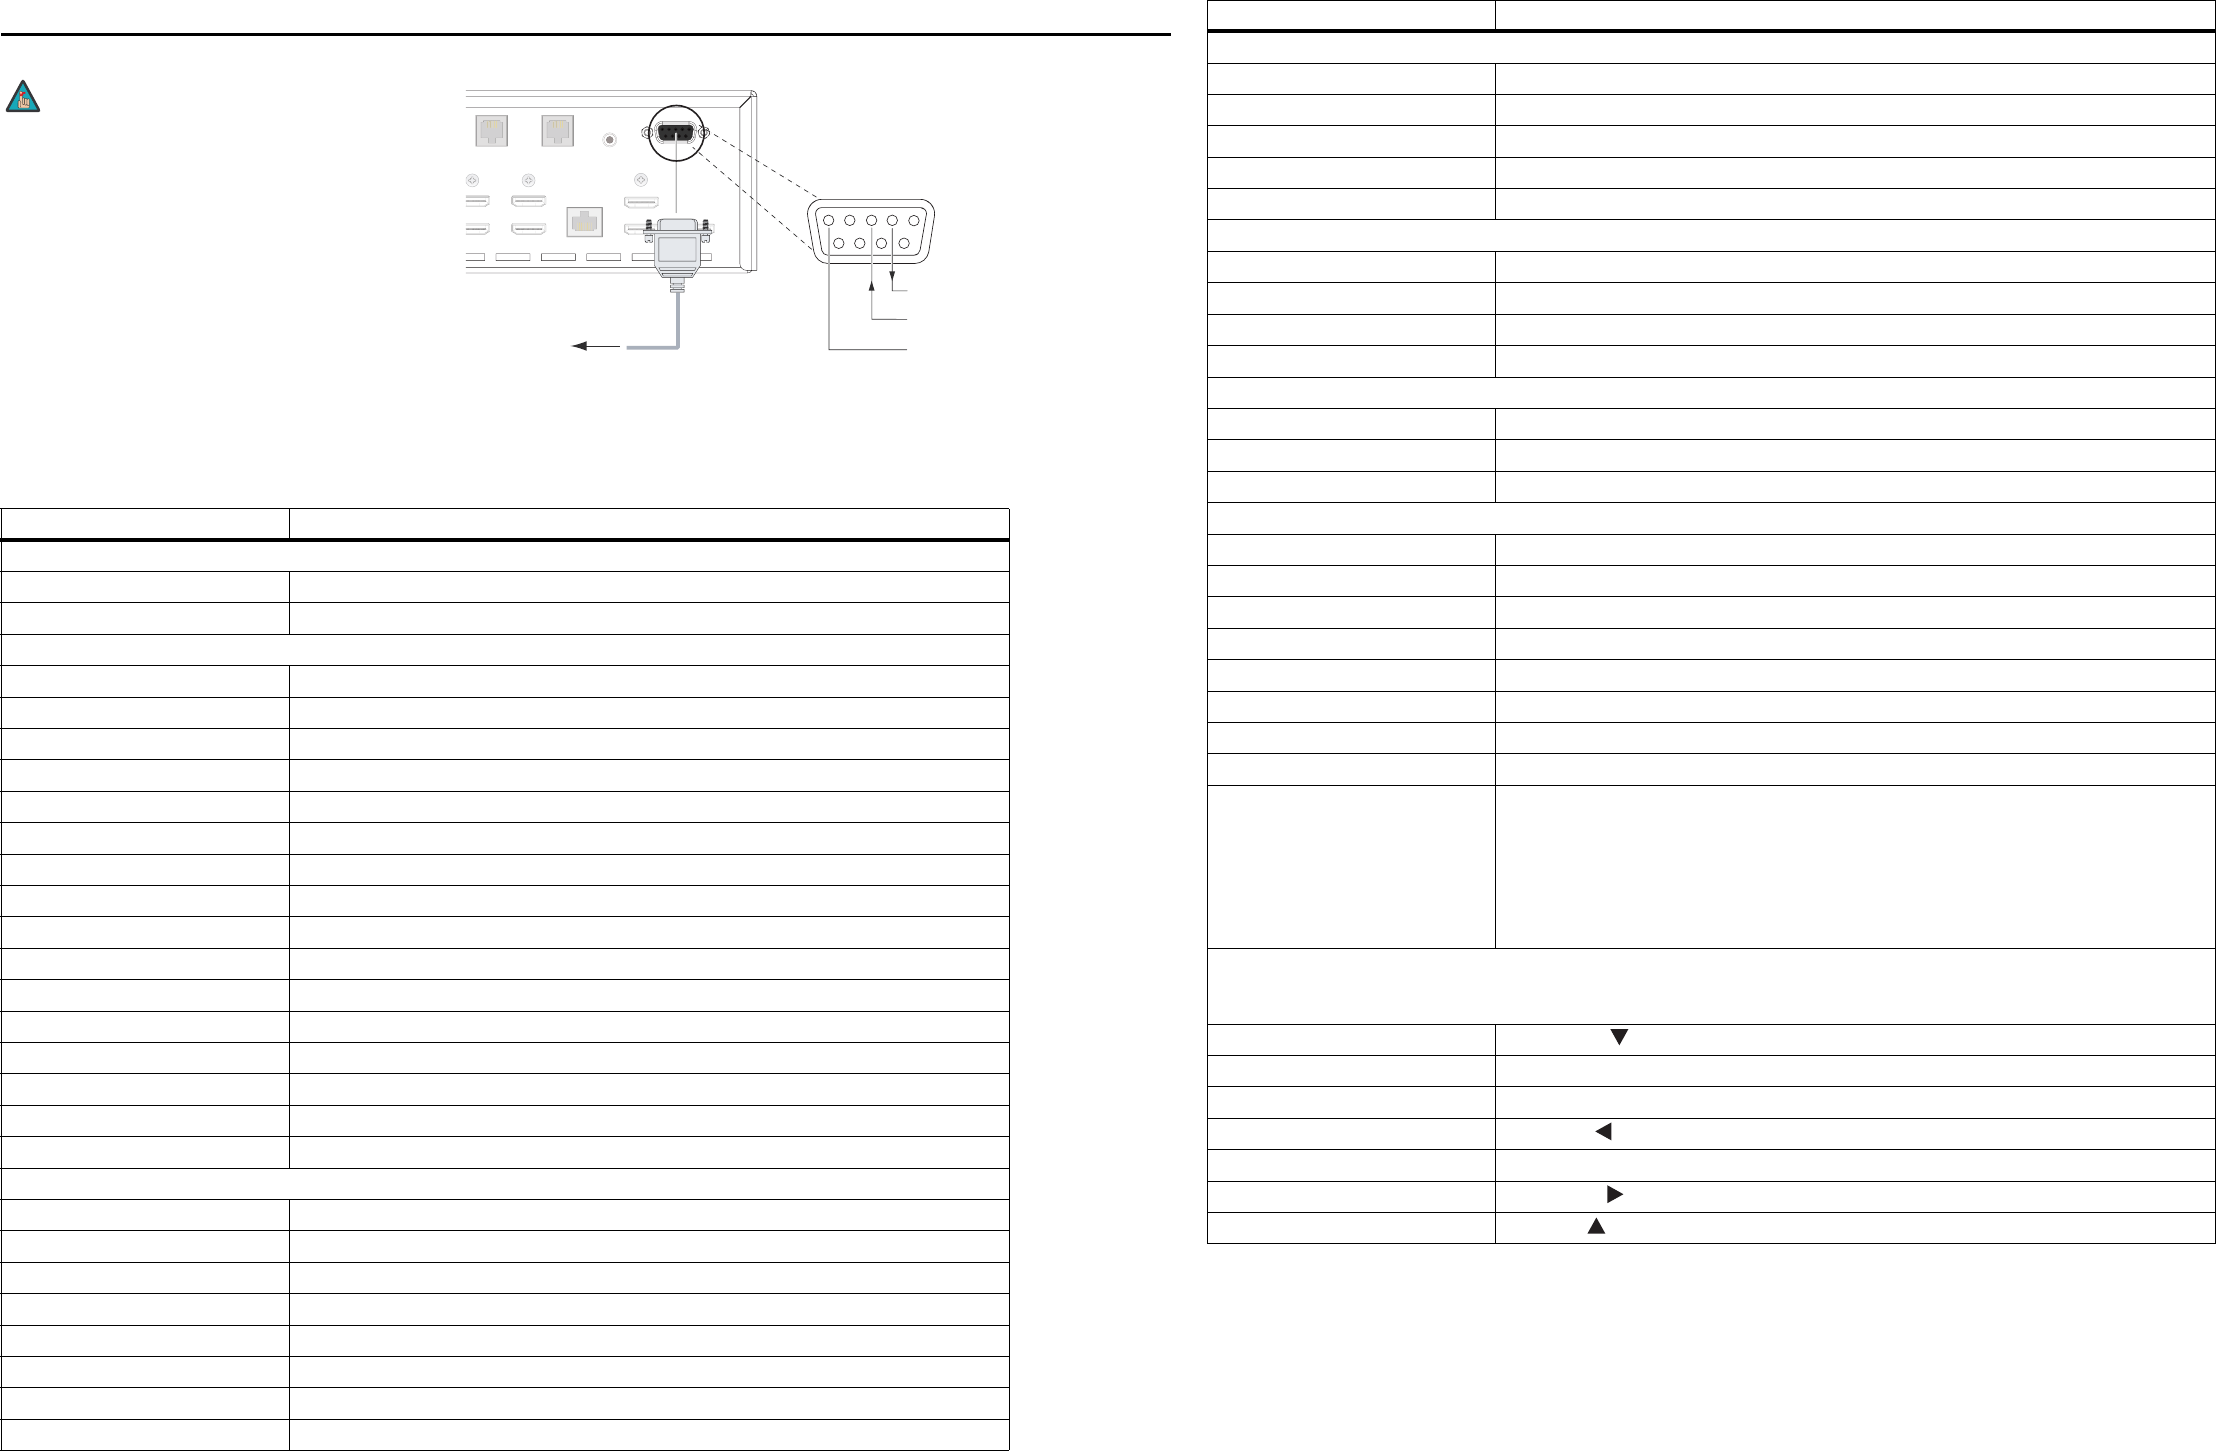
Connect your control system or PC to
the RS-232 input of the Dimension
Digital Controller as shown in the
diagram at right.
Configure the RS-232 controller or PC
serial port as follows: no parity, 8 data
bits, 1 stop bit and no flow control. Set
the baud rate to 19200.
The following is a partial list of
supported serial commands. For a
complete list, refer to the Q-1500d
Series Installation/Operation
Manual.
All commands must be followed by
a carriage return character.
Command Description
Power On/Off Commands
(PWR=0) or (KEY=2) Turns projector off
(PWR=1) or (KEY=1) Turns projector on
Input Selection Commands
(INS=3) or (KEY=14) Selects the Component input
(INS=0) or (KEY=13) Selects the Composite 1 video input
(INS=1) or (KEY=24) Selects the Composite 2 video input
(INS=2) or (KEY=25) Selects the Composite 3 video input
(INS=7) or (KEY=19) Selects the HDMI 1 input
(INS=8) or (KEY=20) Selects the HDMI 2 input
(INS=9) or (KEY=21) Selects the HDMI 3 input
(INS=10) or (KEY=22) Selects the HDMI 4 input
(INS=11) or (KEY=81) Selects the HDMI 5 input
(INS=12) or (KEY=82) Selects the HDMI 6 input
(INS=13) or (KEY=83) Selects the HDMI 7 input
(INS=14) or (KEY=84) Selects the HDMI 8 input
(INS=15) or (KEY=85) Selects the DisplayPort input
(INS=4) or (KEY=17) Selects the RGB HD 1 input
(INS=5) or (KEY=18) Selects the RGB HD 2 input
(INS=6) or (KEY=23) Selects the SCART input
Aspect Ratio Commands
(ASP=1) or (KEY=9) Selects the 16:9 aspect ratio
(ASP=0) or (KEY=10) Selects the 4:3 aspect ratio
(ASP=4) or (KEY=44) Selects the Cinema aspect ratio
(ASP=2) or (KEY=11) Selects the Letterbox aspect ratio
(ASP=6) or (KEY=46) Selects the Native aspect ratio
(ASP=3) or (KEY=12) Selects the VirtualWide aspect ratio
(ASP=5) or (KEY=45) Selects the Virtual Cinema aspect ratio
(ASP=7) or (KEY=86) Selects the Auto Cinema aspect ratio
Note
PC / Control
RS-232
IR
Pri. Display Control Sec. Display Control
H
DMI 5
H
DMI 6
HDMI 7
HDMI 8
Ethernet
HDMI Out
To Sec. Display
HDMI Out
To Pri. Display
HDMI Out
Audio Only
IR
Pri. Displa
y
C
ontrol
S
ec. Displa
y
C
ontrol
HDMI
5
HDMI
6
HDMI
7
HDMI
8
E
therne
t
H
DMI Ou
t
To
Sec. Display
H
DMI Ou
t
T
o
Pri. Displa
y
HDMI Ou
t
Audio Onl
y
1
2
345
7
89
6
to Automation/
Control System
or PC
2 Receive Data
(to ctrl. system)
3 Transmit Data
(from ctrl. system)
5 Ground
(none of the other pins are used)
Picture Adjust Commands (Calibration -> Input Image menu)
(BRT=[-50...+50]) Sets a value for brightness
(CLR=[-50...+50]) Sets a value for color
(CON=[-50...+50]) Sets a value for contrast
(SHP=[-50...+50]) Sets a value for sharpness
(TNT=[-50...+50]) Sets a value for tint
Image Preset Commands
(MMP=2) or (KEY=50) Loads “Custom 1” image preset
(MMP=3) or (KEY=51) Loads “Custom 2” image preset
(MMP=1) or (KEY=49) Loads “ISF Day” image preset
(MMP=0) or (KEY=48) Loads “ISF Night” image preset
Screen Commands
(SCN?) Returns the screen setting
(SCN=0) or (KEY=38) Sets the screen to Screen 1
(SCN=1) or (KEY=39) Sets the screen to Screen 2
Miscellaneous Commands
(IDN?) Returns display device numeric identifier (1 = Auto; 50 = Q-1500d)
(IIR?) Returns input resolution
(MDL?) Returns product model name
(IOR?) Returns output resolution
(RMN=[0...65535]) Sets the remote code
(RMN?) Returns the remote code
(ISN?) Returns Dimension Digital Controller serial number
(IFV?) Returns firmware version number
(T[1...3][1...7]=[0...1])
12-volt trigger configuration:
[1...3] = Trigger number
[1...7] = Aspect ratio (1 = 16:9, 2 = 4:3, 3 = Letterbox, 4 = VirtualWide, 5 = Cinema,
6 = Virtual Cinema, 7 = Native)
[0...1] = On/off (0 = Cancel previous assignment, 1 = assign)
Example: (T15=1)[CR] assigns Trigger 1 to Cinema aspect ratio.
The following serial commands are used to emulate buttons on the remote control or Dimension Digital Controller front panel.
Each button has its own serial command, so effectively it is as if you were using the IR remote.
These commands provide active OSD responses just like IR remote commands.
(KEY=6) Down-Arrow ( ) key
(KEY=4) ENTER key
(KEY=52) EXIT key
(KEY=7) Left-Arrow ( ) key
(KEY=3) MENU
(KEY=8) Right-Arrow ( ) key
(KEY=5) Up-Arrow ( ) key
Command Description


