


10.6 <
Installing accessories>
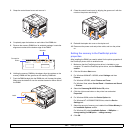
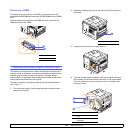
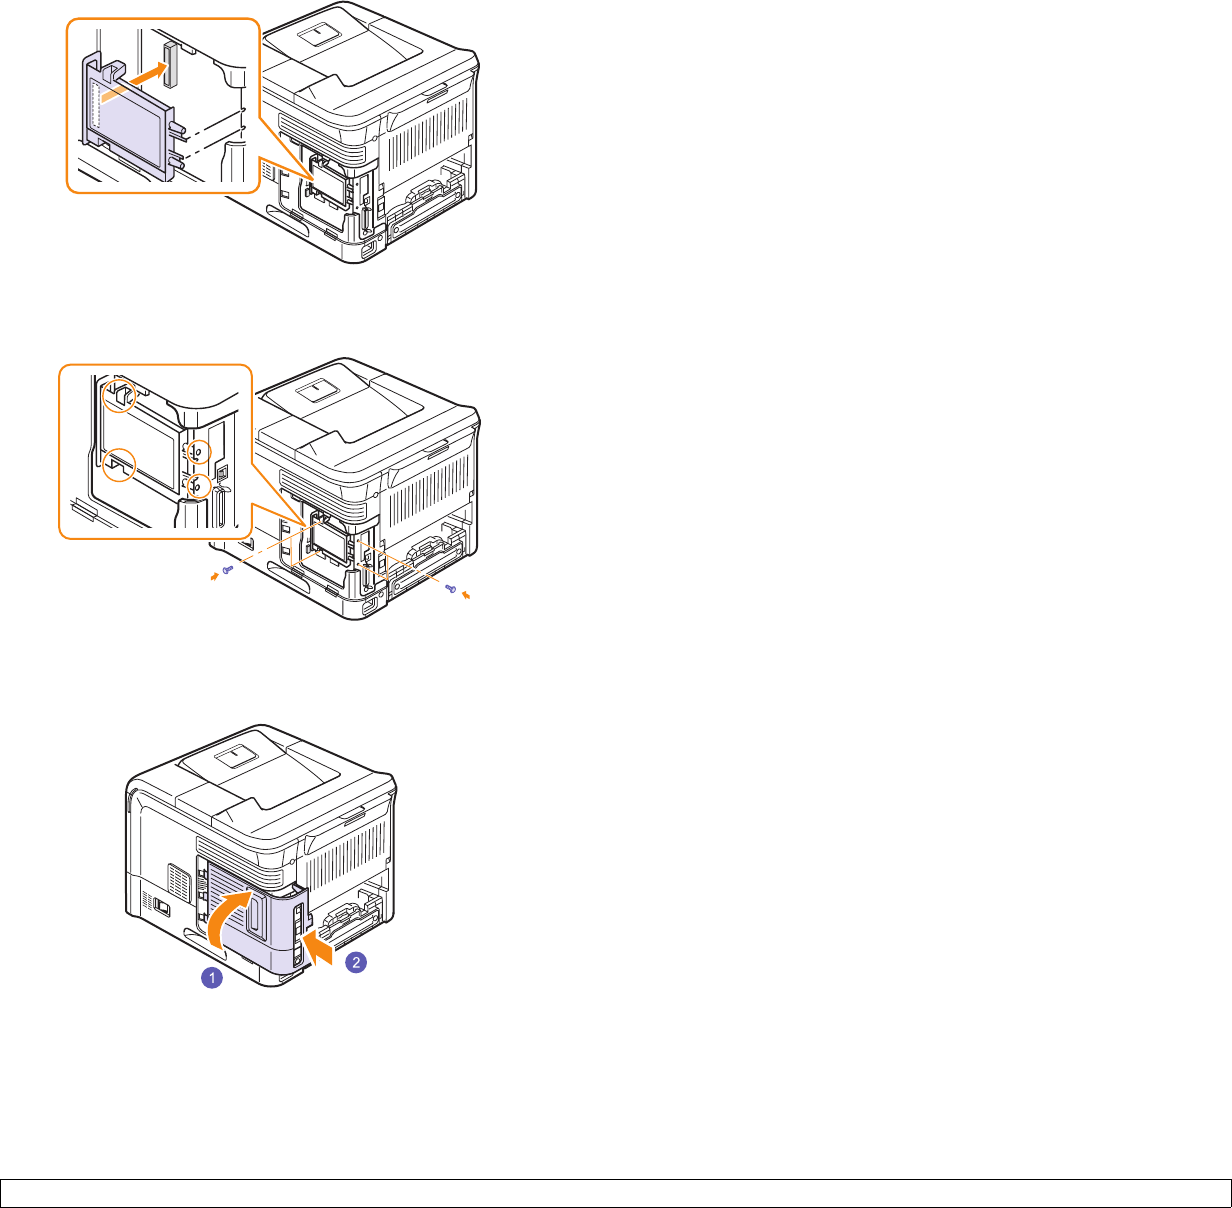
4 Align the connector on the hard disk with the connector on the
control board. Push the hard disk in until it is latched into place.
5 Fasten the four screws supplied with your new hard disk.
6 Close the control board cover by aligning the groove on it with the
notch on the printer and sliding it.
7 Reinstall the duplex-slot cover or the duplex unit.
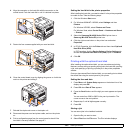
8 Reconnect the power cord and printer cable, and turn the printer
on.
9 Print a configuration page from the control panel to check if the
hard disk is correctly installed. See page 8.1.
Setting the hard disk in the printer properties
After installing the hard disk, you need to select it in the printer properties
to enable its use. Take the following steps:
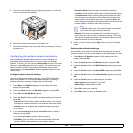
1 Click the Windows Start menu.
2 For Windows 98/Me/NT 4.0/2000, select Settings and then
Printers.
For Windows XP/2003, select Printers and Faxes.
For Windows Vista, select Control Panel → Hardware and Sound
→ Printers.
3 Select the Samsung ML-4050 Series PCL 6 printer icon or
Samsung ML-4050 Series PS printer icon.
4 Click the right mouse button on the printer icon and select
Properties.
5 In PCL 6 Properties, click the Printer tab and then check Optional
Hard Disk Drive (HDD).
In PS Properties, click the Device Option or Device Settings tab
and set the Optional Hard Disk Drive (HDD) option to Installed.
6 Click OK.
Printing with the optional hard disk
After installing the optional hard disk, you can use advanced printing
features, such as storing or spooling a print job to the hard disk, proofing
a job, and specifying of printing a private job in the printer properties
window.
Once you have stored files in the hard disk, you can easily print or delete
the stored files using the control panel of your printer.
Setting the time and date
1 Press Menu until System Setup appears on the bottom line of the
display and press OK.
2 Press OK when Date & Time appears.
3 Press the Scroll buttons until the digit you want appears and press
OK.
You can enter from 2000 to 2065 in the year input section. The
cursor moves to the next position.
4 Repeat step 3 until all digits appear correctly.
5 Press OK.
Storing a job
You can store jobs in the installed hard disk.
1 Open the file you want to store.
2 Select Print from the File menu. The Print window displays.