48
Chapter 3.
Using the computer
If your computer does not have a CD drive, you can purchase an
external CD drive.
Do not insert a cracked or scratched CD. •
Otherwise, the CD may break and damage the optical disk
drive when the CD rotates at a high speed.
When you clean a CD or DVD title, wipe with a soft cloth •
from inside to outside.
Insert a Mini CD into the center of the CD drive.•
The gures used for the description are of a representative •
model. Therefore the gures may dier from the real ones.
Using a CD that is not in the shape of a circle is not •
recommended.
Using CD Drive
1
Press the Eject button of the optical disk drive at the side of
the computer.
Emergency Hole
Eject Button
Status Indicator
2
When the CD tray opens, insert a CD or DVD and push the
tray in until it clicks.
3
Push the CD tray inward until it clicks.
The CD drive status indicator is turned on.
A CD drive’s reading and writing speed may dier •
depending on the condition and type of the media.
To eject a CD when the CD drive does not work or the •
computer is o, place the end of a paper clip ( ) into
the Emergency Hole until the CD tray is ejected.
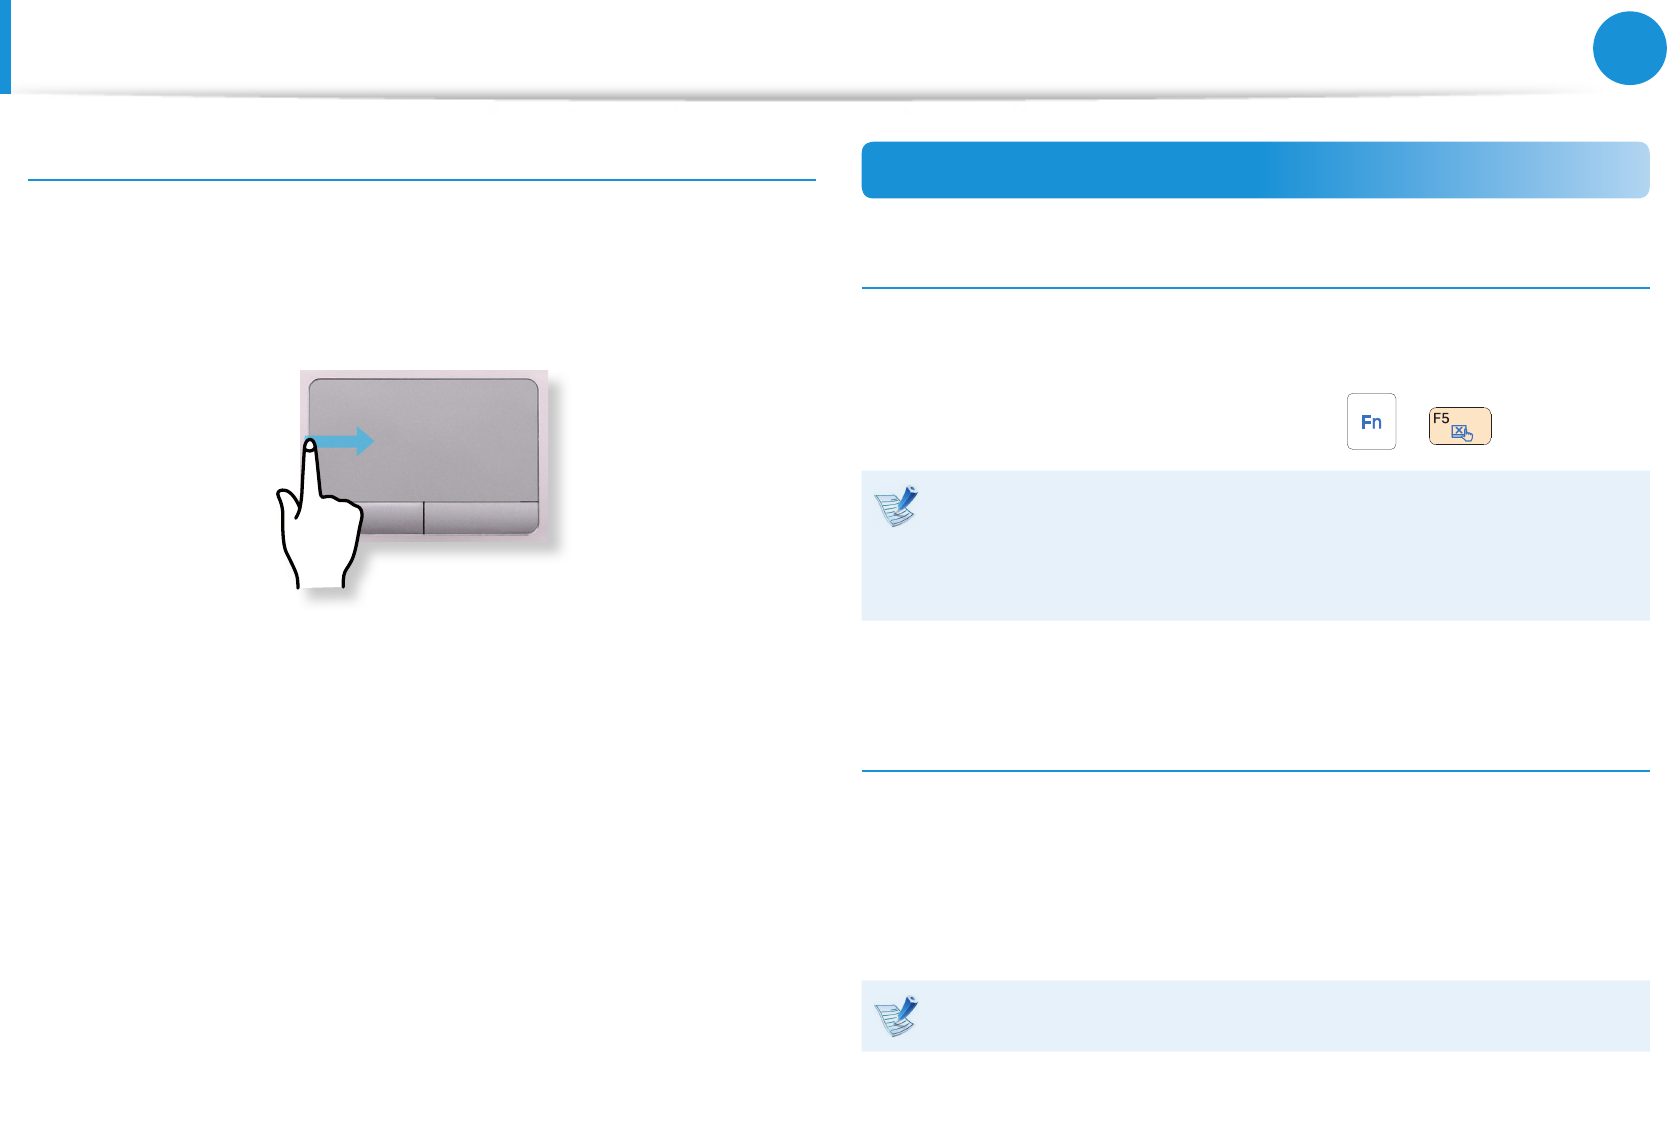
Last Run Window Opening Function
Place your nger on the left edge of the touch pad and drag
your nger towards the center to activate a previously operating
program from among the currently running programs.
Touchpad On/O Function
Locking with shortcut keys
If you want to use the mouse only without using the touchpad,
you can turn the touchpad o.
To lock the touchpad function, press the + keys.
You can set the touchpad and touchpad button settings in
the tabs that appear when clicking Charms menu on the
Desktop > Settings > Control Panel > Hardware and
Sound > Touchpad.
Auto-locking when connecting USB mouse
If an external USB pointing device is connected in the Charms
menu in Desktop > Settings > Control Panel > Hardware and
Sound > Touchpad, check Disabled to disable the touchpad
feature when connecting to the USB mouse.
This auto-locking function is not provided for some models.
To u c hp a d


