3-5 Using
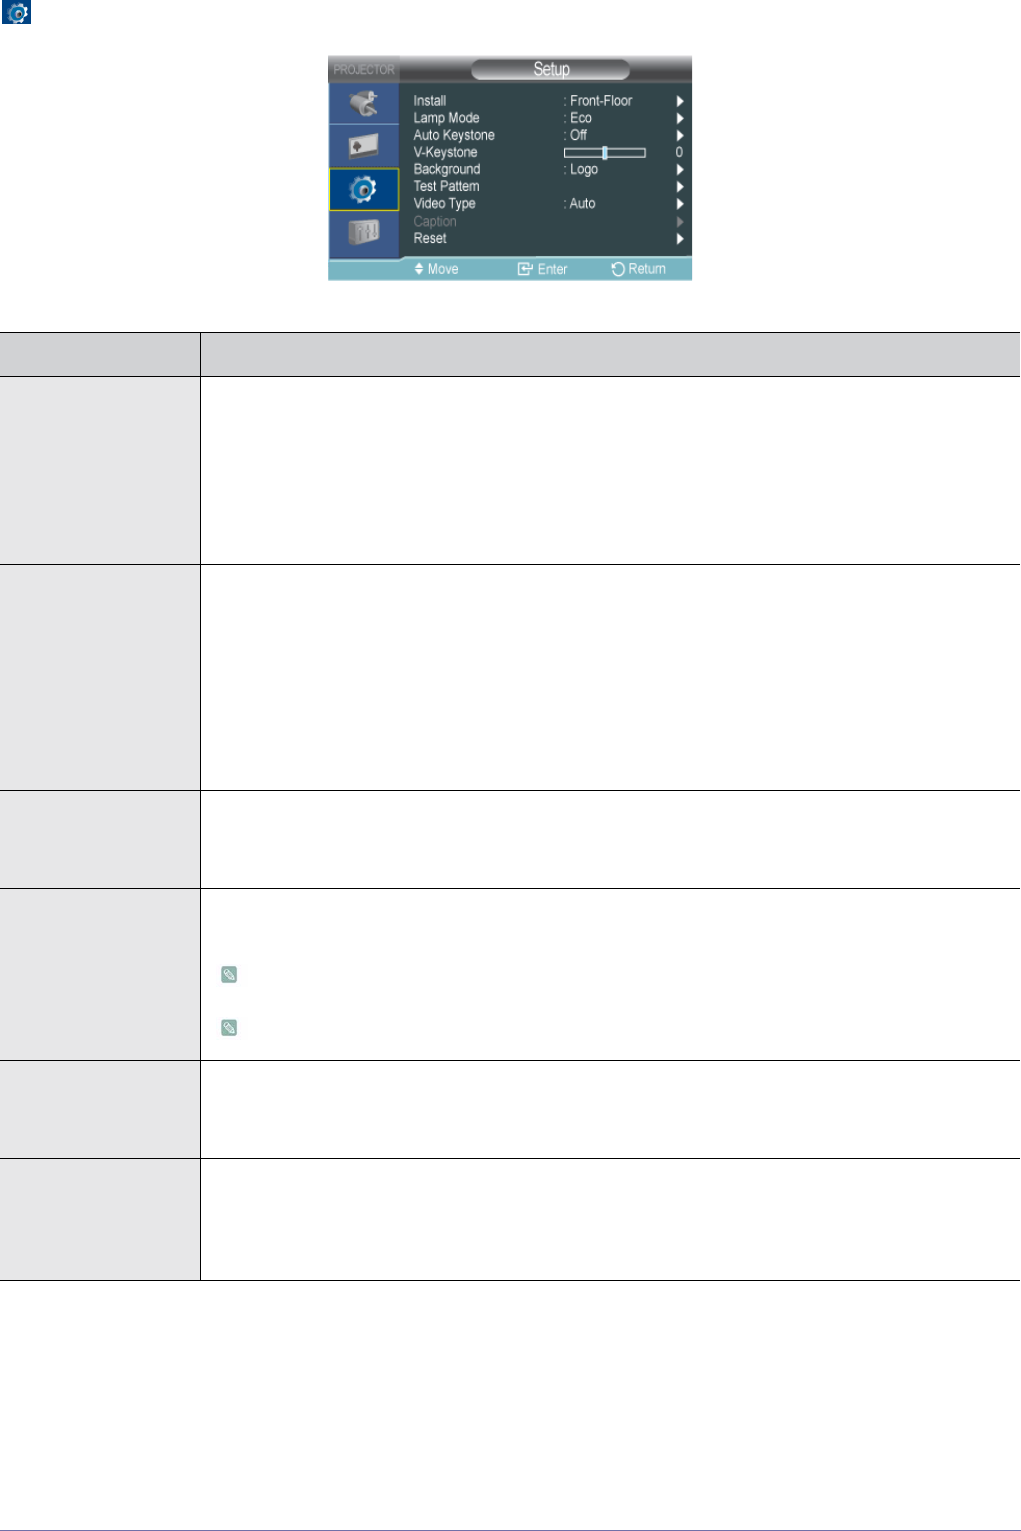
3-5-3. Setup
MENU DESCRIPTION
Install To tailor the picture to the installation location, (for example, behind a semi-transparent screen, hang-
ing from the ceiling), you can invert the projected images vertically / horizontally.
• <Front-Floor> : Normal Image
• <Front-Ceiling> : Horizontal/Vertical Reversed Image
• <Rear-Floor> : Horizontally Reversed Image
• <Rear-Ceiling> : Vertically Reversed Image
Lamp Mode Using this function, you can set the image brightness by adjusting the amount of light generated by
the lamp.
• <Eco> : This mode is optimized for screens smaller than 100 inches.
This mode decreases the lamp brightness and power consumption in order to extend the lamp
lifetime and reduce noise and power consumption.
• <Bright> : This mode maximizes the lamp brightness when the ambient illumination is bright. As
the brightness of the lamp increases, the lamp lifetime can be reduced and the noise and power
consumption may increase.
Auto Keystone If video scenes are distorted or tilted, you can compensate for this by setting the <Auto Keystone>
function to <On> so that the <V-Keystone> function automatically starts.
• <Off>-<On>
V-Keystone If video scenes are distorted or tilted, you can compensate for this using the vertical Keystone func-
tion.
The sound output of your projector is temporarily stopped while the keystone is being changed.
Keystone does not compensate for distorition in the On Screen Display (OSD) menu.
Background You can select an image or screen which will appear when there is no signal from the external device
connected to the projector.
• <Logo>-<Blue>-<Black>
Test Pattern
A default test pattern built into the projector. You can use it as a reference picture to optimize the
installation of the projector and to optimize images.
• <Crosshatch> : You can check whether the picture is distorted or not.
• <Screen Size> : You can reference and display picture format sizes such as 1.33 : 1 or 1.78 : 1.


