22
Installation
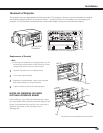
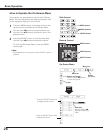
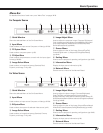
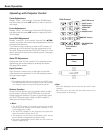
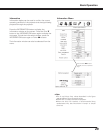
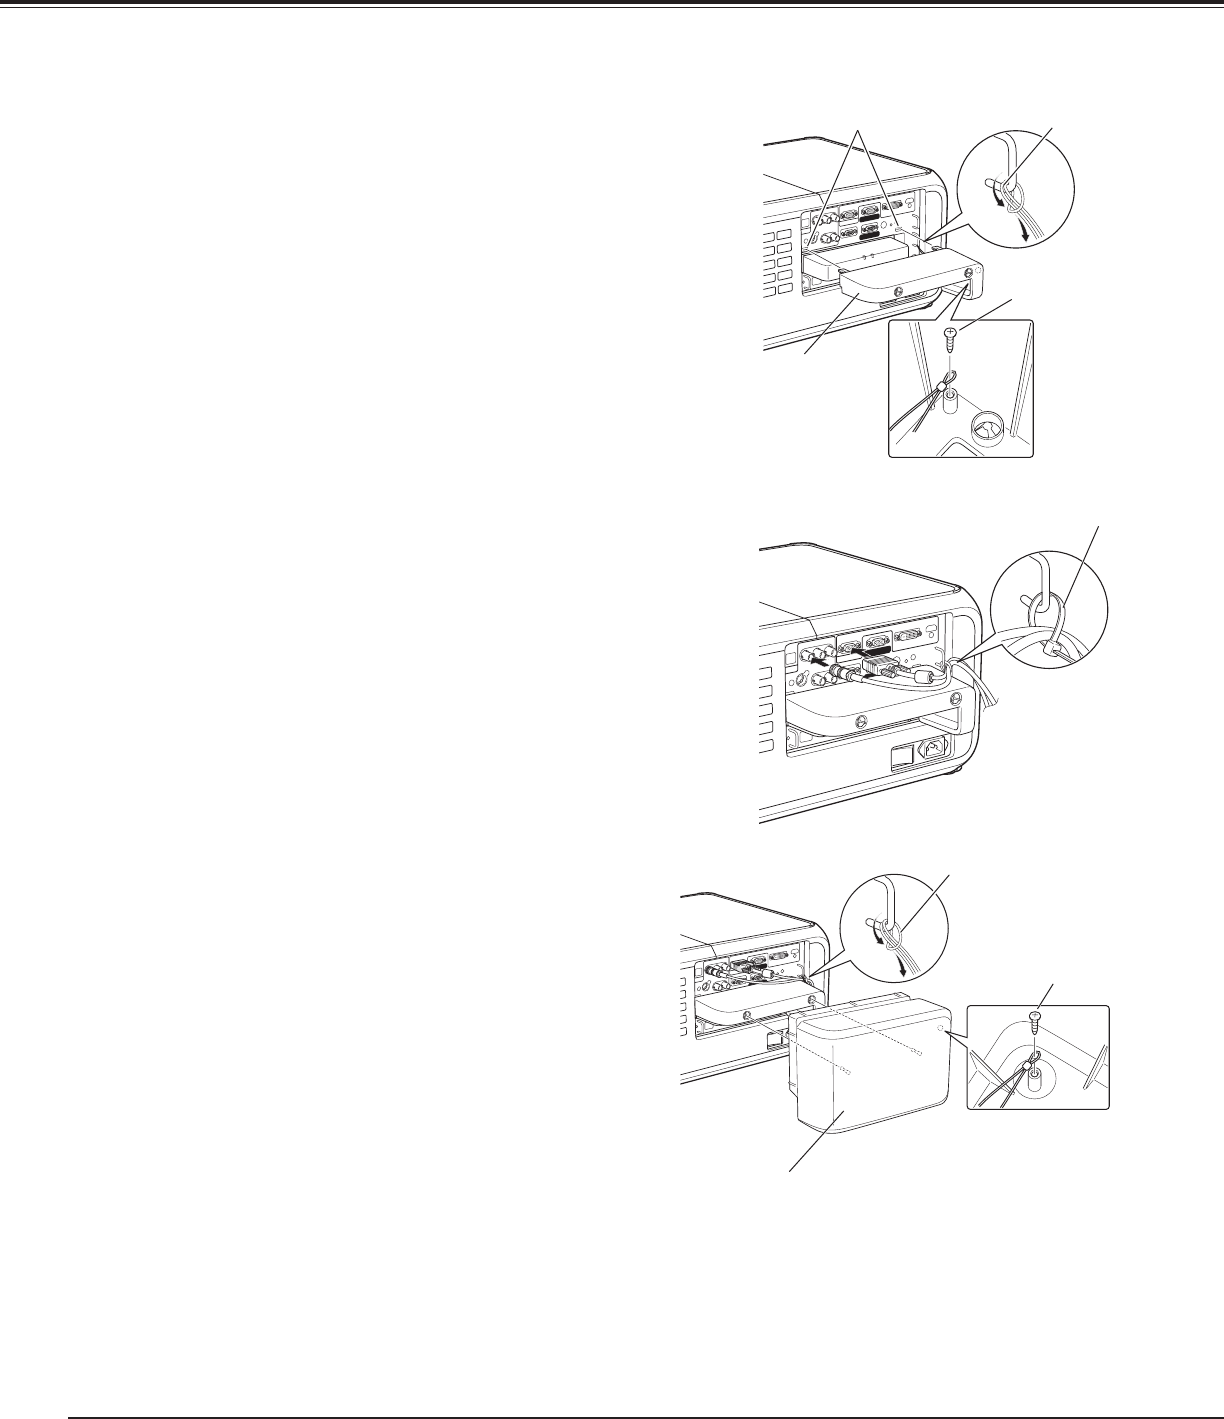
Attaching the Cable Cover
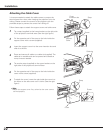
Fix the opposite end of the strap to the hole inside the
support cover with a screw (supplied).
1
3
Insert the support cover into the cover insertion slot and
slide it to the left.
4
Tie a strap (supplied) to the lower bracket on the right side
of the projector’s terminal area. (See the right figure.)
2
Dress and secure all cables to a cable tie (supplied). The
cable tie is reusable and can be opened and closed as
many times as needed.
Tie another strap (supplied) to the upper bracket on the
right side of the projector’s terminal area.
5
Fix the opposite end of the strap to the hole inside the
cover with a screw (supplied).
6
✔Note:
• Attach the support cover first, otherwise the cover cannot
be fixed properly.
Strap
Support
Cover
Screw
Cable tie
Cover
Strap
Screw
Cover
insertion slot
To attach the cover, insert the rods inside the cover into
the holes on the side cover until it clicks. (See the right
figure.)
7
It is recommended to attach the cable covers to protect the
terminal area from dust when hanging the projector from the
ceiling. Please connect the covers to the projector with the
provided straps to prevent the covers from falling off.
Follow these steps to attach the support cover and cable cover.


