


3-7
CHAPTER3
4
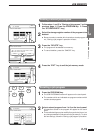
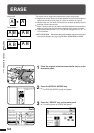
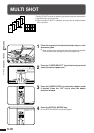
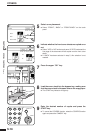
Select the desired erase mode.
●
Select “EDGE ERASE”, “CENTER ERASE” or “EDGE+CENTER
ERASE” on the touch panel. The selected erase mode will be
highlighted.
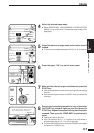
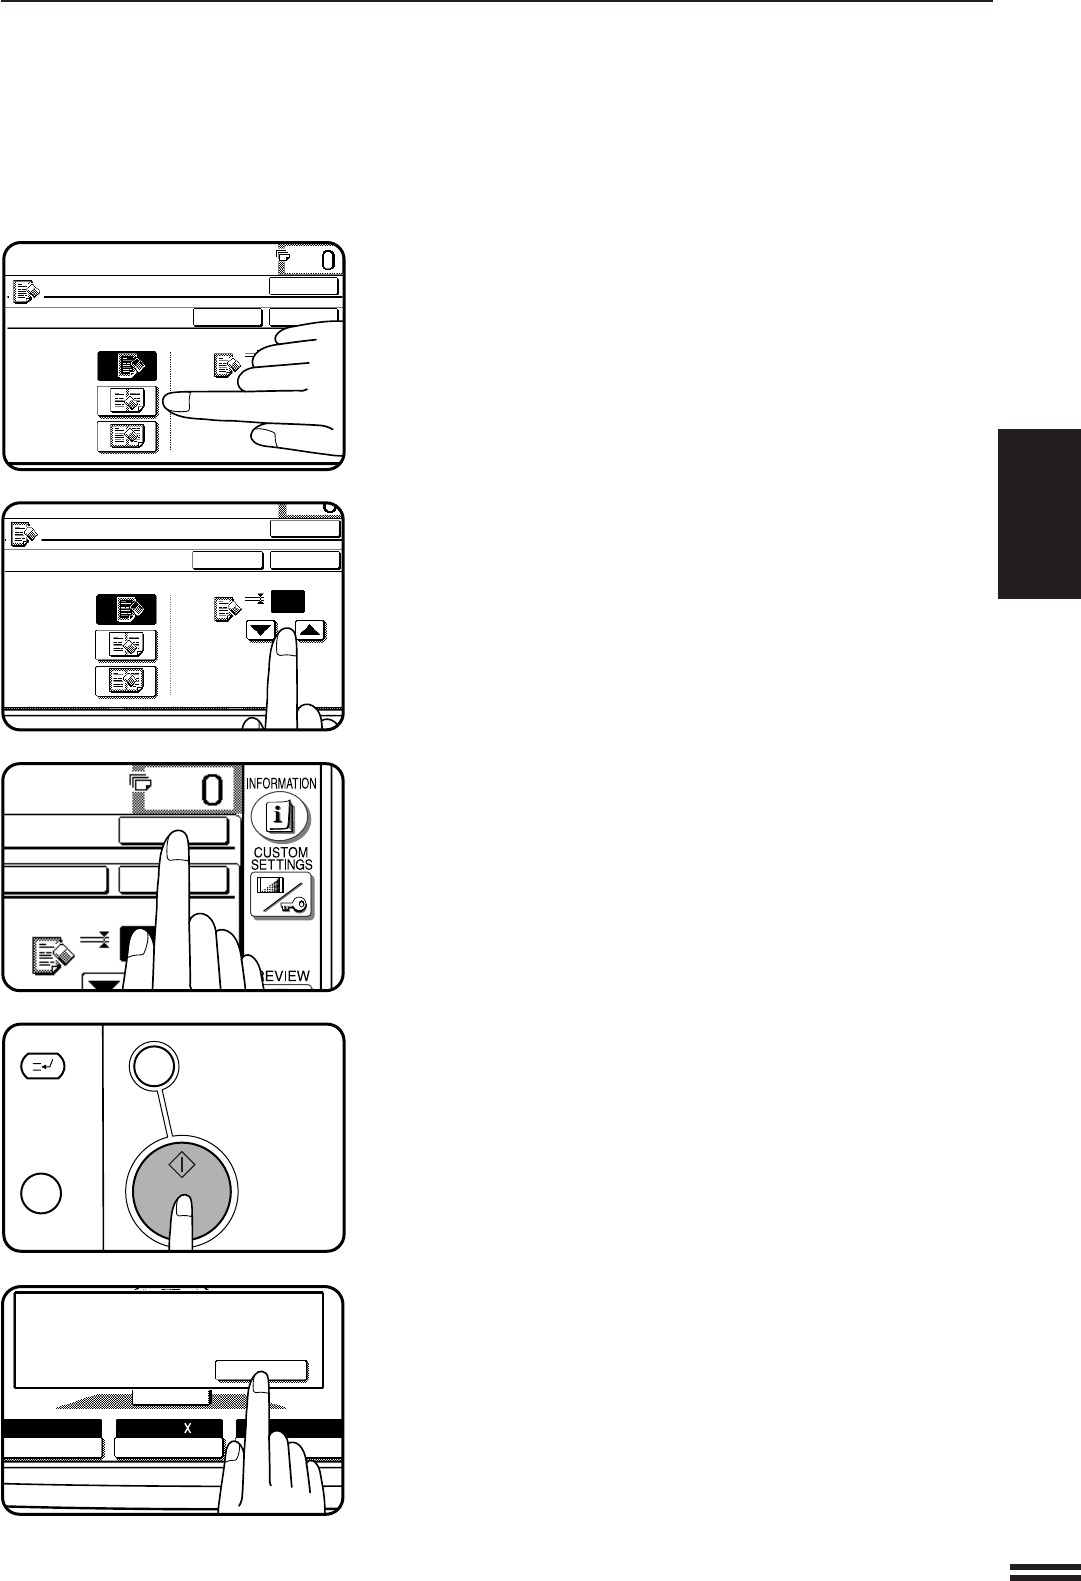
5
Adjust the amount of edge erase and/or center erase if
needed.
●
The amount can be adjusted between 0" and 1" in 1/8" increments.
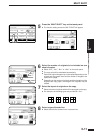
6
Press the upper “OK” key on the touch panel.
7
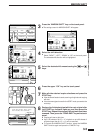
Make all other desired copier selections and press the
START key.
●
If the document feeder is used, scanning of originals and copying
will start.
●
If the document glass is used in the SORT mode, proceed to the
next step.
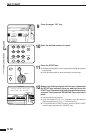
8
Replace the finished original with the next original after
the START key indicator lights up, and then press the
START key. Repeat this step until all originals have been
scanned. Then, press the “READ-END” key on the touch
panel.
●
Copying will start at this time.
●
Up to 120 sheets of 8-1/2" x 11" originals or up to 60 sheets of
originals larger than 8-1/2" x 11" can be scanned.
●
To cancel the ERASE function, select the ERASE function again
and press the “CANCEL” key.
SPECIAL FUNCTIONS Erase
READY TO COPY.
ERASE
EDGE ERASE
CENTER ERASE
EDGE+CENTER
ERASE
CANCEL
1
OK
OK
(0~1)
inch
ERASE
EDGE ERASE
CENTER ERASE
EDGE+CENTER
ERASE
CANCEL
1/2
OK
OK
(0~1)
inch
CANCEL
1
OK
OK
(0~1)
inch
C
CLEAR
INTERRUPT
CA
CLEAR ALL
START
ERASE
AUTO
EXPOSURE PAPER SELECT
100%
COPY RATIO
READ-END
PLACE NEXT ORIGINAL. PRESS [START].
WHEN FINISHED, PRESS [READ-END].
AUTO 8/ 11
1
2