Installation
10
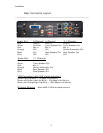
Rear Connector Layout (con’t)
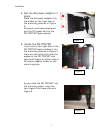
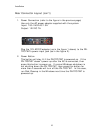
1. Power Connection (refer to the figure in the previous page)
Use only the AC power adapter supplied with the system.
Input: 100~240V AC 1.3A
Output: 12V DC 7A
Plug the 12V AC/DC adapter (as in the figure 1 above) to the PN-
TPCi7W7’s power input jack (as in the figure 2).
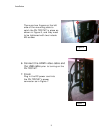
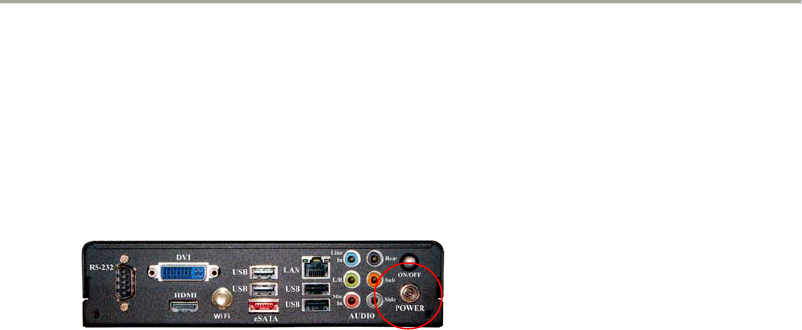
2. Power Button
This button will stay lit if the PN-TPCi7W7 is powered on. If the
PN-TPCi7W7 doesn’t power up after the AC is connected, then
press this button to power up. If normal Windows shutdown is
not shutting down the PN-TPCi7W7, then press this button for
more than 4 seconds will turn off the PN-TPCi7W7. In this case,
run Disk Cleanup in the Windows next time the PN-TPCi7W7 is
powered up.


