8 | KNOWLEDGE BASE – MAINTAINING YOUR SMART UF75 OR UF75W
PROJECTOR
To adjust the vertical
keystone of the projected
image
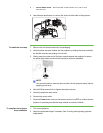
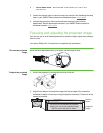
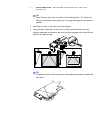
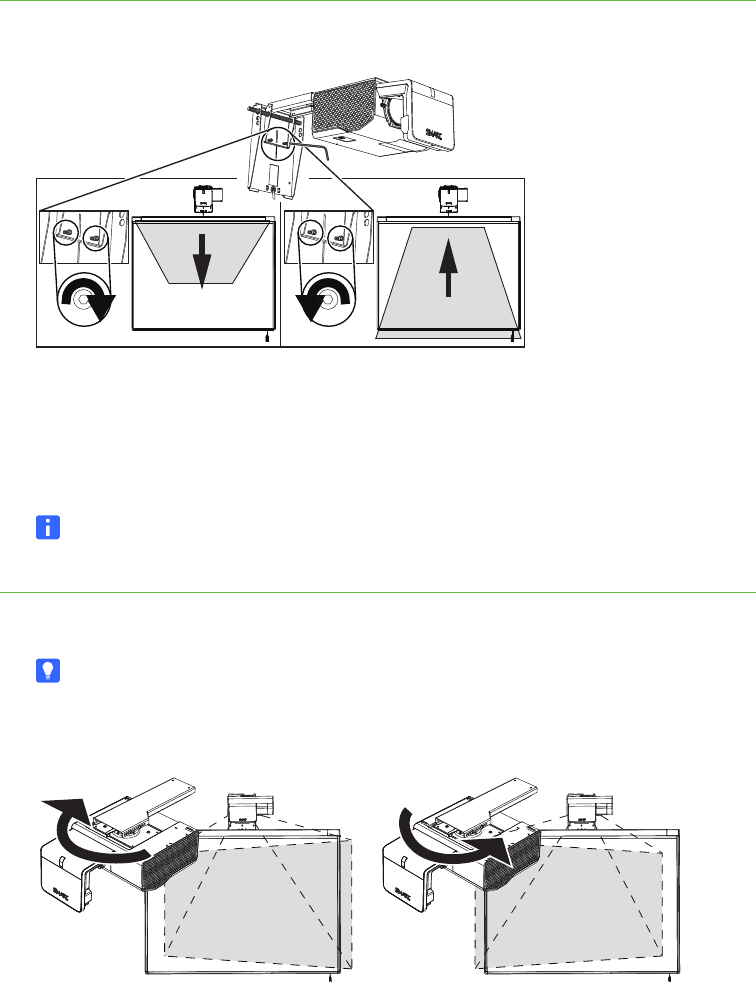
Loosen or tighten the lower screws on the projector mounting plate, turning both
screws equally a quarter or half turn at a time.
• Turn the adjustment screws clockwise to push the projector up, widen the
bottom of the image and move the bottom edge of the image down.
• Turn the adjustment screws counterclockwise to push the projector down,
narrow the bottom of the image and move the bottom edge of the image up.
NOTE
The top edge of the image moves very little from its position.
To adjust the horizontal
keystone of the projected
image
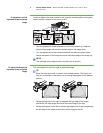
Turn the projector to the left or right to adjust the image.
TIP
Move the focus lever until it’s almost in the locked position. The friction will
help you to maintain control when you’re moving the projector to the desired
position.
• Rotate the projector to the right to lengthen the right edge of the image,
shorten the left edge image and move the entire image to the right.
• Rotate the projector to the left to shorten right edge of the image, lengthening
the left edge of the image and move the entire image to the left.


