


Installing the Switch
3-6
3
The SFP slots support the following optional SFP transceivers:
• 1000BASE-SX
• 1000BASE-LX
• 1000BASE-LH
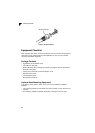
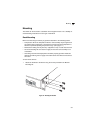
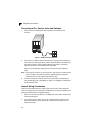
To install an SFP transceiver, do the following:
1. Consider network and cabling requirements to select an appropriate SFP
transceiver type.
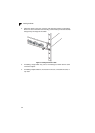
2. Insert the transceiver with the optical connector facing outward and the slot
connector facing down. Note that SFP transceivers are keyed so they can only
be installed in one orientation.
3. Slide the SFP transceiver into the slot until it clicks into place.
Note: SFP transceivers are hot-swappable. The switch does not need to be powered off
before installing or removing a transceiver. However, always first disconnect the
network cable before removing a transceiver.
Note: SFP transceivers are not provided in the switch package.
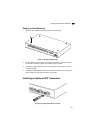
Connecting to a Power Source
To connect a switch to a power source:
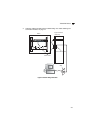
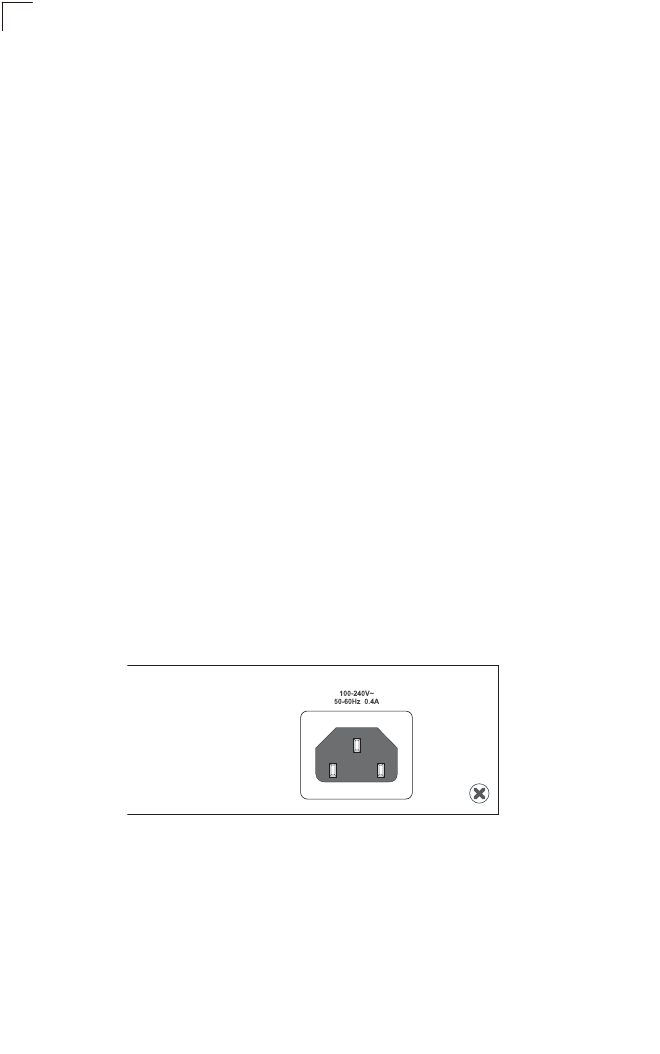
1. Insert the power cable plug directly into the AC socket located at the back of the
switch.
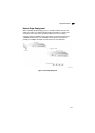
Figure 3-6 Power Socket
2. Plug the other end of the cable into a grounded, three-pin, AC power source.
Note: For International use, you may need to change the AC line cord. You must
use a line cord set that has been approved for the receptacle type in your
country.
3. Check the front-panel LEDs as the device is powered on to be sure the Power
LED is lit. If not, check that the power cable is correctly plugged in.