


9
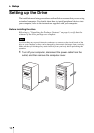
Introduction
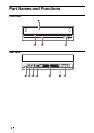
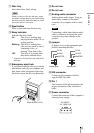
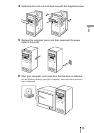
A Disc tray
Insert discs here, label side up.
Hint
When you insert a disc into the drive, make
sure that it is under the four pins. When using
the drive vertically, make sure that you set the
disc inside the two lower pins.
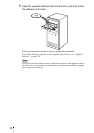
B Eject button
Press to open and close the disc tray.
C Busy indicator
Indicates the drive status.
Lit : The drive is reading data,
playing back an audio CD, or
writing packets.
Blinking: The drive is writing data
(disc-at-once, track-at-once),
formatting a disc, or
deleting
1)
data from a disc.
Off : The drive is in a state other
than those outlined above.
1)
Some drives indicate this state with the lit
indicator.
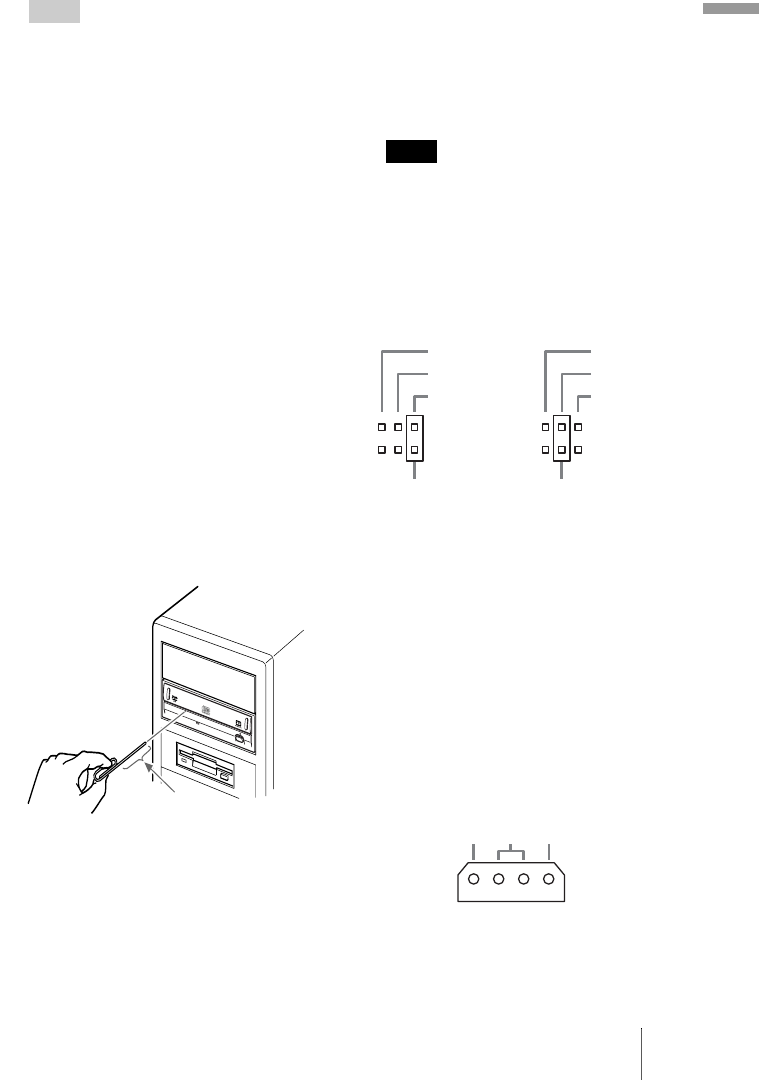
D Emergency eject hole
If you cannot open the disc tray with the
eject button, turn off your computer, and
then insert a thin, elongated object into
this hole to eject the disc tray manually.
E Do not use.
F Do not use.
G Analog audio connector
Analog stereo audio output. Using an
audio cable, connect to the audio
connector of a computer with a sound
card.
Note
Connecting a cable other than an audio
cable or otherwise misusing the audio
connector may cause damage to the
product.
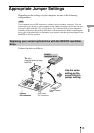
H Jumper
A jumper is set on the appropriate pins
before connecting the drive.
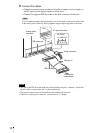
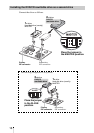
I IDE connector
Connect to the computer with the
supplied IDE flat cable.
J Pin 1
The location of this pin determines the
proper orientation of the connection
cable.
K Power connector
Connect the connector of the computer’s
internal power supply.
About 40 mm (1.6 in)
CS EL
SLAVE
MASTER
CS EL
SLAVE
MASTER
Jumper pinsJumper pins
5V GND 12V
DC INPUT