


VAIO Notebook Computer User Guide
24
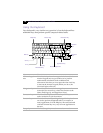
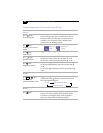
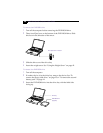
To insert the floppy disk drive
1
Turn off the computer.
2
If another device is in the drive bay, remove the device. See “To
remove the DVD-ROM drive” on page 28 or “To remove the second
battery pack” on page 41.
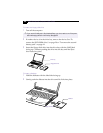
3
Insert the floppy disk drive into the drive bay with the VAIO label
facing up. Continue pushing the drive into the bay until the Eject
lever locks into place.
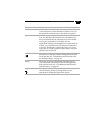
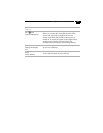
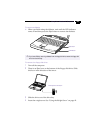
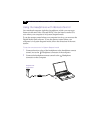
To insert a diskette
1
Hold the diskette with the label side facing up.
2
Gently push the diskette into the drive until it clicks into place.
✍
If you use the Drive Bay tab in Sony Notebook Setup, you do not need to turn off the power
before exchanging devices in the drive bay. See page 65.
Drive bay
Floppy disk drive
Floppy disk drive
Diskette