


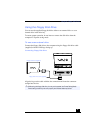
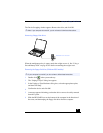


Using the Floppy Disk Drive
45
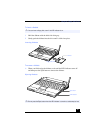
The Device Swapping window appears. Remove the drive, and click OK.
When the multipurpose bay is empty, attach the weight saver to it. See “Using a
Second Battery Pack” on page 56 for details on attaching the weight saver.
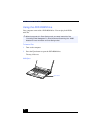
Removing the floppy disk drive (Windows 2000 models)
1
Double-click in the system task tray.
2
The “Unplug or Eject” dialog box appears.
3
In the Unplug or Eject Hardware dialog box, select the appropriate option,
and then click Stop.
4
Confirm the device and click OK.
5
A message appears informing you that the device can now be safely removed
from the system.
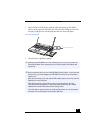
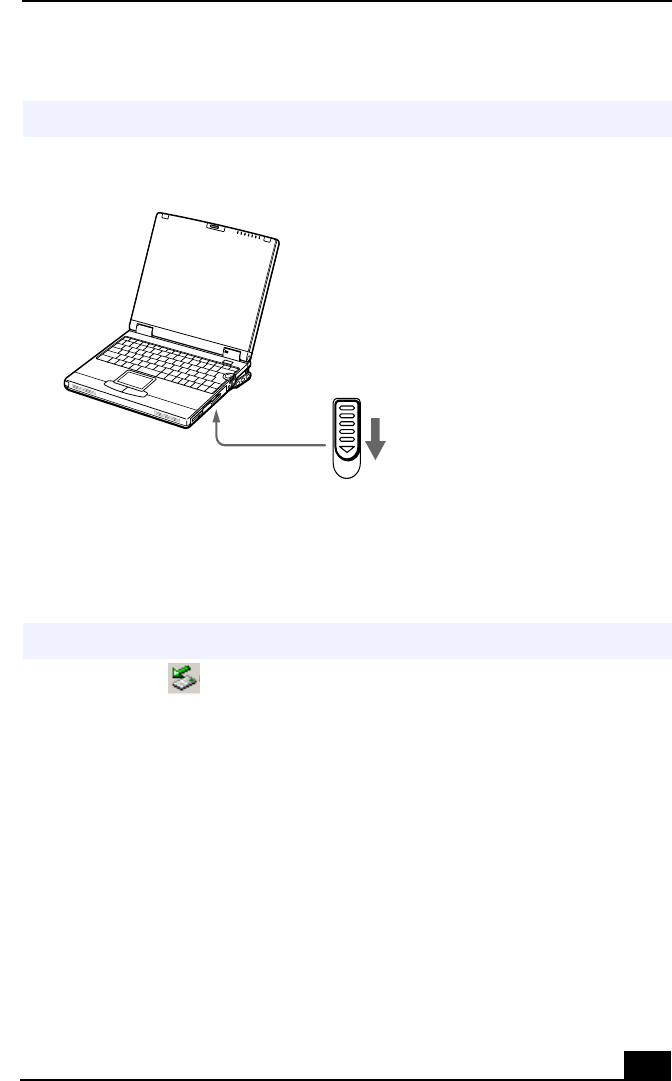
6
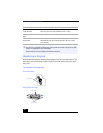
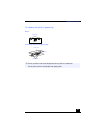
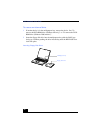
Slide the RELEASE lever on the bottom of the computer in the direction of
the arrow, and then unplug the floppy disk drive from the computer.
✍
Note: If your computer is turned off, you do not have to follow these instructions.
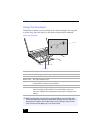
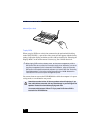
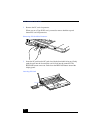
Removing Floppy Disk Drive
✍
If your computer is turned off, you do not have to follow these instructions.
RELEASE lever on bottom