32 (GB)
The INSTALL SETTING
Menu
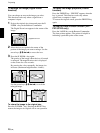
The INSTALL SETTING menu is used for changing
the install settings of the projector.
INPUT-B FUNC. is displayed only for the VPL-
PX15.
Operation
1. Select an item
Use the M or m key to select the item, then press the
, or ENTER key.
2. Adjust an item
•When changing the adjustment level:
To increase the value, press the M or , key.
To decrease the value, press the m or < key.
Press the ENTER key to restore the original screen.
•When changing the setting:
Press the M or m key to change the setting.
Press the ENTER or < key to restore the original
screen.
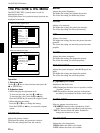
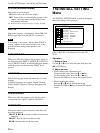
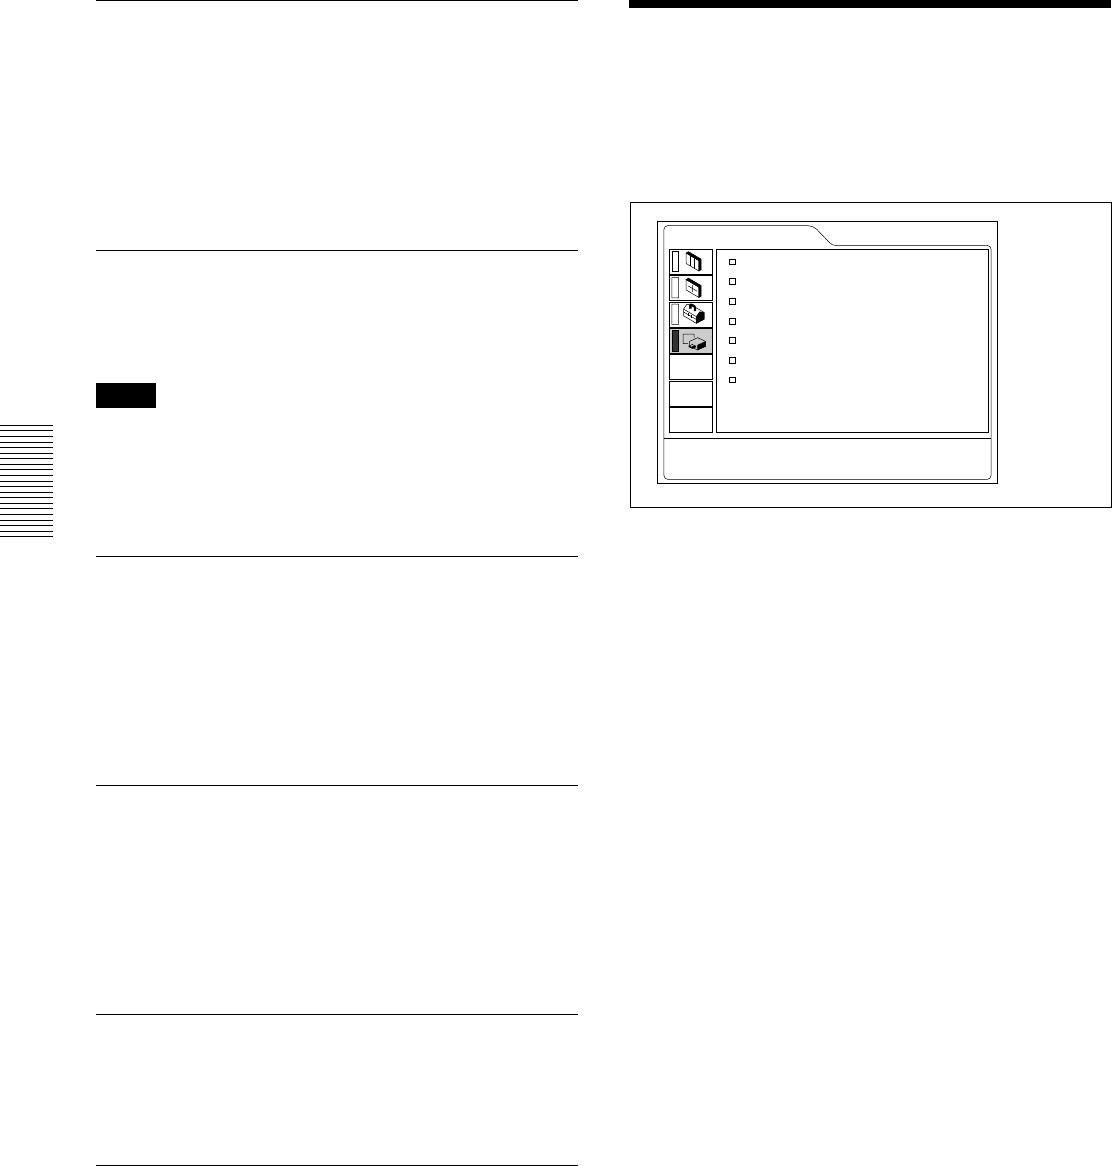
INSTALL SETTING
KEYSTONE MEM:
ON
DIGIT KEYSTONE:
0
INSTALLATION:
CEILING-FRONT
MENU POSITION:
CENTER
MENU COLOR:
STANDARD
MENU BACKGRND:
STANDARD
INPUT-B FUNC.:
ON
LAMP TIMER: 234H
INPUT-A
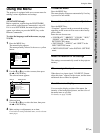
STATUS (on-screen display)
Sets up the on-screen display.
ON: Shows all of the on-screen display.
OFF: Turns off the on-screen display except for the
menus, a message when turning off the power,
and warning messages.
For details on the warning messages, see page 40 (GB).
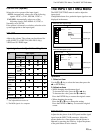
INPUT-A
Selects the computer, component or video GBR (15k
RGB) signal input from the INPUT A connector.
Note
If the setting is not correct, “Please check INPUT-A
setting.” appears on the screen and the color of the
picture becomes strange or the picture is not
displayed.
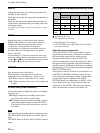
AUTO INPUT SEL
When set to ON, the projector detects input signals in
the following order: INPUT-A/INPUT-B (VPL-PX15
only)/VIDEO/S-VIDEO. It indicates the input channel
when the power is turned on or the INPUT key is
pressed.
LANGUAGE
Selects the language used in the menu and on-screen
displays.
Available languages are: English, French, German,
Italian, Spanish, Japanese, Chinese, Portuguese and
Korean.
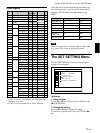
POWER SAVING
When set to ON, the projector goes into the power
saving mode if no signal is input for 10 minutes.
IR RECEIVER
Selects the remote control detectors on the front and
rear of the projector.
FRONT & REAR: Activates both the front and rear
detectors.
FRONT: Activates the front detector only.
REAR: Activates the rear detector only.
The SET SETTING Menu / The INSTALL SETTING Menu


