


17
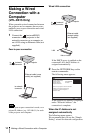
Making a Wireless Connection with a Computer
Preparation
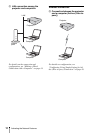
6 Configure the settings on the
connected computer.
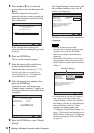
Open the [Wireless Network
Connection] menu on the computer to
select the same network as that
displayed under “Network Name
(SSID)” in the menu in step 5.
The connection between the projector
and the computer has been made and the
IP Address of the projector is displayed
under “Network Address.”
It may take about one minute to obtain an
IP Address.
SSID, Encryption Key, etc. is required to be
entered according to your wired Lan
environment. Consult your network
administrator.
Some security systems such as 802.1x
Authentication cannot be set with Simple
Setting. Use the menus of the projector to set
such security systems.
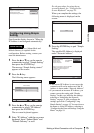
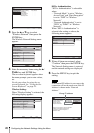
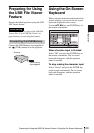
1 Press the NETWORK key on the
remote commander.
The following menu appears:
2 Press the v or V key to select “Simple
Setting” then press the ENTER key.
The message “Simple Setting started.”
appears on the screen.
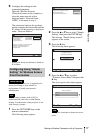
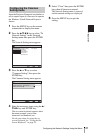
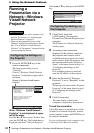
3 Press the B key.
The following menu appears:
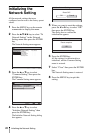
4 Press the v or V key to select
“Wireless Access Point” then press the
B key.
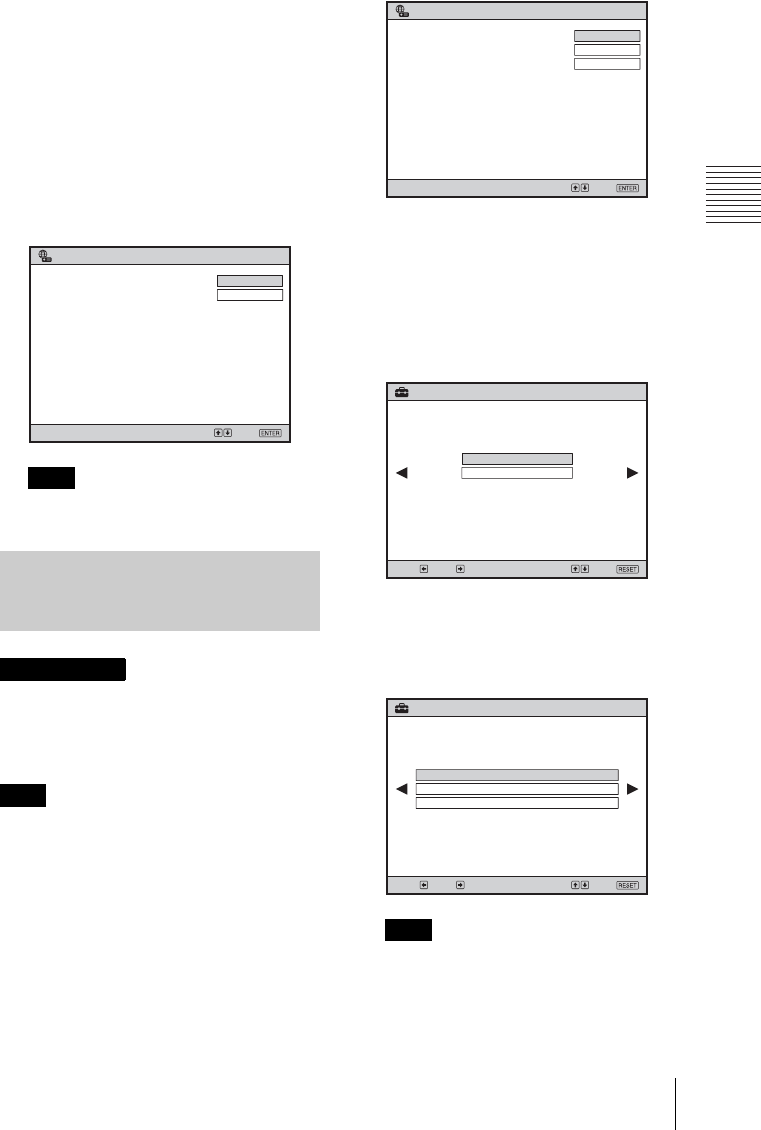
The access point select menu appears.
It may take some time to detect an access
point.
Note
Configuring Using “Simple
Setting” for Wireless Access
Point Connection
Before starting
Note
SonyProj2EA509
SonyProj99808B8
169.254.163.130
Select:
Set:
Switch
Detail Information
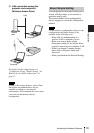
Windows Vista
®
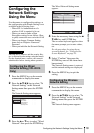
Network Projector
address" and "Projector password" at
"Connect to a Network Projector" of
Windows Vista
®
.
Search for a projector or enter the "Network
Network Name (SSID):
Projector Name:
Network Address:
Projector Password:
Note
Windows Vista
®
Network Projector
Select:
Projector not connected to network.
Set the Network setting
with Simple Setting or the Menu.
Set:
Switch
Detail Information
Simple Setting
Simple Setting
Select: Next:
Use Wireless network.
Select the Network Mode.
Prev.:
Exit:
Ad-hoc
Access Point
SSID 02
SSID 01
SSID 03
Simple Setting
Select access point.
Next: Select: Prev.:
Exit: