


25
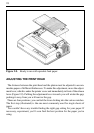
1. Remove the printer cover and the ribbon cartridge.
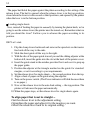
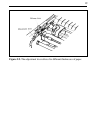
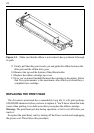
2. Remove the print head left along the carriage, until you can see the connector
cover. Remove the cover from the printer frame; for datails, see Figure 3-
4. Unplug the print head cable from the head cable board.
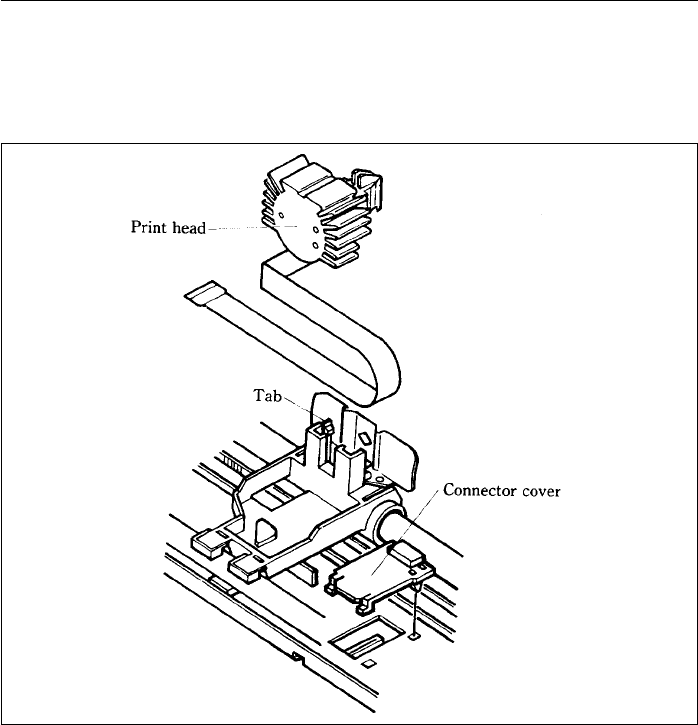
Figure 3-4. Replacement of the print head is simple.
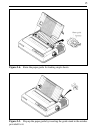
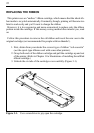
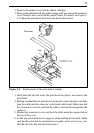
3. Hold back the tab that locks the print head into place, and remove the
print head.
4. Making sure that the new print head is facing the correct direction, carefully
plug the cable into the connector on the head cable board. Make sure that
this connection is secure, and that the cable is inserted far enough into the
conector.
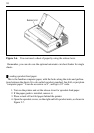
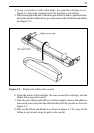
5. Replace the connector cover, and feed the cable under the support tab on
the top of the cover.
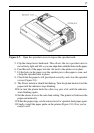
6. Fit the new print head into its support, while holding the tab back. Make
sure that the print head is inserted into its guides as far as it can go, and
that the tab locks the print head into place.