


– 4 –
ENGLISH
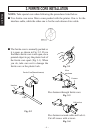
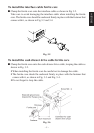
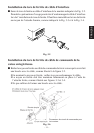
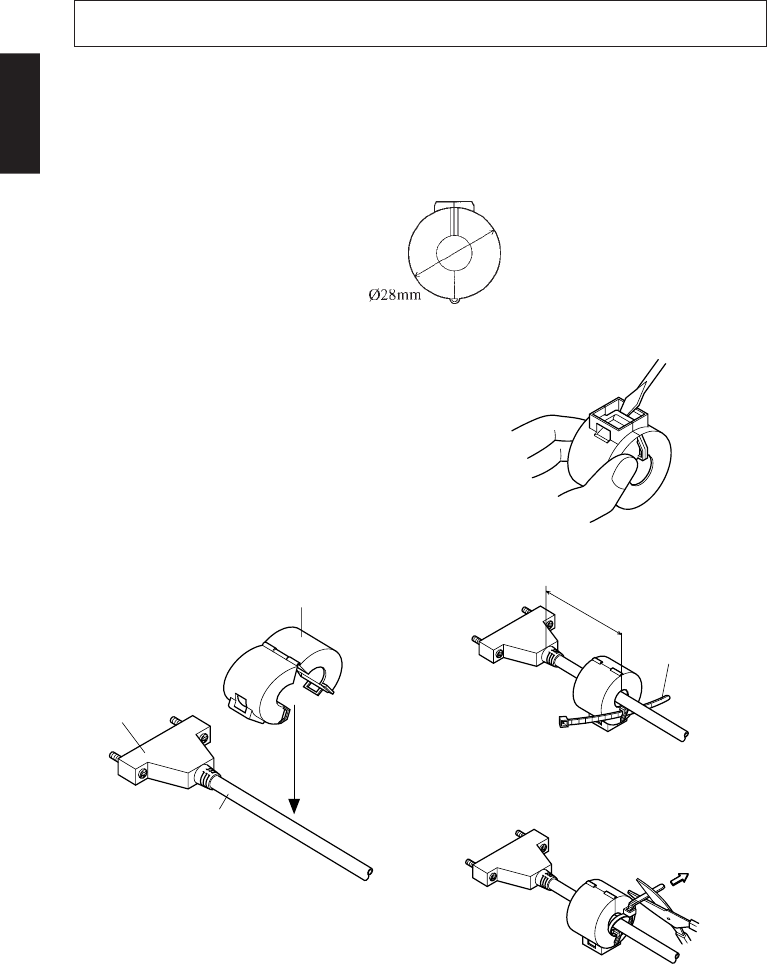
Pass fastener through ferrite core.
Fig. 3-3
Pass fastener around cable and lock it.
Cut off excess with scissors.
Fig. 3-4
3. FERRITE CORE INSTALLATION
Ferrite Core(28mm diameter)
Interface
Cable
10cm
maximum
Fastener
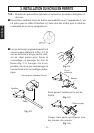
NOTE: Take special care when following the procedures listed below.
■ Two ferrite core noise filters come packed with the printer. One is for the
interface cable, while the other one is for the cash drawer drive cable.
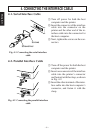
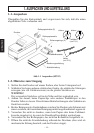
■ The ferrite core is normally packed so
it is open, as shown in Fig 3-2. If you
find that a ferrite core is not open, use a
pointed object to pry the plastic lock of
the ferrite core apart (Fig 3-1). When
you do, take care not to damage the
ferrite core or the plastic lock.
Fig. 3-1
Fig. 3-2
Pull and cut