


Instruction Manual
5
Disk Installation
Connect the Dock to an available power outlet, using the provided 1.
power adapter.
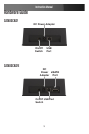
Connect the Dock to the (powered) Host Computer, using the provided 2.
USB/eSATA cables.
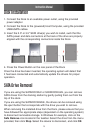
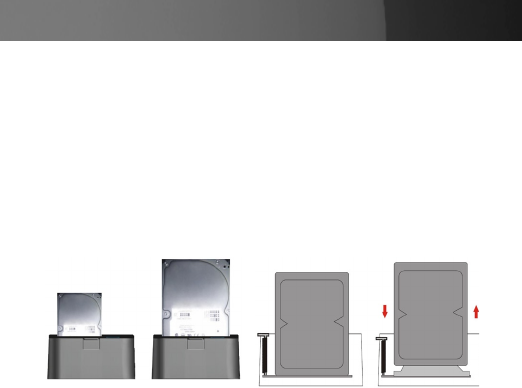
Insert the 2.5” or 3.5” SATA drive(s) you wish to install, such that the 3.
SATA power and data connectors at the back of the drive are properly
aligned with the corresponding connectors inside the Dock.
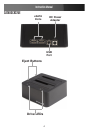
Press the Power Button on the rear panel of the Dock4.
Once the drive has been inserted, the operating system will detect that
it has been connected and automatically update the drivers for proper
operation.
SATA Drive Removal
If you are using the SATADOCKU2 or SATADOCKU2E, you can remove
SATA drives from the docking station by gently pulling them out from the
top of the dock.
If you are using the SATADOCK22UE, the drives can be removed using
the eject button that corresponds with the drive you wish to remove.
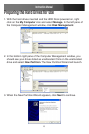
When removing the installed drive from the Dock, please ensure that you
have followed the appropriate steps (dependant on the operating system)
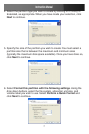
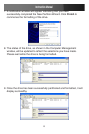
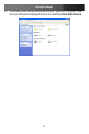
to disconnect removable storage. In Windows for example, click on the
Safe Remove icon located in the taskbar. Select the drive from the menu
provided, then click Stop. Select the device to disconnect, and click OK.