Instruction Manual
2
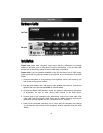
HHaarrddwwaarree GGuuiiddee
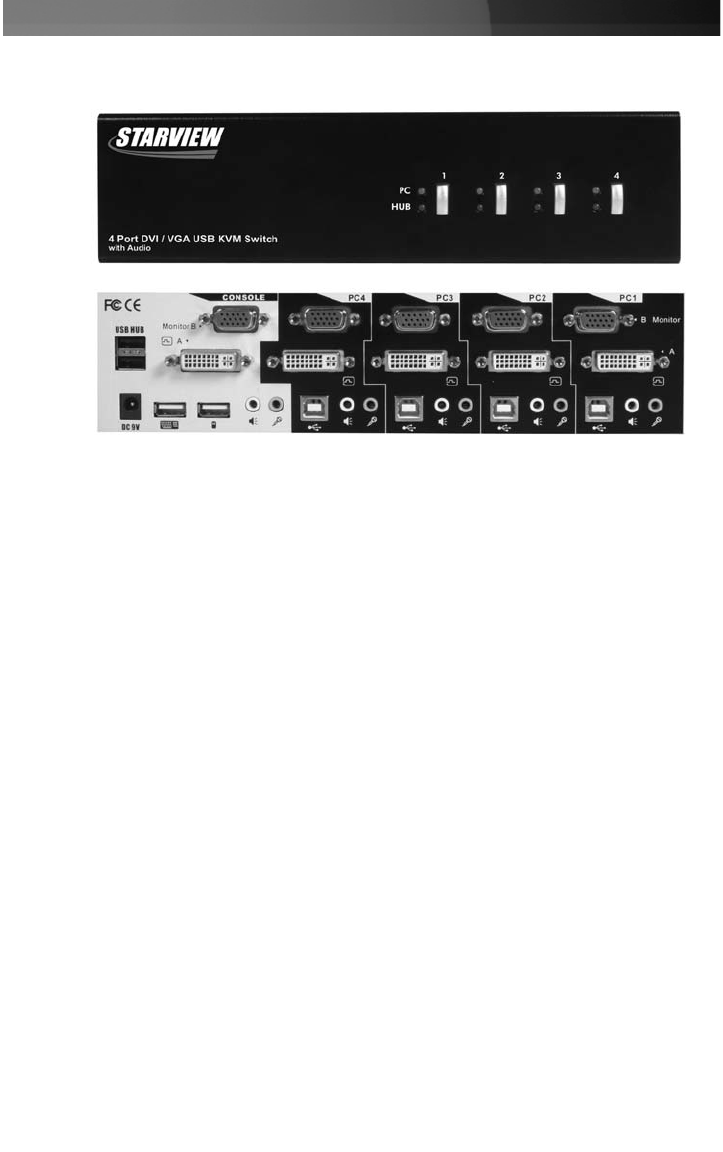
Front Panel
Rear panel
IInnssttaallllaattiioonn
1. Place the KVM switch in close proximity to the keyboard, mouse, and monitor(s) you
wish to use as the console controls.
2. Plug the power adapter into a wall outlet or other suitable power source. Connect the
opposite end to the port marked DC 9V on the KVM switch.
3. Connect the shared USB keyboard, mouse, two monitors, speakers and microphone
(if applicable), as well as other shared USB devices to the KVM switch.
4. Connect each of your computers to the KVM switch, using a DVI-I video cable, VGA
cable, USB (Type A-to-Type B) cable, audio and mic cables (optional), ensuring the
connections are kept together (i.e. PC1 connections to PC1 only etc.).
5. Power up the connected computers, one at a time. After the computers are powered
up, the keyboard and mouse will be recognized, allowing operation using the KVM
Switch.
Please note: Some older computers might require that the USB option be manually
enabled in the BIOS, prior to being able to use any USB devices. If you find that USB
devices are not functioning, please check the USB option in the BIOS.
Please note: If you use Windows 95/98/SE or Mac OS and wish to use a USB mouse,
please ensure that it is properly installed on the computer, prior to connecting it to the KVM
Switch.
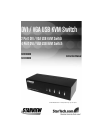
*SV431DDUSB shown - actual product may vary from photo


