


10 Installation
StorCase Technology, Inc. DS100 (U320) User's Guide - Rev. A02
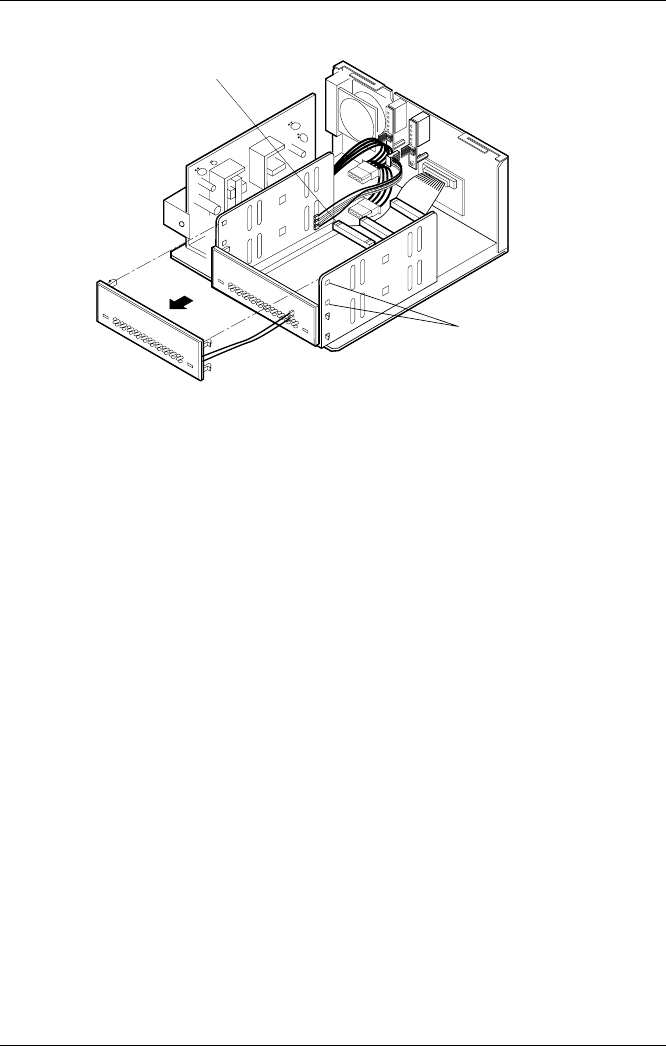
Drive Installation
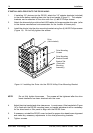
The process of installing a drive into the DS100 chassis varies slightly, depending upon the
model. DS100 1-bay and 2-bay models require the removal of the drive mounting bracket to
access drive mounting screws. The DS100 4-bay does not require the removal of the drive
mounting bracket.
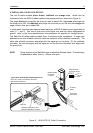
IF INSTALLING A DRIVE INTO THE DS100 1-BAY OR DS100 2-BAY:
1. Turn the DS100 over and place it on a soft clean surface, so that the bottom is facing
upward.
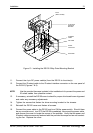
2. Loosen but do not remove the four (4) screws that secure the drive mounting bracket
to the DS100 chassis (Figure 10).
3. Place the DS100 in an upright position so that it rests on its four rubber feet.
4. Remove the drive mounting bracket from the chassis by sliding it toward the chassis
back panel, then lifting upward.
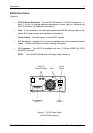
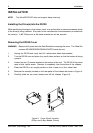
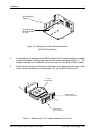
Figure 9: Removing the Filler Panel
Use Flat Blade
Screwdriver to
Remove Filler Panel
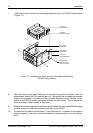
0535A
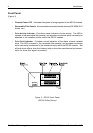
Terminator