


Chapter 5: Advanced Serverboard Setup
5-7
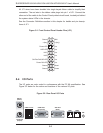
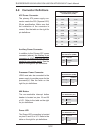
5-5 Installing Memory
Note: Check the Supermicro web site for recommended memory modules.
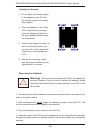
CAUTION
Exercise extreme care when installing or removing DIMM modules
to prevent any possible damage. Also note that the memory is inter-
leaved to improve performance (see step 1).
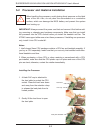
Installing DIMMs
Insert the desired number of DIMMs into the memory slots, starting with slot
DIMM#1A and DIMM#2A. The memory scheme is interleaved so you must
install two modules at a time. See the memory confi guration chart below.
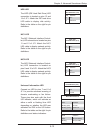
Insert each DIMM module vertically into its slot. Pay attention to the notch
along the bottom of the module to prevent inserting the DIMM module incor-
rectly. See Figure 5-5.
Gently press down on the DIMM module until it snaps into place in the slot.
Repeat for all modules (see step 1 above).
Memory Support
The X7DWU supports up to 64 GB of ECC FBD (Fully Buffered DIMM) DDR2-
800/667/533 SDRAM. Both 1.5V and 1.8V DIMMs are supported. Interleaved
memory requires modules of the same size and speed to be installed in pairs. You
should not mix DIMMs of different sizes and speeds.
1.
2.
3.
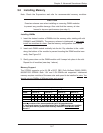
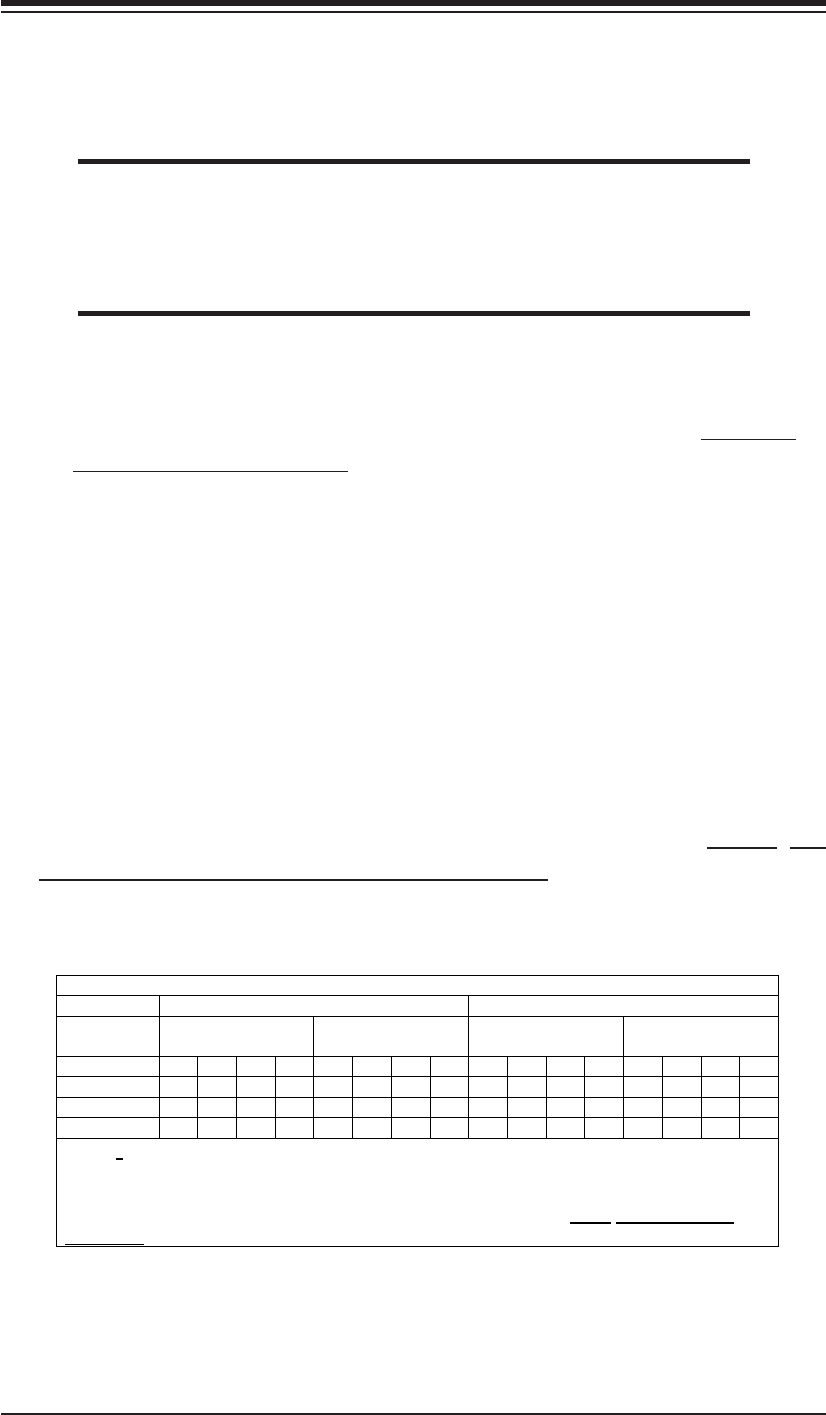
Optimized DIMM Population Configurations
Branch 0 Branch 1
Number of
DIMMs
Bank 1
(Channel 0)
Bank 2
(Channel 1)
Bank 3
(Channel 2)
Bank 4
(Channel 3)
2 DIMMs 1A --- 2A --- --- --- --- ---
4 DIMMs 1A --- 2A --- 3A --- 4A ---
6 DIMMs 1A 1B 2A 2B 3A --- 4A ---
8 DIMMs 1A 1B 2A 2B 3A 3B 4A 4B
Notes: i. “---“ indicates a DIMM slot not to be populated. ii. You must use
memory modules of the same speed and type in all populated slots.
iii. Interleaved memory is supported when pairs of DIMM modules are installed.
For best performance, please install memory modules in both Branch 0 and
Branch 1.