3. Double-Click "MacOSX" thumbnail.
4. Double-Click "Synology Assistant-SYNOLOGY.dmg" thumbnail.
5. Double-Click "Synology Assistant" thumbnail to run setup wizard.
6. Choose a Synology Server and click "Manage" to enter the Web
Management UI.
7. Choose "login as system administrator (admin)", input password and click
"Enter".
Please note:
To ensure flawless management process, please use the following browsers:
Browser Version
Internet Explorer 6.0 and onward
Firefox 2.0
Safari (Mac only) 3.0 and onward
Accessing Web Management UI Manually
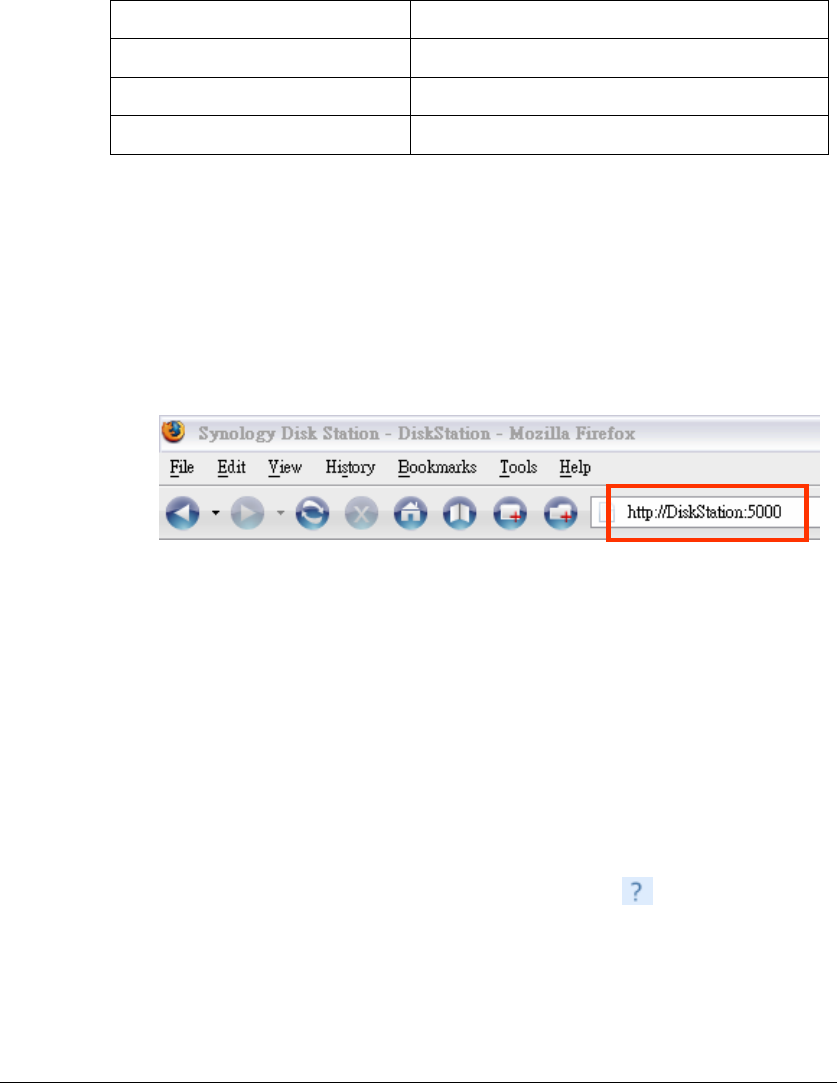
1. Open a web browser window.
2. At the address line input “http://Synology_Server_Name:5000/", where
“Synology_Server_Name” should be replaced with the name you set up for
Synology Server during the setup process. If you choose "One-step Setup"
during the setup process, the "Synology_Server_Name" will be
"DiskStation", "CubeStation", or "RackStation".
3. Press “Enter” key on the keyboard.
4. Choose "login as system administrator (admin)".
5. Input password for admin.
6. Click “Enter” to access Web Management UI.
Managing Synology Server
You can start managing Synology Server in Web Management UI. Synology
Server Web Management UI provides distinctive and straight forward design for
easy management. You will find an online “Help” button
at the upper right
corner of every page of the Web Management UI. Click on the “Help” button for
further information whenever you encounter any problem.
22


