9
Chapter
3
Chapter 3: Install DSM on DiskStation
After the hardware installation is complete, DiskStation Manager (DSM) operating system must be installed on
your DiskStation before you could use it. Two installation methods are available.
The most convenient way is to use the online Web Assistant for installing DSM from the web browser. The Web
Assistant method will automatically download the latest available software updates from the Internet; otherwise,
you can also use Synology Assistant to complete DSM installation via desktop utility.
Once you’ve decided which method to proceed, follow the steps in this chapter to install DSM on your DiskStation.
After DSM is installed, you can manage all features of your DiskStation by logging in to DSM with a web browser.
Install DSM from the Web Browser
By default your DiskStation model has a built-in tool called Web Assistant to help you configure and install the
DSM operating system. Please refer to the steps in the following section.
1 Power on DiskStation and have it connected to the Internet.
2 Go to find.synology.com on your computer’s web browser.
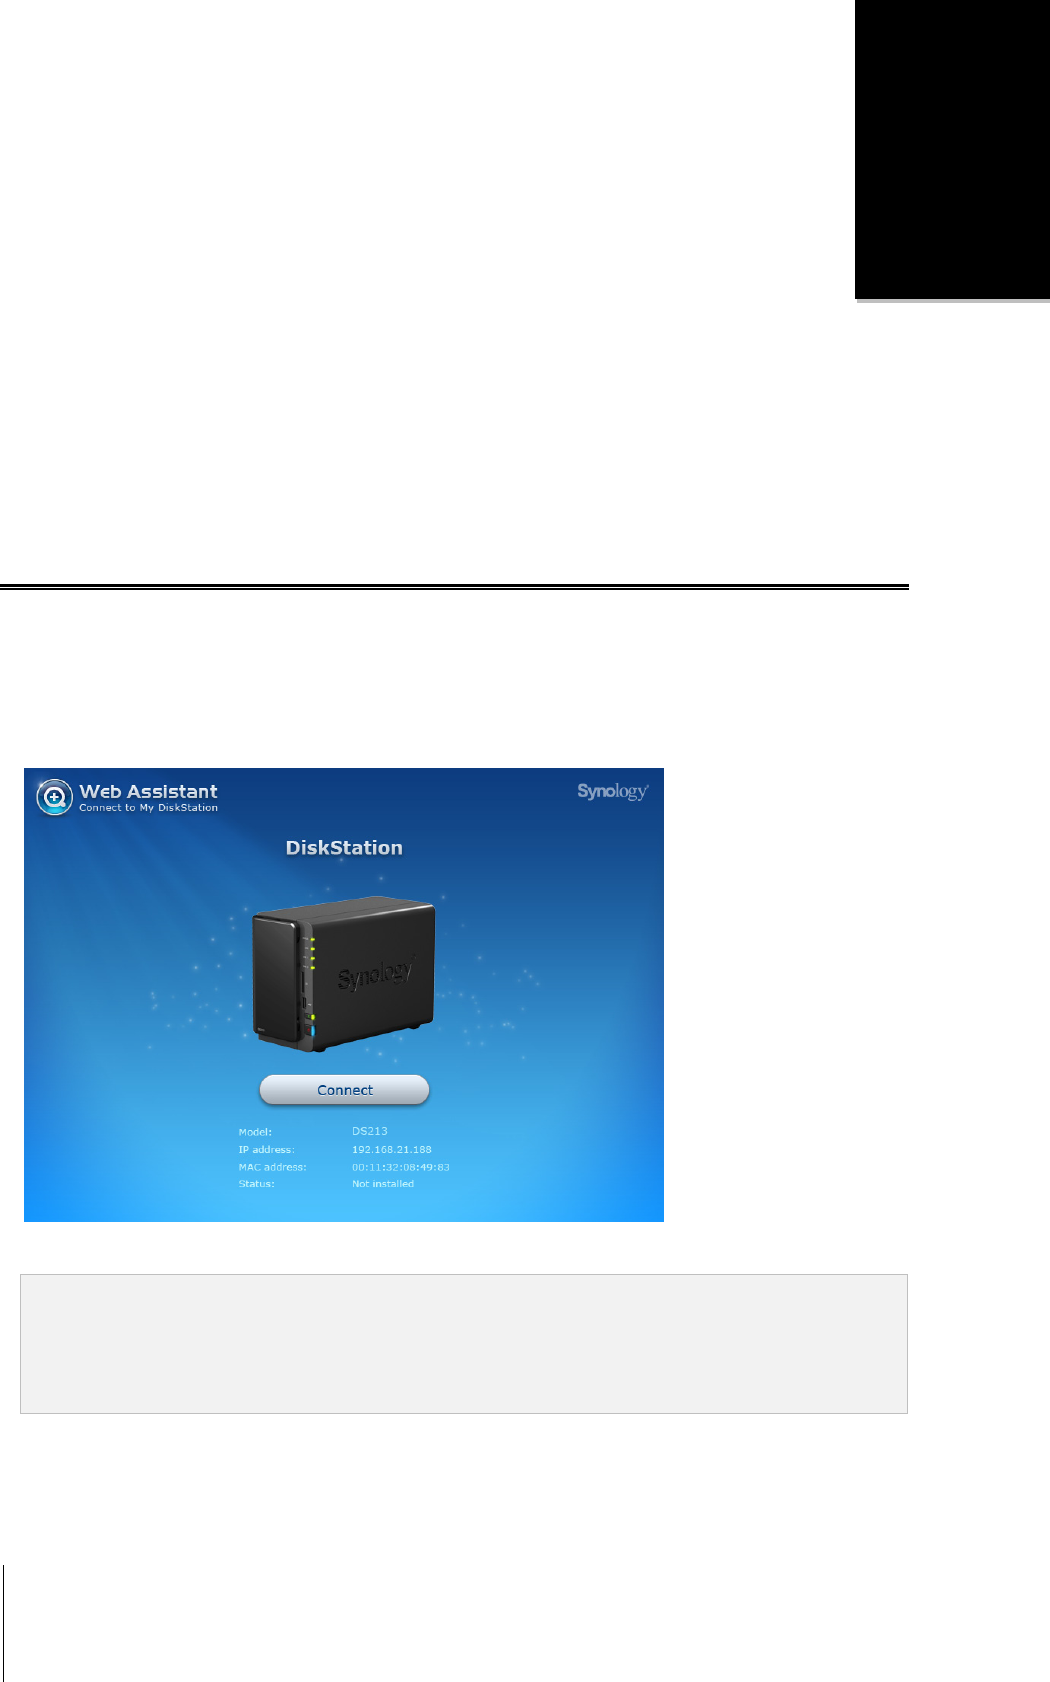
3 Web Assistant will be launched on your web browser. It will search and find your DiskStation within LAN, and
the status of your DiskStation should be Not Installed.
4 Click Connect to start the setup process. Follow the onscreen instructions to complete the setup process.
Note:
1. Suggested browsers: Chrome, Firefox.
2. Both the DiskStation and the computer should be in the same local network.
3. Internet connection must be available during DSM installation with Web Assistant.


