8 9
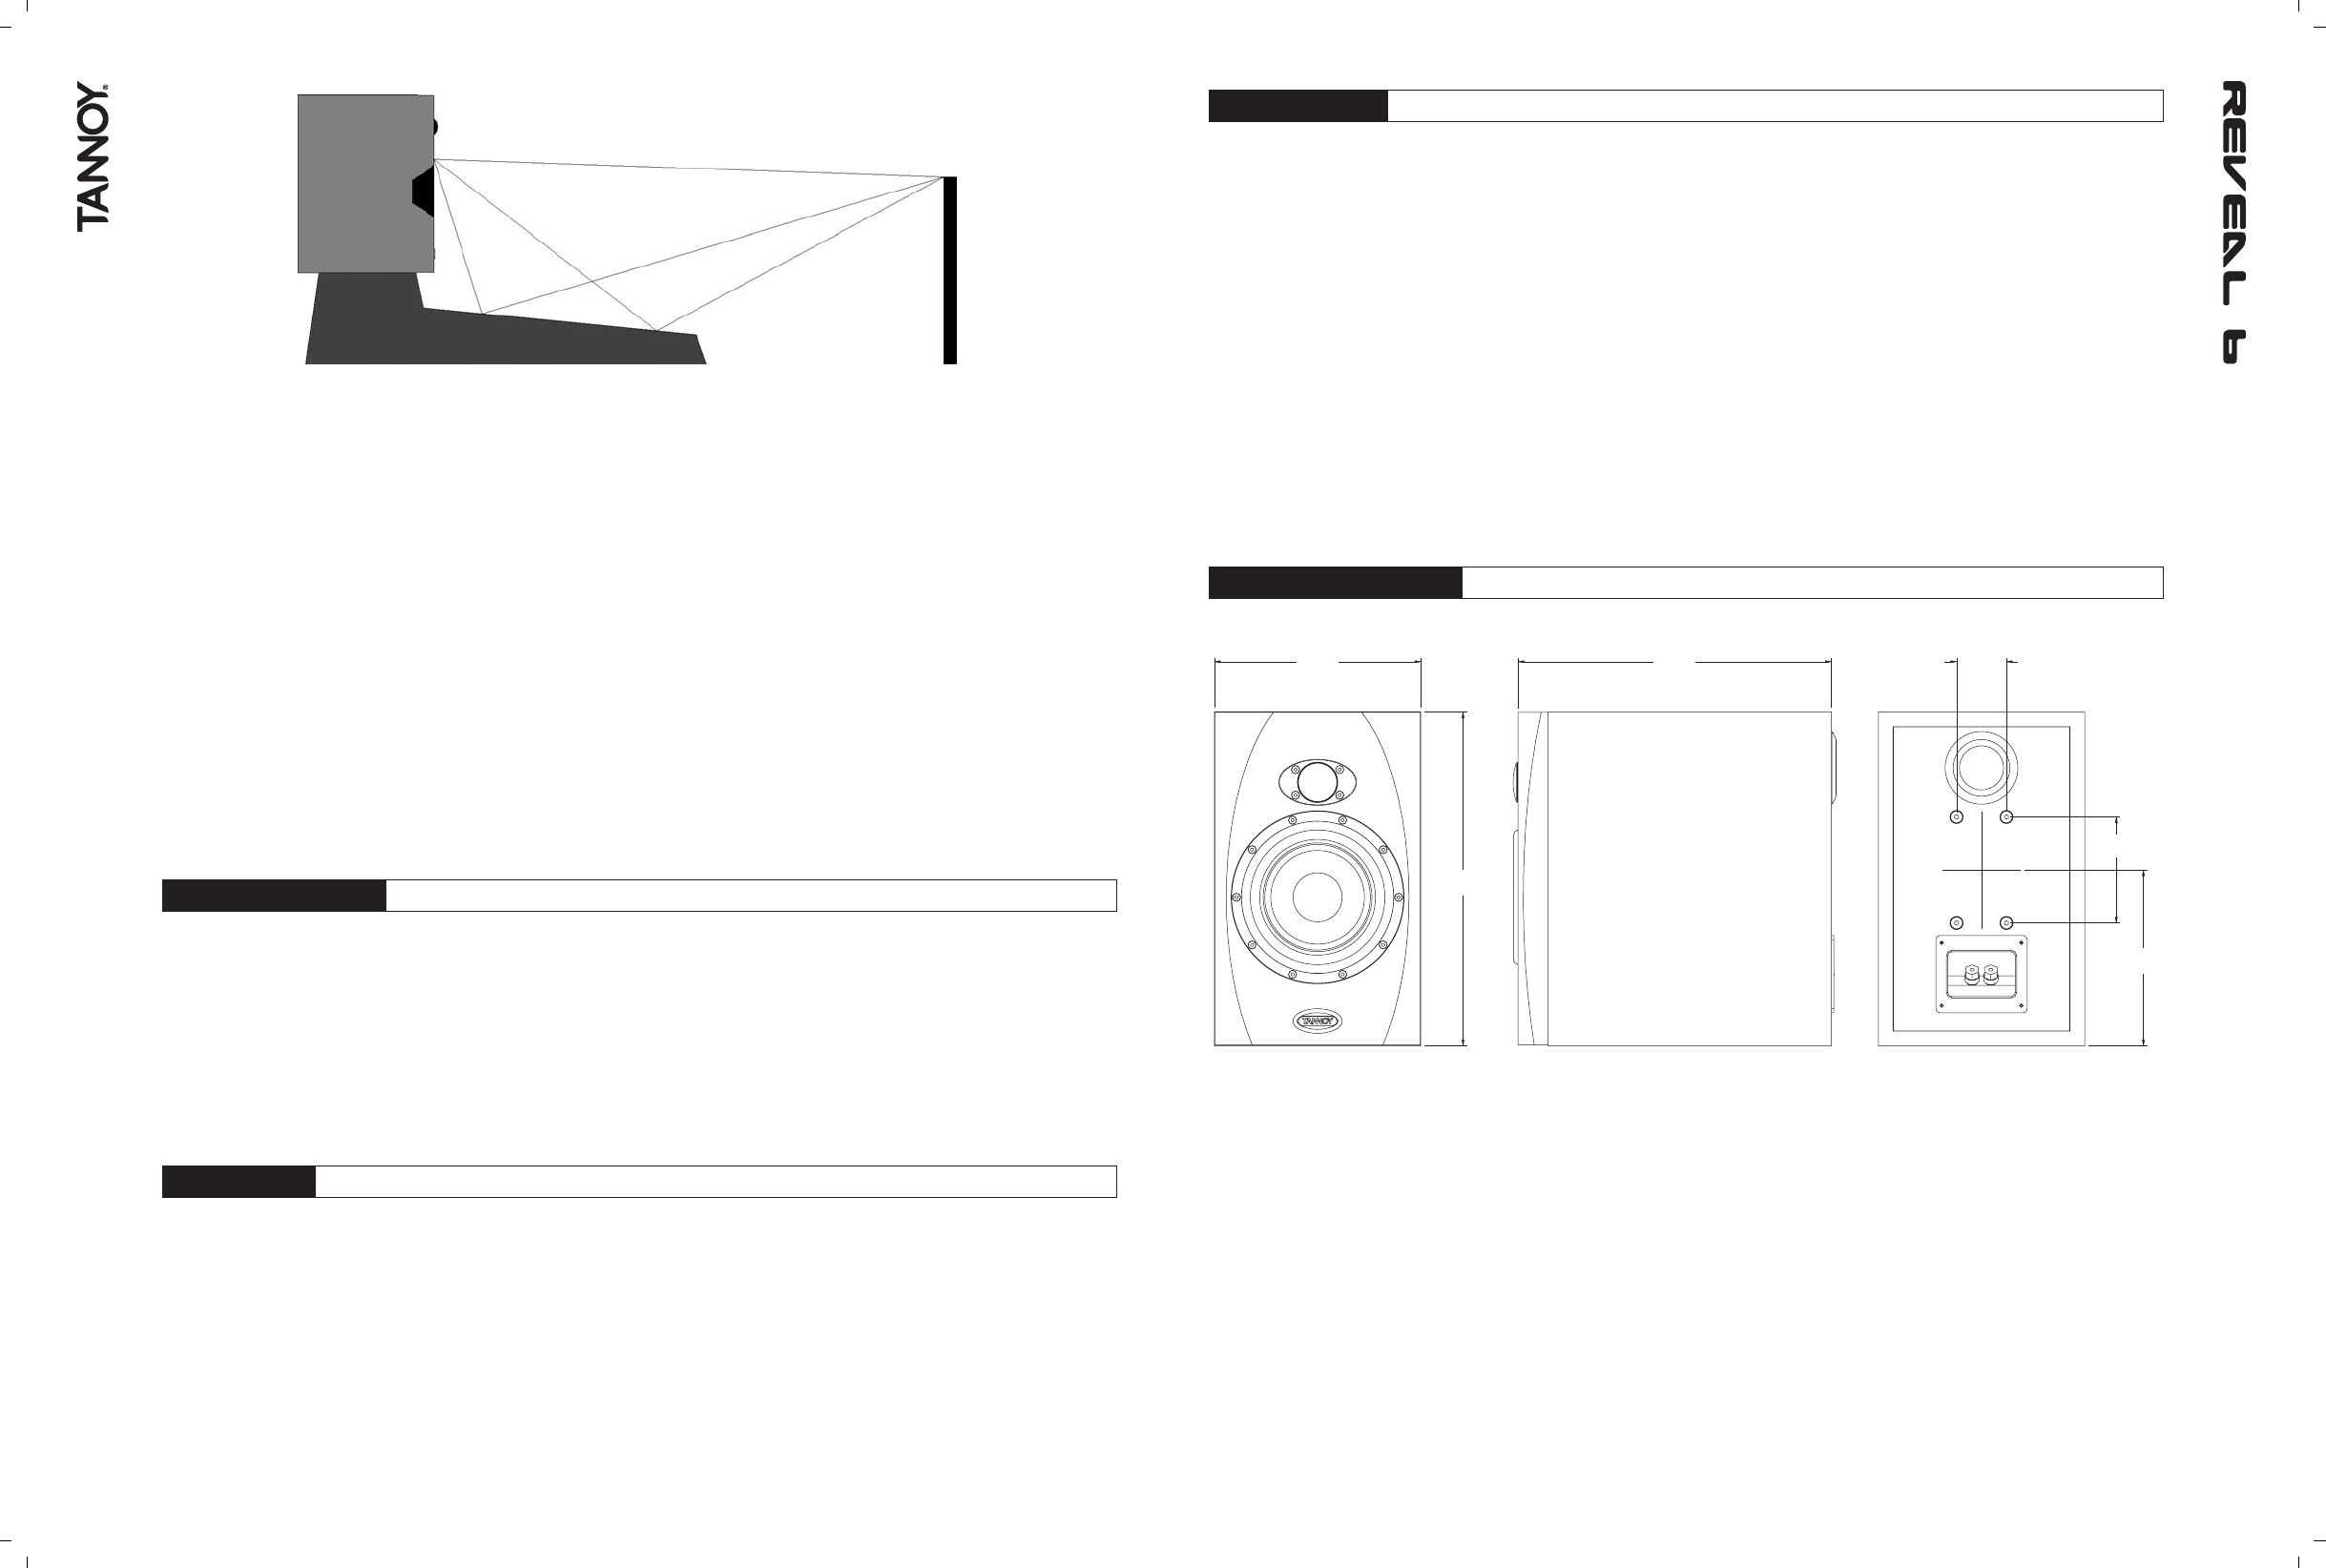
This same concern about reflecting surfaces applies to all nearby widgets such as computer monitors, outboard gear, coffee
cups, rolls of tape, the producer's wooden leg and all the other usual paraphernalia found in a studio environment. Cleaning
up this short sound path between the speaker and your listening position is like using a cotton bud on your ear.
You can repeat the process with an extra 3000mm (10 feet) of string to see which surfaces will influence the timbre and imaging
of your mix. This exercise is not just about finding places to stick fuzzy or foamy absorbers to, the last thing you want to do is
make your room completely dead. What this process will show you is which surfaces you should try to angle to redirect reflections
away from your mix position. If there are surfaces that you cannot move or shift, you can apply a small amount of absorbent
material to specific surfaces, rather than covering the entire room in absorbers.
You may want to consider a speaker placement other than the console meter bridge, perhaps on an elevated mounting arm
attached to the wall, or on a mid-field monitor stand, just behind the console. These positions can help clean up that 2-millisecond
window. Keep your ears open for other problem reflections, like between the sloped connector panel on the back of the console
and the baffle of the speaker, which will find its way back to the mix position a bit too late to be useful. The string trick works
just fine for locating these reflecting surfaces.
It's important that you listen to the effect of speaker placement on the sound character of your speakers, and understand what
those changes are going to do to your mix. To make the point here's are some more things to consider: -
3.4: SPEAKER MOUNTING
You've probably got your monitors delicately balanced on your console meter bridge, or sitting on a counter top beside your
hard disc editor. Find some music with some real solid low end that you know well. Try listening to this music with the speaker
sitting directly on the mounting surface and then with it sitting on a thin piece of rubber pad. Hear a difference? Which one
sounds more like the recording should? Does one get tubby, or muddy? Depending on the type of mounting surface, you may
find it beneficial to use a thin layer of flexible material (eg: Blu-tak™) beneath the enclosure. This not only absorbs some vibration,
but will help prevent the monitor from vibrating off of its mounting surface.
3.5: BASS PORTS
The Reveal monitors' bass port is located on the back panel. You should keep the back panels at least 150mm (6") away from
the nearest wall surface to avoid an overblown bass sound. If you cannot avoid being close to the wall or if you're using a
separate subwoofer, you may want to consider plugging the port tubes on your near-fields with a closed cell foam-rubber plug,
friction fit for a full seal. Because the ports aren't needed if the monitor speakers are being used with a high pass filter, you won't
be losing any bass performance and you can improve the mid-bass response by plugging the ports.
The STRING analyser
3.6: EQUALisATION
Our feeling is that you shouldn't equalise monitors at all to compensate for inadequate room design. Variations in the monitor
response should be fixed through placement (after all, that's what this manual's about). But we realise that equalisation is
sometimes a necessary evil. If you have a choice of equalisers for monitor applications, less is more. The fewer the number of
filters, the better the equaliser will sound. A stereo five band parametric is better than a stereo 15 band that is better than a
stereo 1/3 octave. You may not realise that in all but one or two brands of 1/3-octave equalisers, all 30 filters are in series.
There is a minimum transit time through each filter of some 25 microseconds, plus just a bit of decay time for each filter. Even
with the equaliser set flat, it does not behave like a straight piece of wire in the time domain. If you don't need to equalise your
monitors, then don't hook an equaliser up to them at all.
An important thing to keep in mind if you are equalising these compact monitors is that they are not intended to substitute for
really large loudspeaker systems you might use for tracking synth lines, or drum samples. Don't try to equalise them to sound
the same as the 15" monitors you were listening to in the in the music store. The equalisation of your near-fields should be
undertaken with great subtlety. With only the best intentions of correcting some of the placement related characteristics we've
talked about here, a subtle bit of reduction in the lower mid area (100Hz to 500Hz) where the console or table top will give
you a rise, perhaps a bit of tailoring to taste here or there. As a general rule for this application, you should never need more
than 6dB of control range, and you should never see two adjacent filters with more than 6dB of difference between them. Over
equalisation can reduce system headroom, and introduce phase distortion resulting in greater problems than cures. Always
check out the result of equalisation by listening to well recorded vocals or speech.
210.0mm 319.0mm
340.0mm
8
1
/4” 12
1
/2”
13
3
/8”
50.8mm
107.9mm
179.0mm
4
1
/4”
2”
7”
4.0: REVEAL 6 DIMENSIONS


