


6
3.2 Installation
This Switch can be either installed on the standard 19-inch mountable rack or
located on the desktop.
Caution:
Please unplug the power cord before installing or removing the Switch.
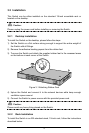
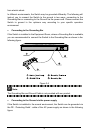
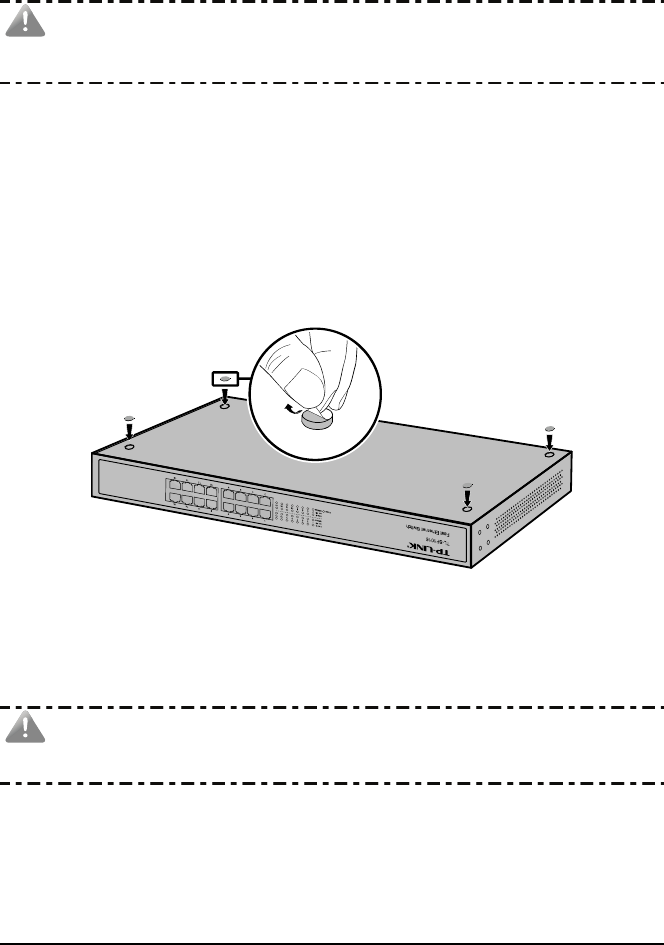
3.2.1 Desktop Installation
To install the Switch on the desktop, please follow the steps:
1) Set the Switch on a flat surface strong enough to support the entire weight of
the Switch with all fittings.
2) Remove the adhesive backing papers from the rubber feet.
3) Turnover the Switch and attach the supplied rubber feet to the recessed areas
on the bottom at each corner of the Switch.
Figure 3-1 Attaching Rubber Feet
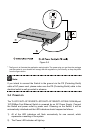
4) Upturn the Switch and connect it to the network devices while keep enough
ventilation space around.
5) Connect the Switch to power source with the provided power cord.
Caution:
Please avoid any heavy thing placed on the Switch.
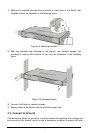
3.2.2 Rack Installation
To install the Switch in an EIA standard-sized, 19-inch rack, follow the instructions
described below: