3
System Requirements
• Supports most servers and KVM switches that have PS/2 or USB console port connectors
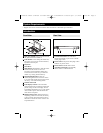
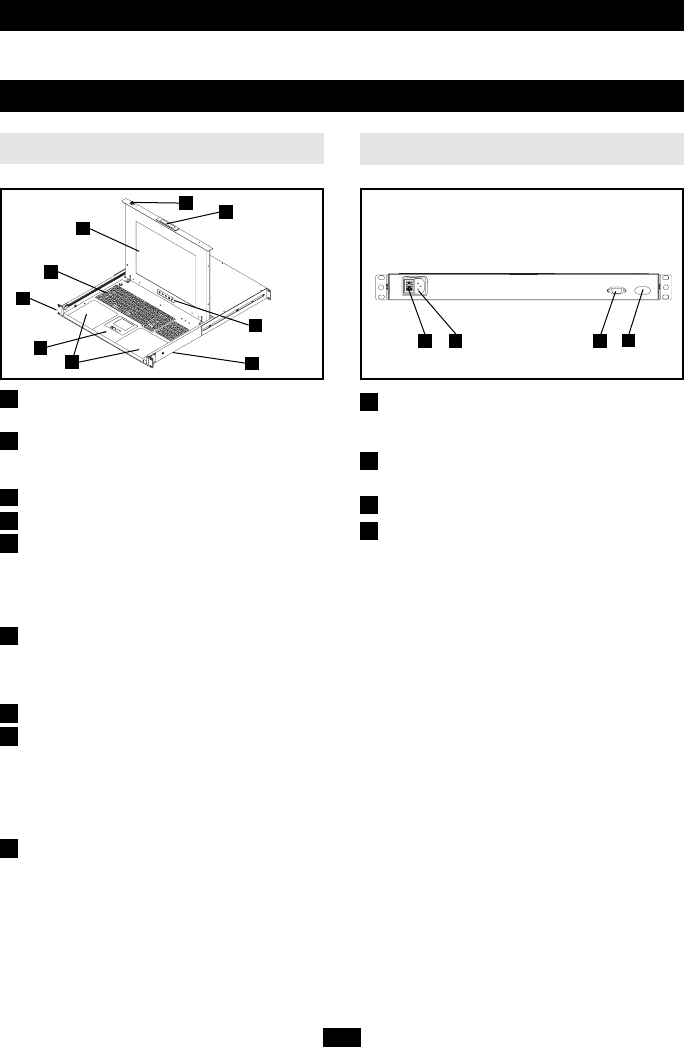
1. Hide-Away Handle: Pull to slide the module
out; push to slide the module in.
2. LCD Monitor: After sliding the module out,
flip up the cover to access the LCD monitor,
keyboard and touch pad.
3. Keyboard
4. Wrist Rests
5. Slide Release: Mechanism to lock the drawer
closed when the console is not in use.
Prevents it from accidentally sliding open.
To slide the the console out, you must first
release it by moving this tab sideways.
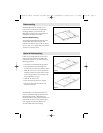
6. Rackmounting Brackets: There are
rackmounting brackets to secure the chassis
to a system rack located at each corner of the
unit. See p. 6 for rackmounting details.
7. 3-Button Touch Pad
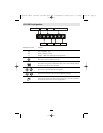
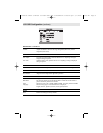
8. LCD Display Controls: The LCD OSD
controls located here control the position and
picture settings of the LCD display. See the
LCD OSD Configuration on p. 5-6 for details.
Also includes a power LED to indicate the
status of the LCD panel.
9. Railway Release Tabs: When the drawer is
completely pulled out to the end, the railway
system will lock. Push these release tabs on
both sides to release the drawer so that it can
be pushed back in.
Introduction
Front View
Rear View
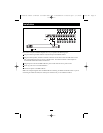
1. Console Port Section: The cable kit to
connect the console to your server or KVM
switch plugs in here.
2. Power Socket: The power code plugs in here
from the AC power source.
3. Power Switch: On/Off rocker switch.
3. Auto-Detect (Internal): Automatically
detects a PS/2 or USB connection.
1
2
3
4
5
6
7
8
9
1
2
3
4
5
6
7
8
1
2
3
4
123
9
4
200708132 Owner’s Manual 93-2682 B021-000-19 Rackmount Console.qxd 9/7/2007 11:45 AM Page 3


