


5
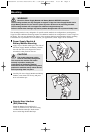
Connection / Start-Up
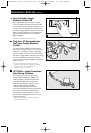
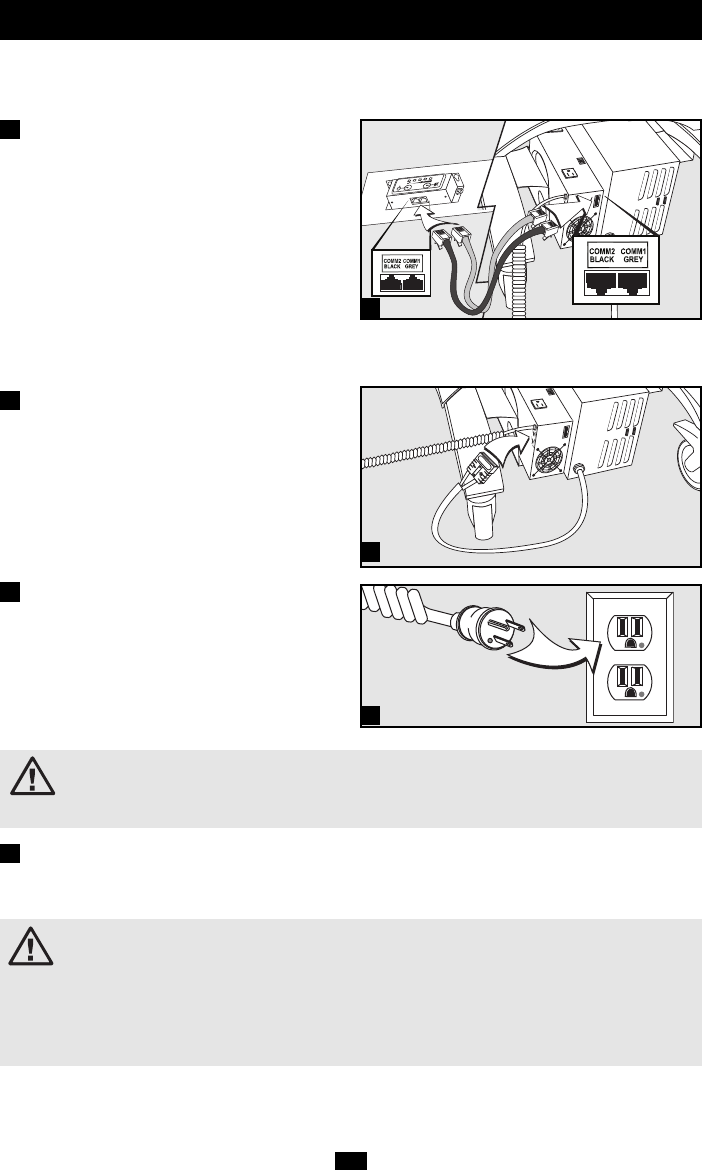
Connect the Remote User
Interface (RUI) to the
Power Supply Module
The Power Supply Module will not operate
without the RUI connected. Connect the
included grey cord* from the RUI jack labeled
“COMM1 GREY” to the Power Supply Module
jack labeled “COMM1 GREY”. Connect the
included black cord* from the RUI jack labeled
“COMM2 BLACK” to the Power Supply
Module jack labeled “COMM2 BLACK”.
* If desired, you can substitute any standard Ethernet
cable with RJ45 connectors in place of the included cords.
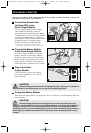
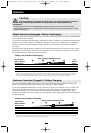
Connect the Battery Module
to the Power Supply Module
Your Power Supply Module has no internal
batteries and must be connected to a Battery
Module to operate. Make sure that the Battery
Module’s cable is fully inserted into the Power
Supply Module’s connector. Small sparks may
result during battery connection; this is normal.
1
2
NOTE: Several adhesive cord-management devices are included. Use them, if desired, to keep cords
and cables securely stowed after connection.
1
2
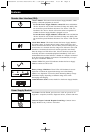
CAUTION!
The Power Supply Module features a hospital-grade plug. If the plug is connected to a
wall outlet that is not hospital-grade, the unit may not be properly grounded.
Plug In the Power
Supply Module
Using the coiled AC power cord, plug the
Power Supply Module into a live 120V AC
utility wall outlet.
3
3
4
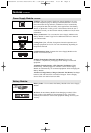
Charge the Battery Module
When the Power Supply Module is plugged into a live AC wall outlet, it will automatically charge the
Battery Module.
CAUTION!
The Power Supply Module must be plugged into a live AC utility wall outlet for 24
hours after initial installation to fully charge the Battery Module. If the Power Supply Module is
plugged in and turned on, your connected equipment will receive utility-supplied AC power
(if present); however, your connected equipment may not receive full battery backup when the
Power Supply is mobile (disconnected from an AC outlet) unless the Battery Module is fully
charged.
200608042 93-2618 Retrofit Kit 3 OM.qxd 9/14/2006 2:01 PM Page 5