10
FCC RADIO/TV INTERFERENCE NOTICE: (FOR CLASS AMODELS)
Note: This equipment has been tested and found to comply with the limits for a Class Adigital device, pursuant to Part 15 of the FCC Rules. These limits are designed to provide reasonable protection
against harmful interference when operated in a commercial environment. This equipment generates, uses and can radiate radio frequency energy, and if not installed and used in accordance with
the instruction manual, may cause interference to radio communications. Operation of this equipment is likely to cause harmful interference in which case the user will be required to correct the interference
at his own expense. The user must use shielded cables and connectors with this product. Any changes or modifications to this product not expressly approved by the party responsible for compliance
could void the user's authority to operate the equipment.
Regulatory Compliance Identification Numbers
For the purpose of regulatory compliance certifications and identification, your Tripp Lite product has been assigned a unique series number. The series number can be found on the product name-
plate label, along with all required approval markings and information. When requesting compliance information for this product, always refer to the series number. The series number should not be
confused with the marking name or model number of the product.
Tripp Lite has a policy of continuous improvement. Product specifications are subject to change without notice.
Note on Labeling
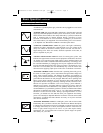
Two symbols are used on the label.
V~ : AC Voltage
V : DC Voltage
Battery Replacement
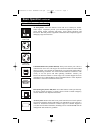
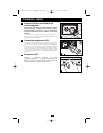
Battery Replacement Door: Under normal conditions, the original battery in
your UPS will last several years. Battery replacement should be performed only
by qualified service personnel. Refer to “Battery Warnings” in the Safety sec-
tion. Should your UPS require battery replacement, visit Tripp Lite on the Web
at www.tripplite.com/support/ battery/index.cfm to locate the specific replace-
ment battery for your UPS.
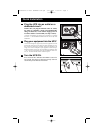
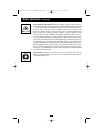
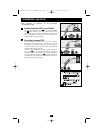
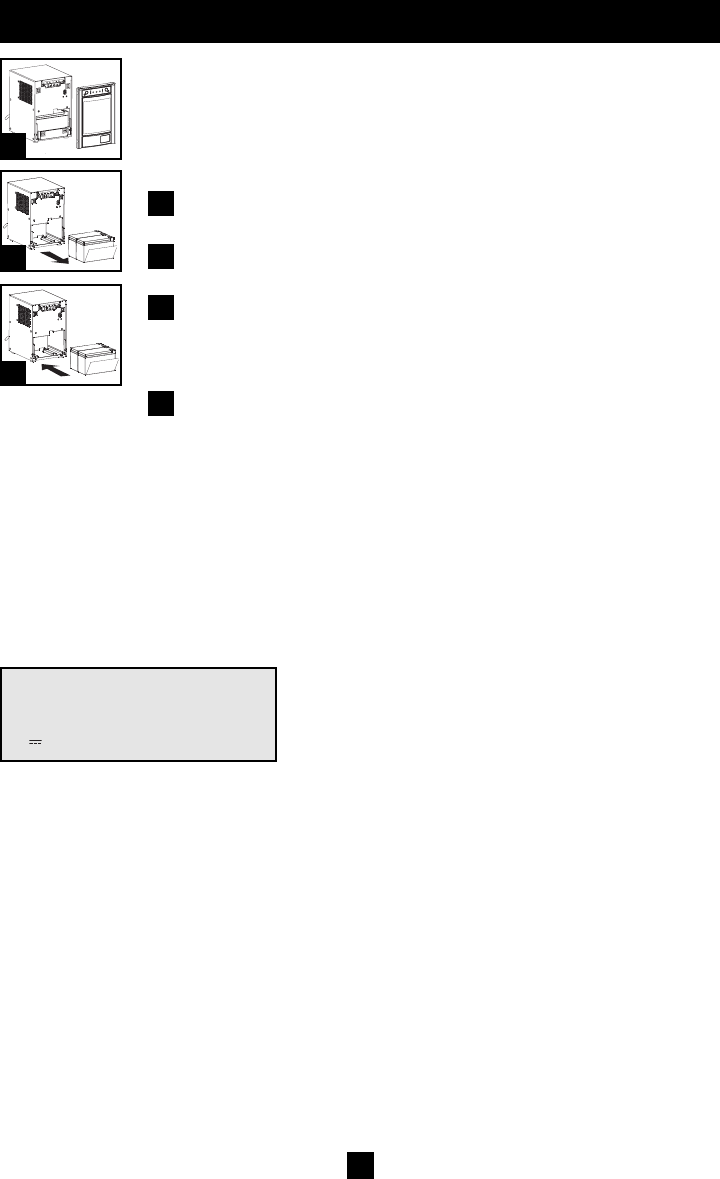
Carefully pull the front panel away from the UPS.
Place front panel on top of the unit. Remove the battery support bar.
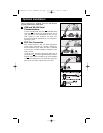
Remove old batteries.
Carefully pull the batteries from the UPS and disconnect them.
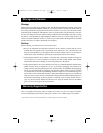
Connect new batteries.
Connect the new batteries in exactly the same manner as the old ones:
positive (red) connectors together and negative (black)
connectors together. Carefully push batteries back into the UPS.
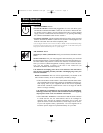
Reassemble UPS.
Reinstall the battery support bar and replace the front panel.
1
2
3
1
2
3
4
200607046 93-2571 SMARTSLT OM.qxd 9/27/2006 2:05 PM Page 10


