


Safety Instructions
Please read all of these instructions before using your
printer. Observe the markings on the rear panel of the
printer.
• To prevent electric shock do not remove covers.
• Do not attempt to service the printer yourself.
• There are no user serviceable parts inside. In the
event of malfunction, refer servicing to your
nearest Ultra Electronics service center.
• Use only a power source within the limits
marked on the rear panel label.
• Take care not to spill any liquid on the printer.
• Ensure that the power supply cord is not longer
than 2 metres and includes a properly grounded
connection.
• The printer's Parallel and USB interfaces must
never be used simultaneously.
• If using this printer in Germany:
To provide adequate short-circuit protection and
over-current protection for this printer, the
building installation must be protected by a 16
Amp circuit breaker.
Bei Anschluß des Druckers an die
Stromversorgung muß sichergestellt werden, daß
die Gebäudeinstallation mit einem 16 A-
Überstromschalter abgesichert ist.
Warnings, Cautions and Notes
Throughout this guide and in text on the CD, the
following conventions are used to identify important
information.
WARNING - Warning messages indicate where
personal injury could result from not following the
correct procedures.
CAUTION - Caution messages indicate where
damage to equipment could result from not following
the correct procedures.
NOTE - Notes convey important information that is
identified within the text.
When Handling the Printer
Avoid touching the thermal printing edge of the
thermal printhead. Grease and contamination will
shorten its life.
Before transporting the printer, remove the dye film
and card hoppers. Pack the printer in its original
packaging.
If you have a problem with the installation or
operation of your Magicard printer, then first please
recheck to ensure that you have followed the
instructions given in this guide and on the CD ROM.
If you still have a problem you will be covered by our
standard warranty and may also be covered by our 2
year UltraCover Plus extended warranty and Loaner
Service.
Follow the instructions on your UltraCover Plus
warranty card and overleaf under “Warranty” to obtain
assistance.
We also recommend that you visit our website
www
.ultramagicard.com
where additional FAQs and
technical support information is available, together
with a “contact us” E-mail form to report any
problems.
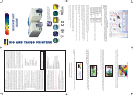
8
®
RIO/TANGO PRINTER QUICKSTART GUIDE www.ultramagicard.com
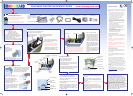
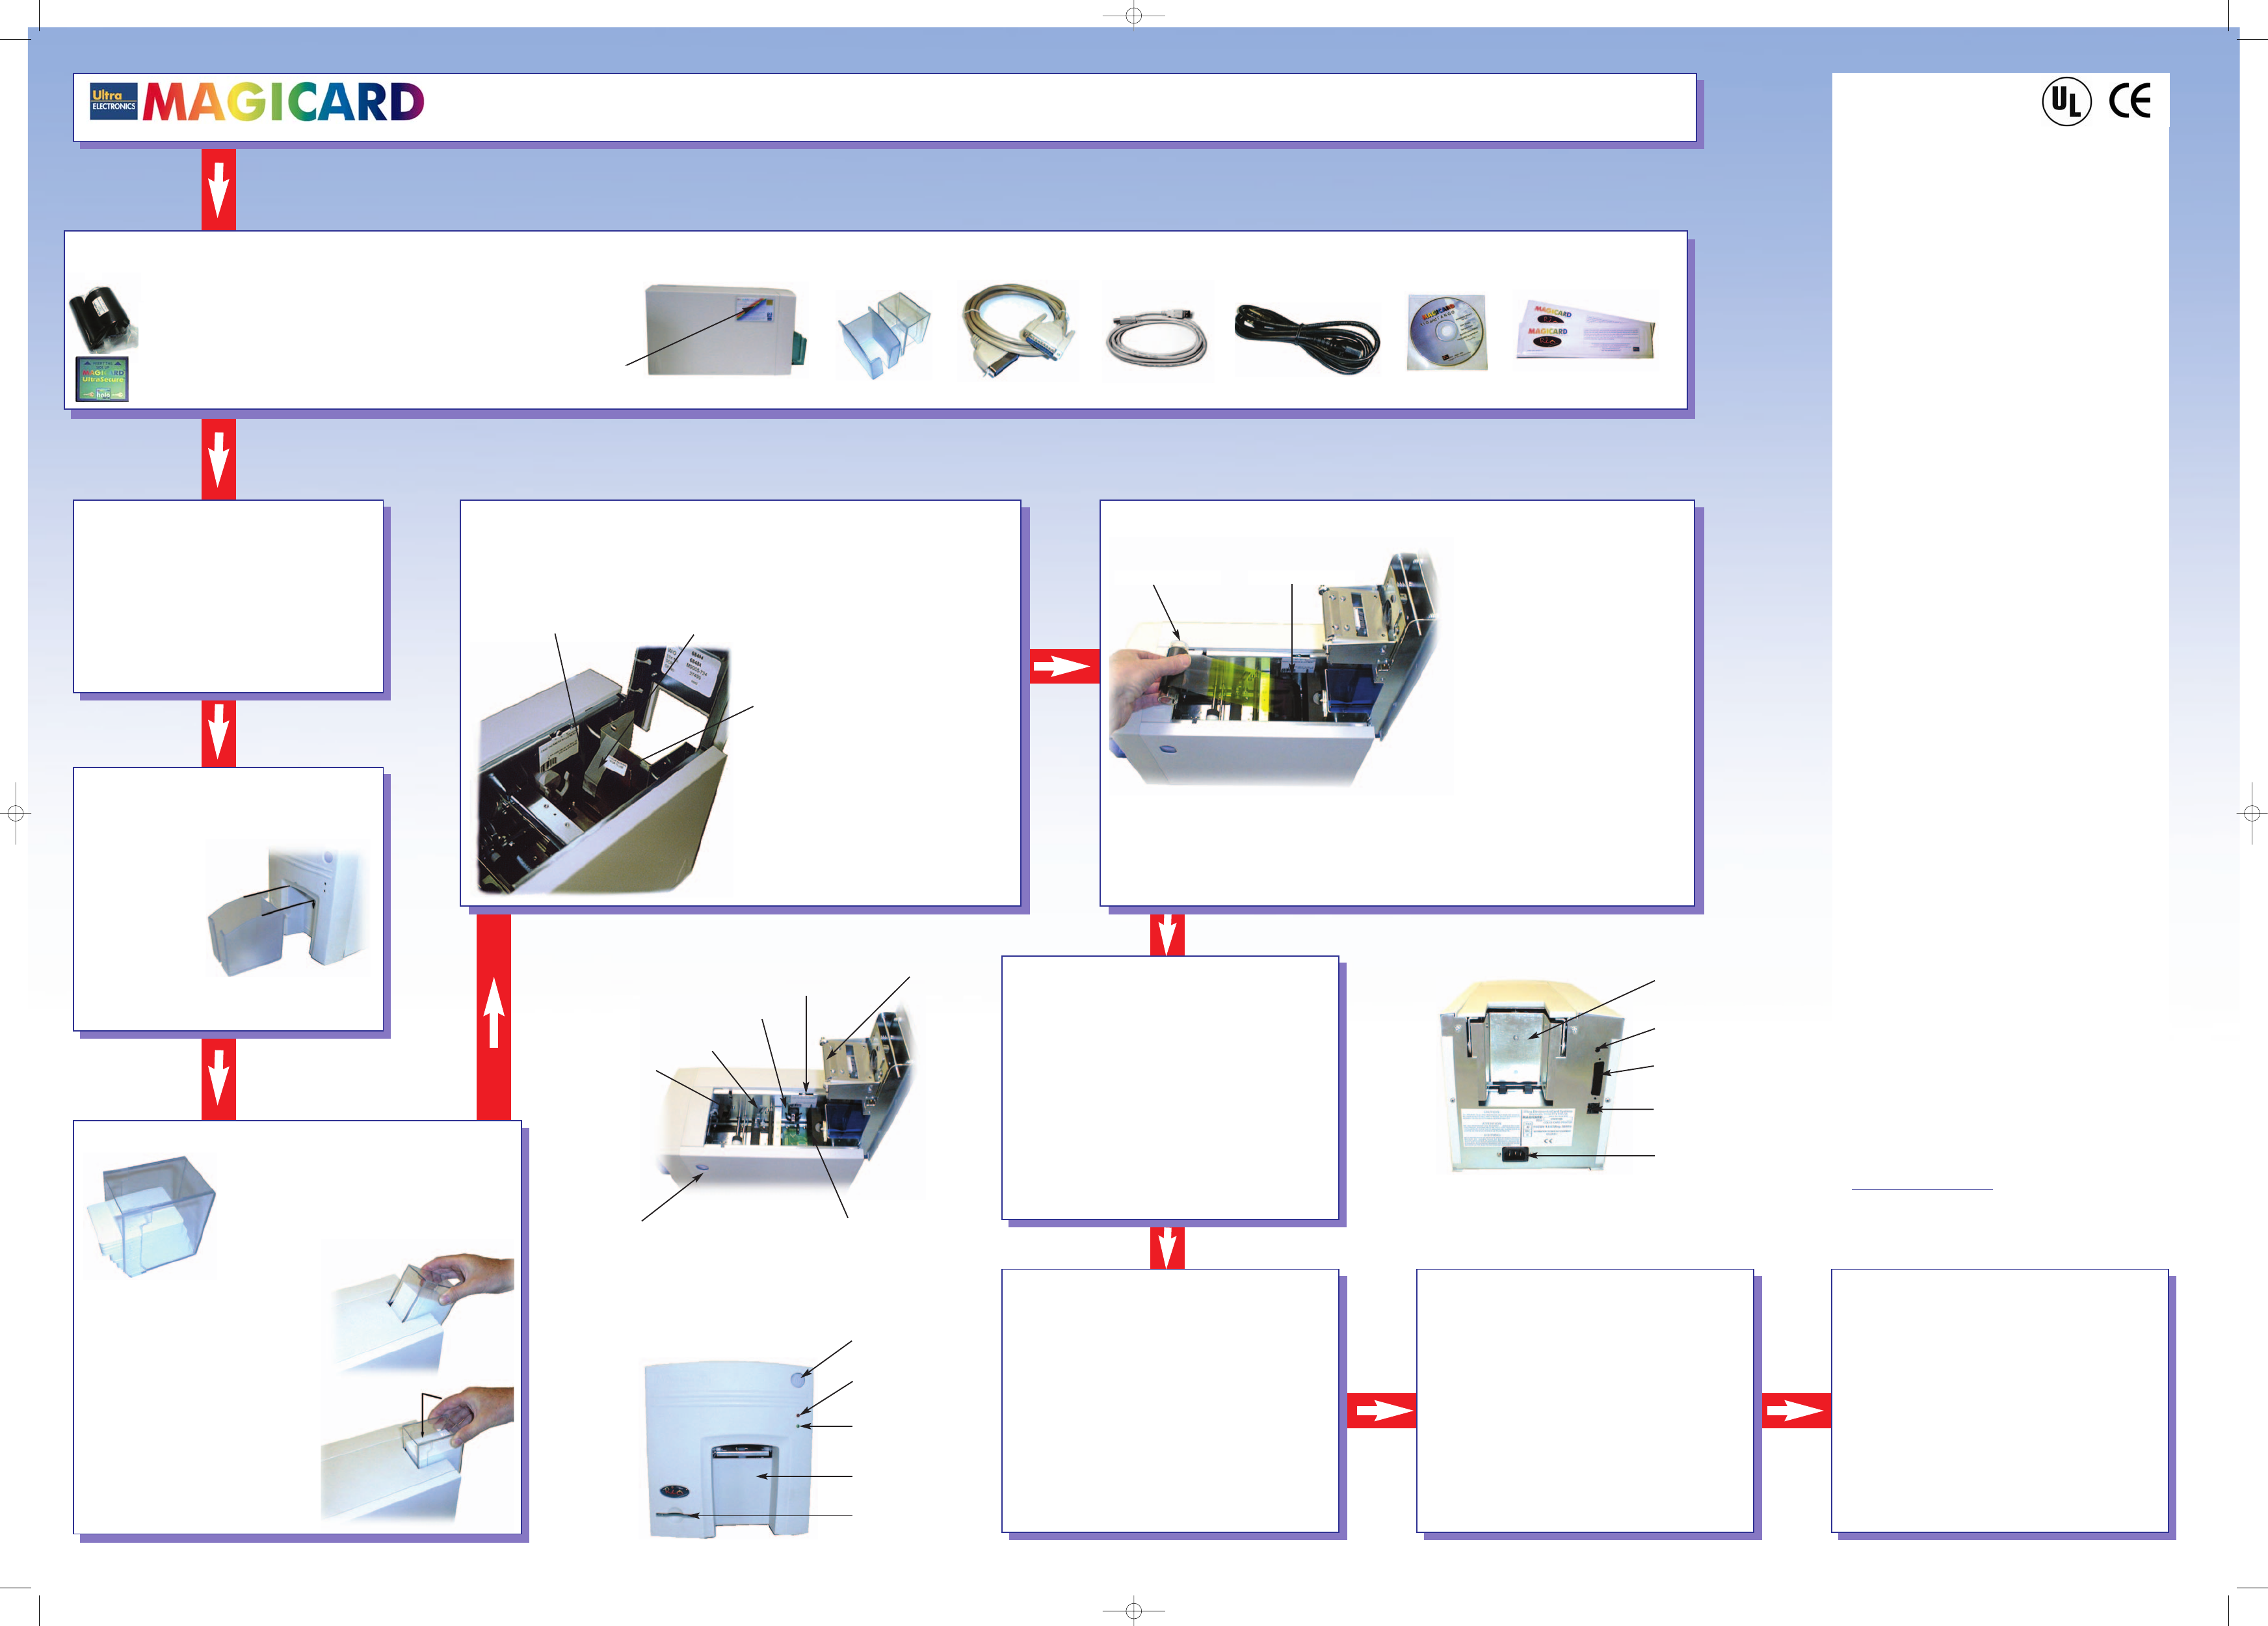
UNPACK THE BOXES
1
PRINTER LOCATION REQUIREMENTS
ATTACH THE CARD OUTPUT HOPPER
3
ATTACH THE CARD FEED HOPPER
(See the Video on the CD-ROM)
4
INSTALL THE DYE FILM (See the video on the CD-ROM)
6
PREPARE THE CLEANING CASSETTE
5
PLUG IN THE PRINTER
PRINT A TEST CARD CONNECT THE PRINTER TO YOUR PC LOAD THE CD IN TO YOUR PC
Keep the packaging in case you need
to transport the printer in future.
Note: To complete installation and begin using your
printer you will also require a roll of a suitable
Magicard dye-film (not included).
If you wish to use a custom HoloKote™ logo, you
will also need a custom HoloKote™ key (option).
You should have all of
the parts shown on the
right. If not contact your
supplier
warranty information card
card hoppersprinter parallel cable usb cable power cable cd rom cleaning cards
• Sufficient space for:
• opening the top cover
• cable access at the rear.
• allowance for air circulation.
• An adequately ventilated dust free room.
• Access to a properly grounded power supply.
• Ambient temperature +10 to +30 deg C.
• Relative humidity 20 - 70%
• Protection from direct sunlight and chemicals.
• Protection from abrupt temperature changes.
The hopper can hold up to 75, 30mil thick cards,
after which it should be emptied. The printer can
be operated without the hopper if you wish.
Insert the card
collection hopper into
the receptacle in the
front panel and hook
into place.
1. Open a clean pack of cards and shuffle them
to make sure they are not sticking together.
Load the cards into the feed hopper. Avoid
touching the card surfaces because
fingermarks can effect image quality.
Note: When using magstripe cards, make
sure the stripe is on the right and
underneath when viewed from the front.
2.Tilt the loaded hopper back as
shown, and lower gently into the
receptacle at the rear of the
printer.You will be able to lower the
hopper about 30mm.
3. At this point, tilt the hopper forward
to the vertical position, and lower all
the way down until the hopper is
completely within the body of the
printer.
Thermal printhead
Dye film clip
(dispensing)
Dye film clip
(take up)
Card thickness
indicator
Card thickness
adjuster
Card cleaning
cassette
Top cover release
catch
Press down on the top cover, operate the top
cover release catch and open the cover.
First remove the white tape
holding the black plastic
cleaning cassette
Grip the handle between finger and
thumb, then push and release the
cleaning cassette
Next remove the orange tape and
protective layer from the disposable
cleaning cassette roller
Note: This is a good time to familiarise
yourself with the way that this automatic
cleaning system is designed to operate
Finally replace the cleaning cassette by
inserting the roller shaft into the U
shaped guides and clicking into place
On/Off button (red)
Error indicator
(green)
Printing indicator
Card output
hopper aperture
HoloKote™ custom
key slot
CAUTION - The use of non Ultra Magicard approved dye
film may degrade images and could shorten the printhead
life. Damage due to the use of non-approved dye film is
not covered by the warranty. Always check the dye film
packaging. If in doubt, contact your nearest sales office.
1. Open a new roll of dye film.
2. Place the loaded spool into the
clips and press it into place The
orientation is correct when the
bar code on the end of the spool
is adjacent to the label on the
side plate. Rotate to make sure
that the slot engages with the lug.
3. Place the empty take up spool
into its clips, and adjust the film
tension so that the film is lying flat
and straight between the two
spools.
4. Gently close the top cover until it
clicks into the closed position. The
printer will automatically recognize
the type of film that has been
loaded.
Empty spool Loaded spool
Make sure that the printer is turned
Off, i.e. the On/Off button is slightly
protruding from the front panel.
Check the label on the rear panel to make sure that
the supply requirements of your printer are met by
your local AC power supply
Plug the power supply lead provided into the socket
on the rear panel of your printer, and the other end
into a properly grounded electrical outlet.
7
1. Switch the printer on. You will hear some
motor activity and see the indicators flash.
2. When ready, the red Error indicator should be off
and the green indicator on.
3. Press and release the small test push button on
the rear panel once.
4. After several seconds, the printer will print a test
pattern on a card, and feed it to the card output
hopper. This indicates that all is well with the
printer, i.e.cards loaded, dye film loaded, power is
on and lid is closed.
8
Make sure that both the printer and your PC are
switched off.
You have two alternative ways of connecting the
printer to your computer, a shielded parallel cable or
a USB cable.
CAUTION: Only use one cable at a time; do not use both
cables simultaneously.
Plug one end of your chosen cable into the
corresponding connector at the rear of the printer.
Plug the other end of the cable into your computer's
printer or USB interface, as appropriate. Switch on
the PC and the printer.
Load the CD ROM into the PC you have
connected to the printer. If the CD does not run
automatically, click the start button, then click on
“run”. Type “D:\autorun”, where D is the drive letter
for your CD drive, then press the return key. Now
follow the on screen instructions to install the printer
drivers. On completion of installation, the Printer
Configuration Wizard will be activated to help you
easily configure the printer for your particular
requirements. The CD also contains a comprehensive
User Guide with technical support information and
descriptions of the additional features provided by
Magicard Rio and Tango printers. It is recommended
that this is installed to your hard drive when the
printer driver software is installed.
10
Card feed hopper
receptacle
Test push button
Parallel connector
USB connector
HoloKote key slot
Note: The position of the parallel and USB connectors differ
from this illustration in some models
2
9
Rio/Tango Quickstart Guide, Issue 1, January 2003
quick start back 2 7/31/03 12:27 pm Page 1