7
USING THE EMERGENCY AREA LIGHT
The Area Light is controlled by an ON/OFF pushbutton. Make sure the light is turned
OFF when the unit is being recharged or stored.
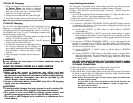
USING THE AIR COMPRESSOR/INFLATOR
The built-in 12 volt DC Air Compressor is the ultimate
inflator for all vehicle tires, trailer tires and sports
inflatables. The attached Air Compressor Hose with
standard tire valve connector (chuck) and three
different sized nozzles are located on the front left
panel of the unit in the compartment labeled “Air.”
Each nozzle clips on the end of the standard tire
valve connector attached to the free end of the air
compressor hose.
The Inflator/Deflator is useful for quickly inflating and
deflating such items as air mattresses, pool toys,
etc. The detached Inflator/Deflator Hose connects to
either the Inflator or Deflator port also located in the
compartment labeled “Air” on the front left panel of
the unit. The Inflator/Deflator Hose is stored in a
compartment in the back of the unit.
WARNING
The air compressor is capable of inflating
up to 120 pounds per square inch (psi).
To avoid overinflating, carefully follow
instructions on articles to be inflated. Never
exceed recommended pressures. Always
check pressure with the pressure gauge.
Never leave the Air Compressor/ Inflator
unattended while in use. Bursting articles
can cause serious injury.
CAUTION
Do not operate the Air Compressor/Inflator
continuously for extended periods of time
(approx. 15 minutes, depending on the
ambient temperature), as it may overheat.
In such event, the Air Compressor will shut
down and can be restarted after a cooling
period of approximately 15 minutes.
Inflating Products With a Valve Stem Using the Compressor
1. Place the standard connector (chuck) of the Air Compressor Hose on the valve
stem.
2. Push connector toward valve stem and close thumb latch.
Note: Make sure connector is pushed onto valve stem as far as possible
before closing thumb latch.
3.
Slide Air Compressor/Inflator Switch to COMPRESSOR.
AIR COMPRESSOR
HOSE
INFLATOR/DEFLATOR HOSE
6
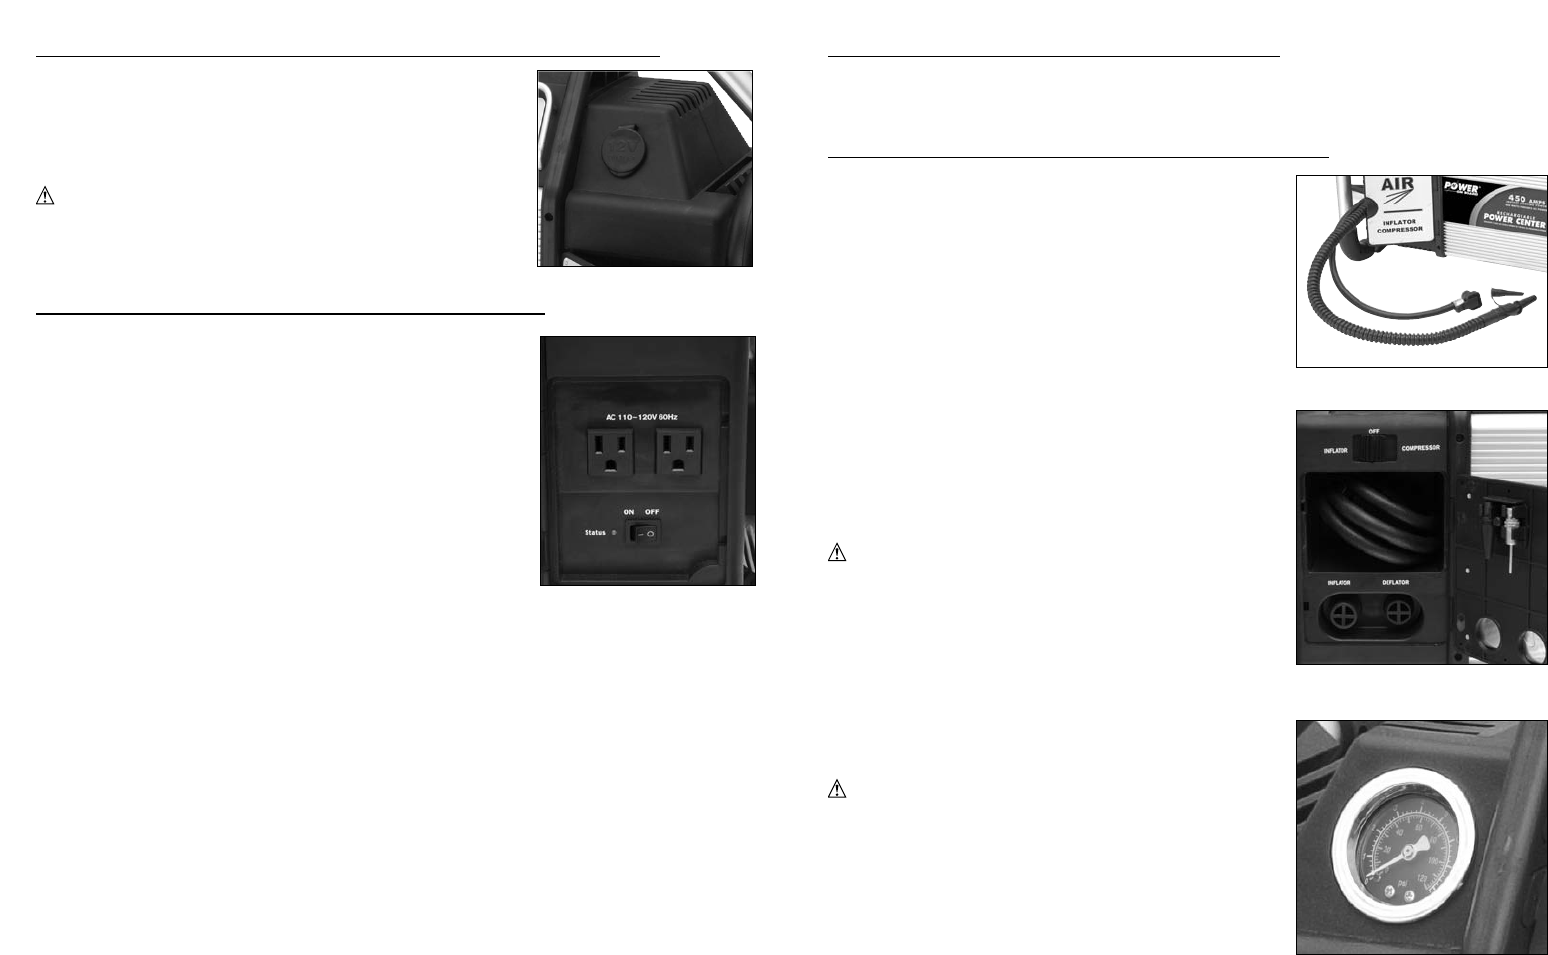
USING THE 12 VOLT DC PORTABLE POWER SUPPLY
1. Flip open the 12 Volt DC Outlet cover on the upper
right side of the unit.
2. Insert the 12 volt DC plug from the appliance into the
outlet.
3. Turn on the appliance and operate normally.
CAUTION
DO NOT USE UNIT TO POWER APPLIANCES
THAT DRAW MORE THAN 5 AMPS DC.
USING THE 120 VOLT AC POWER SUPPLY
The Power Center comes with:
1. AC ON/OFF Switch — Press switch to turn the AC
Power Supply ON and OFF.
2. Dual 120 Volt AC Power Outlets
3. AC Power Supply “ON” Status Indicator — green
LED lights when AC outlet is turned on; green LED
flashes on and off when faulted.
4. AC Power Ground Fault Circuit Interrupt (GFCI) —
two three-prong outlets for 110/120 volt AC
appliances which shut down inverter if leakage or
ground fault current is detected.
5. Internal protective circuits including:
• Overload and over-temperature shutdown (activated if AC output exceeds 400
watts or the unit overheats)
• AC short-circuit shutdown
• Low voltage shutdown
• A new cooling technology that more efficiently cools the power transistors,
dramatically increasing reliability and product life.
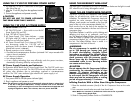
AC Power Supply Controls and Indicators
The illustration above details the AC Power Supply Panel. The ON/OFF switch turns
the AC power circuitry on and off. The ON/OFF switch can also be used to reset the
AC power after shutdown due to overvoltage, overload or over-temperature
condition. The “ON” status indicator lights when the AC power supply is on.
AC Power Supply Operation
1. Turn power switch to ON (the power indicator lights).
2. Plug in appliance and operate as usual.
Note: The AC power supply shuts down automatically when the battery voltage level
is too low. If the green LED flashes, a faulty condition such as an overload,
overheating or shor
t circuiting has occurred. T
urn the AC Power Supply OFF and
unplug the appliance. Wait a few minutes, then turn power back ON.
AC POWER SUPPLY
PANEL
AIR
PANEL
PRESSURE GAUGE
AIR
COMPRESSOR
HOSE
12 VOLT DC
OUTLET


