D
D
D
L
L
L
P
P
P
P
P
P
r
r
r
o
o
o
j
j
j
e
e
e
c
c
c
t
t
t
o
o
o
r
r
r
–
–
–
U
U
U
s
s
s
e
e
e
r
r
r
’
’
’
s
s
s
M
M
M
a
a
a
n
n
n
u
u
u
a
a
a
l
l
l
– 11 –
Starting and Shutting down the Projector
1.
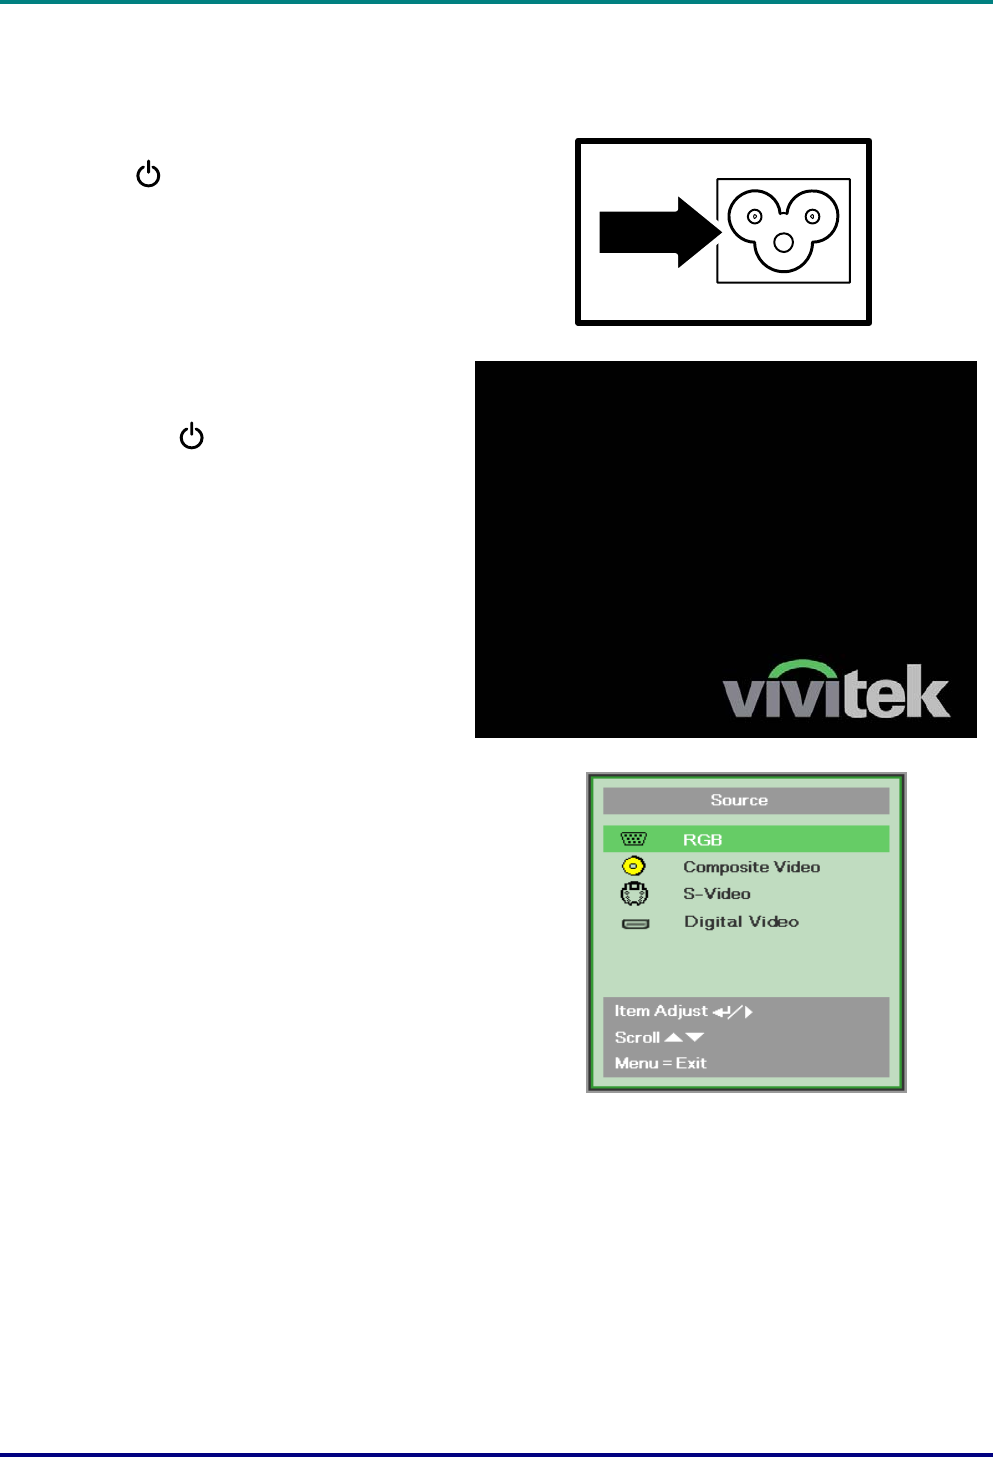
Connect the power cord to the projector.
Connect the other end to a wall outlet.
The
Power and Ready LEDs on the
projector light.
2.
Turn on the connected devices.
3.
Ensure the Ready LED displays a solid
orange and not a flashing orange. Then
press the
Power button to turn on
the projector.
The projector splash screen displays and
connected devices are detected.
See Setting an Access Password
(Security Lock) on page 13 if security
lock is enabled.
4.
If more than one input device is con-
nected, press the Source button and use
▲▼ to scroll among devices.
(Component is supported through the
RGB to COMPONENT ADAPTER.)
• RGB: Analog RGB
Component: DVD input YCbCr / YPbPr, or
HDTV input YPbPr via HD15 connector
• Composite Video: Traditional composite video
• S-Video: Super video (Y/C separated)
•
Digital Video (HDMI): Digital Video source


