VIZIO VA220E User’s Manual
www.VIZIO.com
Read this user manual carefully before installing your HDTV.
The power consumption of your HDTV is about 50W. Use the included power cord. When an
extension cord is required, use one with the correct power rating. The cord must be grounded and
the grounding feature must not be compromised.
Your HDTV should be installed on a flat surface to avoid tipping.
For proper ventilation, you must allow space between the back of your HDTV and the wall.
If you want to mount your HDTV on the wall, see instructions below,
for
additional information.
Avoid installing your HDTV in places with high humidity, dust, or smoke so you do not shorten the
service life of the electronic components.
Install your HDTV in a level, landscape orientation, with the VIZIO logo at the bottom to prevent
poor ventilat
ion and excessive component damage.
VIZIO offers professional installation services. Conta
ct VIZIO for more information on these services at
888-VIZIOCE (888-849-4623) or www.VIZIO.com.
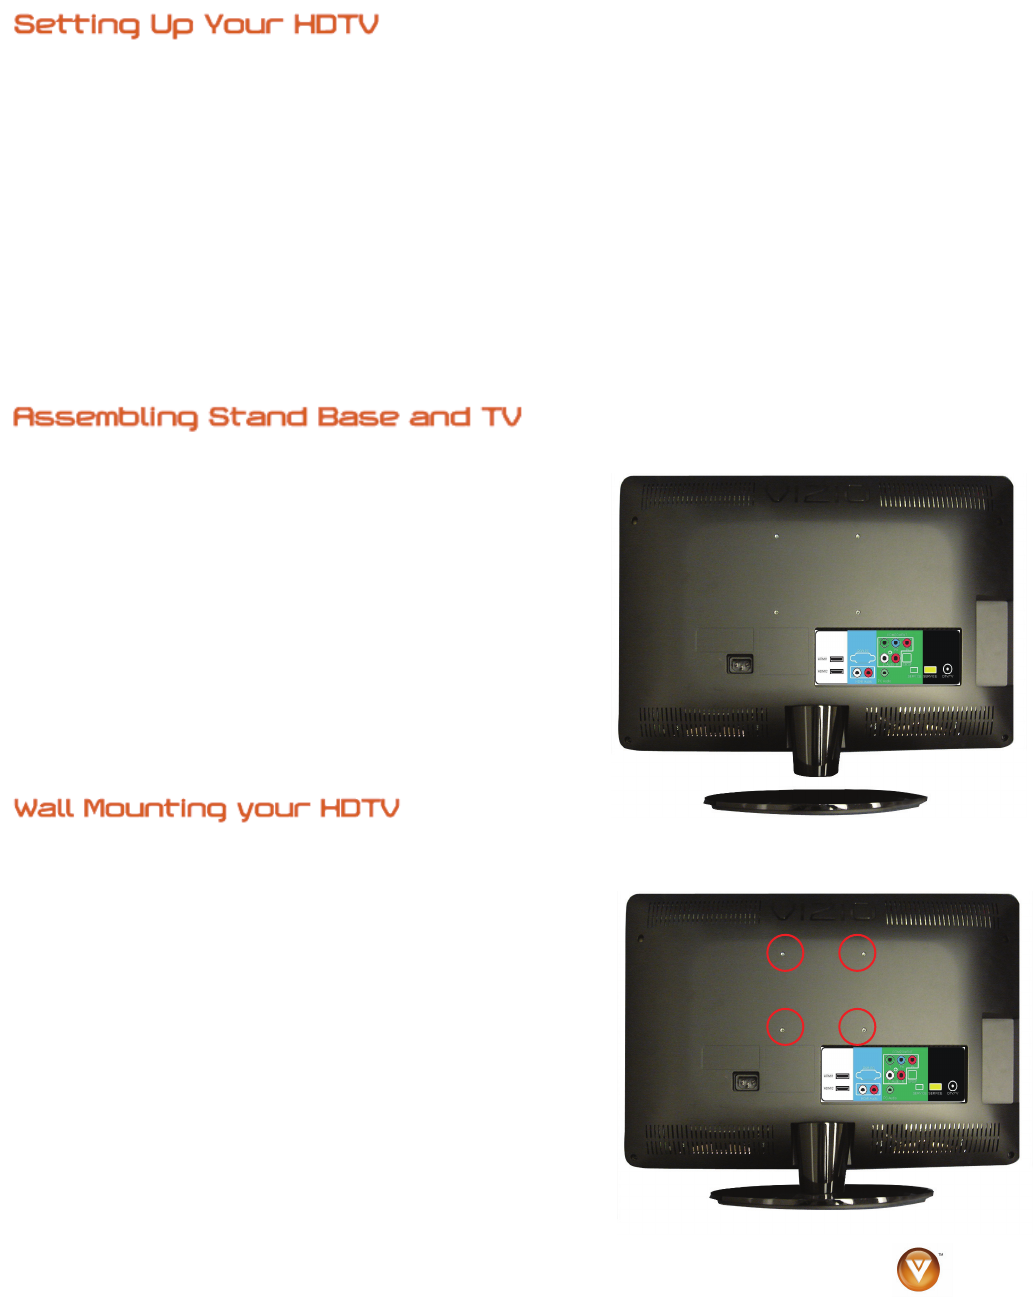
Your HDTV can be mounted on the wall for viewing. If you choose to mount your HDTV on the wall, follow
the instructions below.
1. Remove the base:
a. Disconnect the cables from your HDTV.
b. Place your HDTV face down on a soft, flat
surface to prevent damage to the screen.
c. Squeeze the tabs on the base, then remove
the base.
d. Remove the neck cover.
e. Remove the four (4) screws holding the
neck to your HDTV.
2. Mount your HDTV on the wall:
a. Attach your HDTV to a wall mount (sold
separately) using the mounting holes in the
back panel of your HDTV.
b. Read the instructions that came with your
specific wall mount to properly ha
ng your
HDTV.
Your HDTV needs to have the stand base attached, remove the detachable stand base and the
TV from the carton and then follow the instructions below.
a. Place the stand on a flat surface.
b. Lift the TV with the front or screen facing towards
the wider area of the stand.
c. Easily slide the two (Stand and TV) items together,
a click will be heard to notify that the TV and Stand
have been assembled.
d. Place the assembly face down on a soft flat surface
to prevent damage to the screen.
e. Use the provided thumbscrew to secure the assembly
together.
14
Version 12/12/2008


