


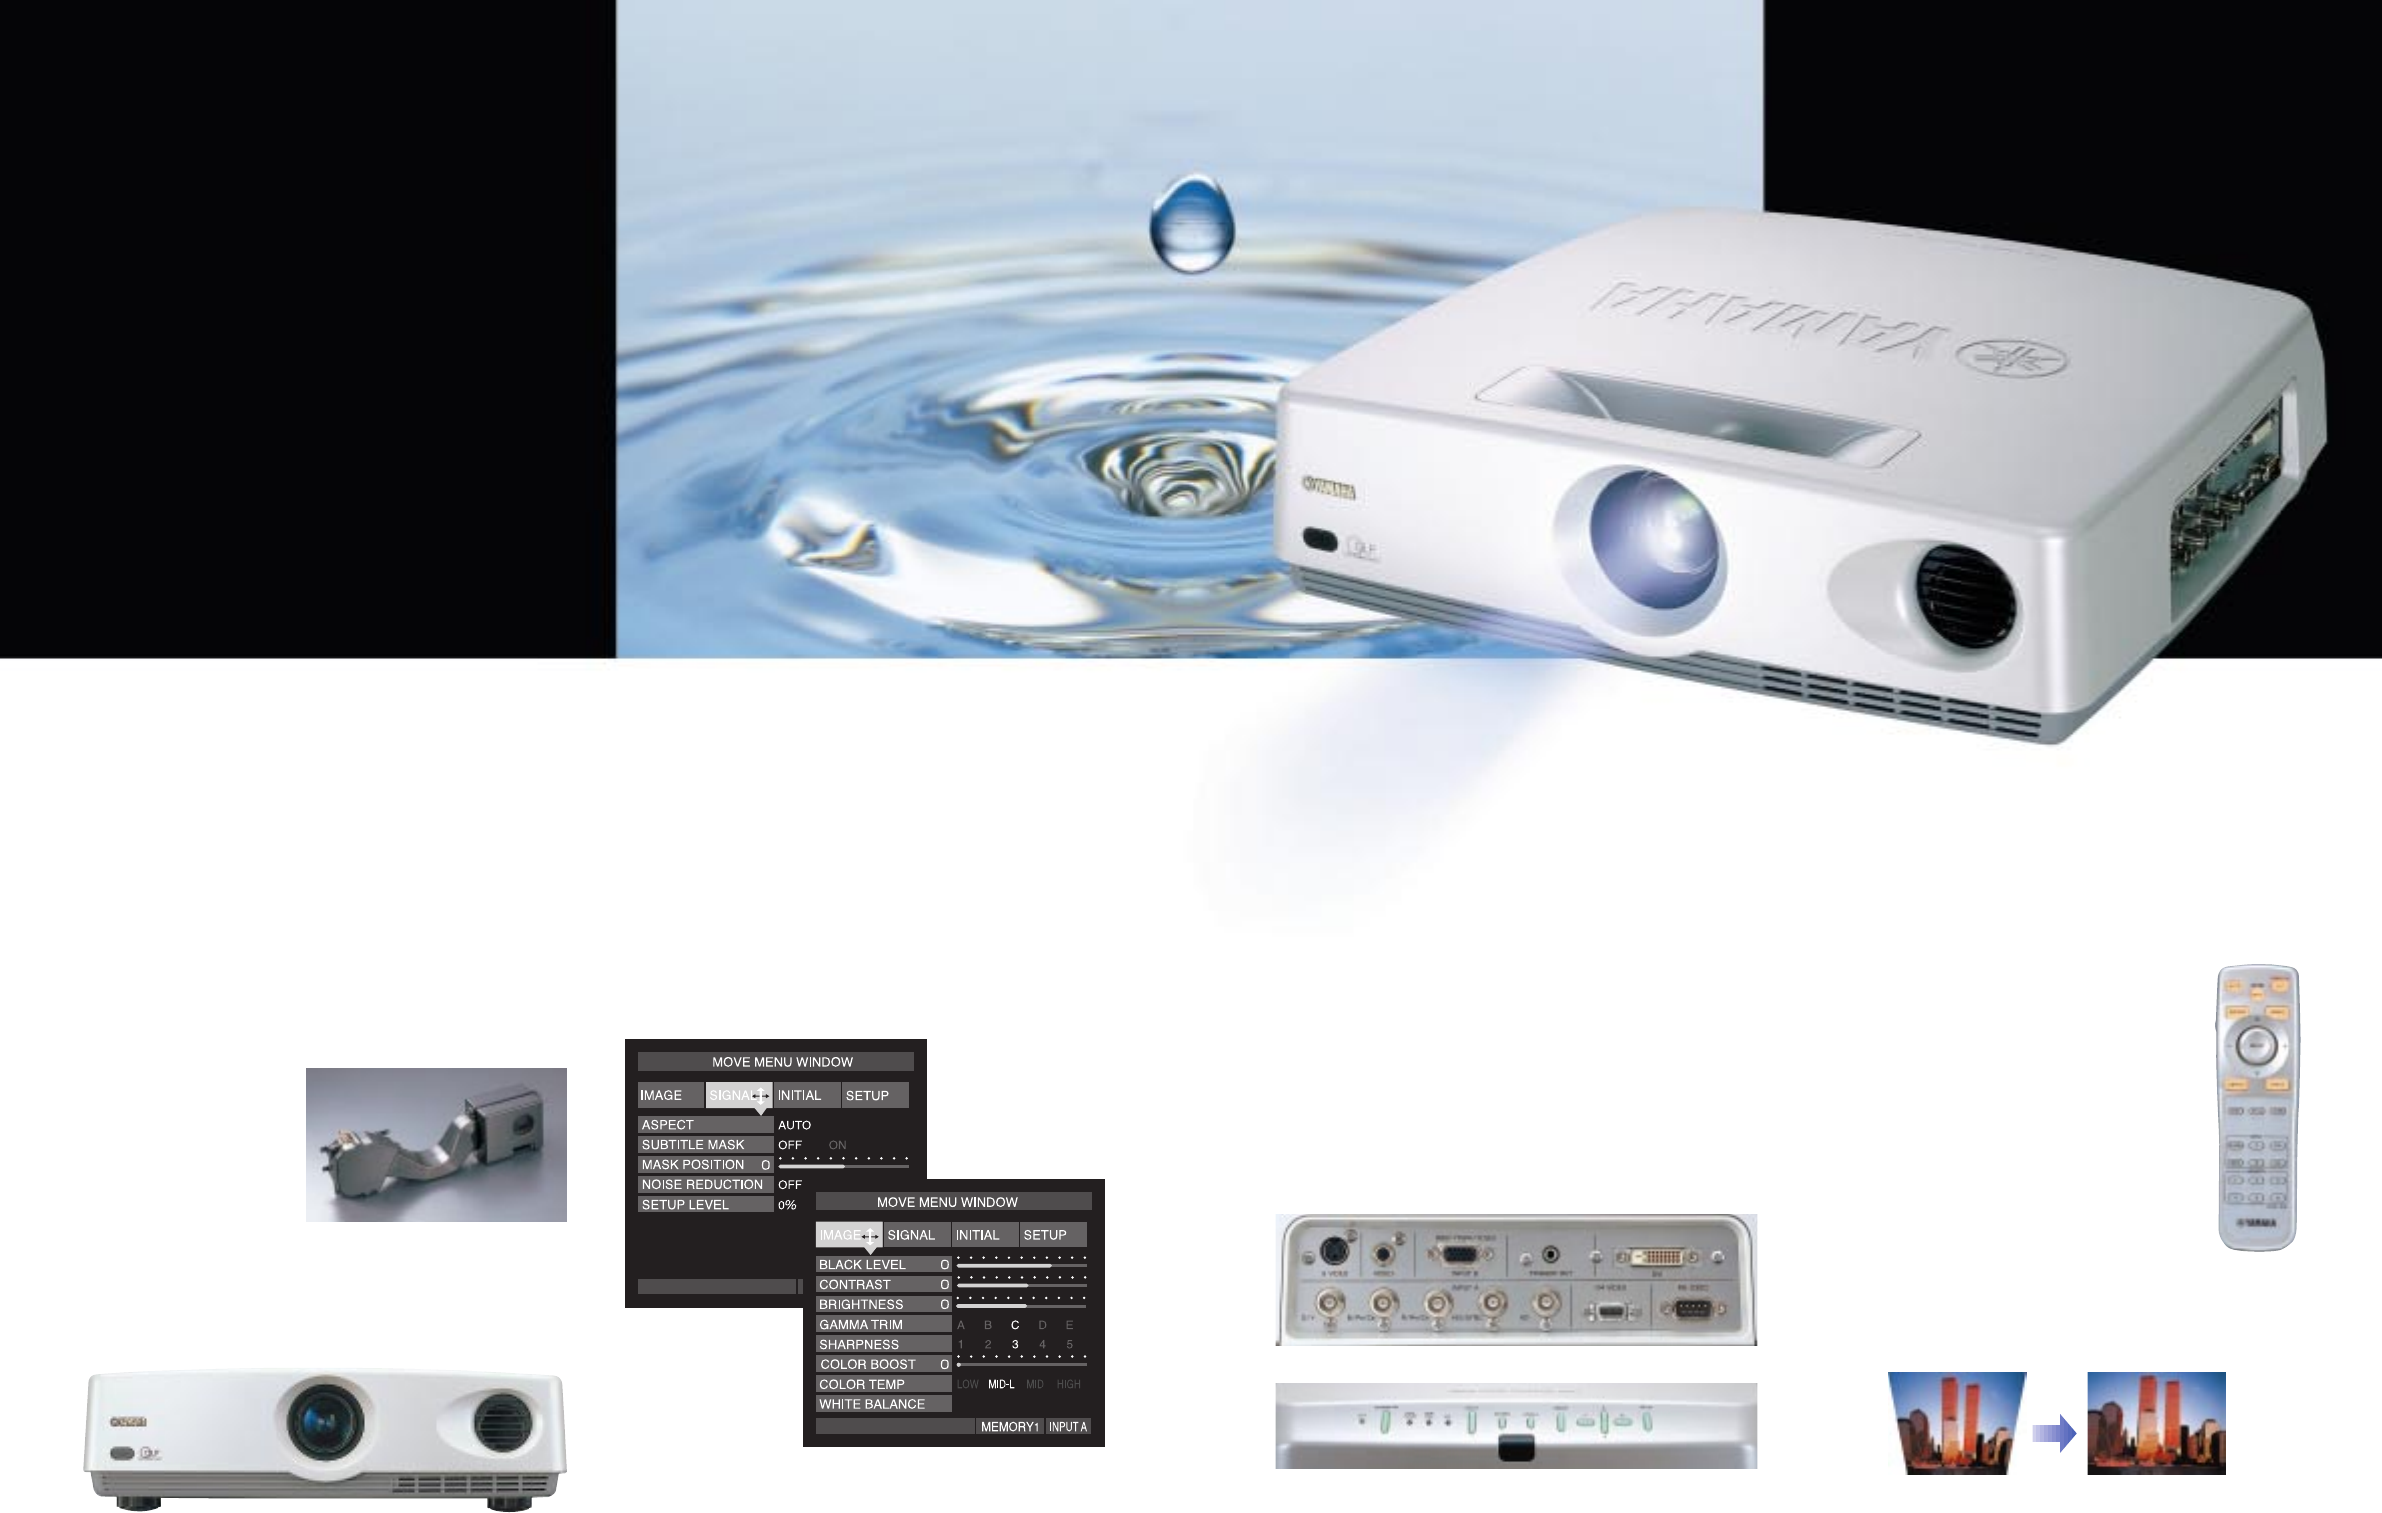
Numerous Inputs for Full
Compatibility
A full complement of professional grade inputs are
provided for a variety of sources, including component
video with BNC terminals for maximum connection
integrity, analog RGB and DVI (Digital Visual Interface),
composite video and S-video. An RS-232C serial interface
and a +12V trigger out jack output signals to activate other
components when the projector is powered on.
It is also designed to be compatible with a wide range
of formats, from digital satellite broadcasting with high
image quality at 1080i, 720p, 480p and 480i, to ordinary
media such as DVD, LD and VCR. If the RGB output from
a personal computer is input directly through the D-Sub
15-pin terminal, native solution and expanded XGA images
are possible, as well as compatibility with compressed
SXGA images.
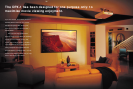
Elegant, Practical Design
Considering its high performance, the DPX-1 is relatively
compact and lightweight, presenting no difficulties with
tabletop use or ceiling installation (it can also be installed
behind a semi-translucent screen). As this projector is a
single-lens type, installation is much easier than with a
three-tube type; all you need to do is adjust the size of the
screen and bring the image into focus. The lens barrel is
recessed inside the body and a focus/zoom
ring is provided on the top. The exterior has an
attractive pearl-mica finish.
A Remote You’ll Enjoy
Using
The remote control is styled for comfortable
one-hand operation. It controls a wide range of
functions, including Still (freezes the image),
Hide (turns off the image), Aspect (selects
display aspects) and of course all the menu
selections. You can also use it to access the
Digital Keystone Correction function in the
Setup menu, which compensates for trapezoidal distortion
when screen and projector are at different heights. You
can select two types of correction, Normal and Full Height.
A light switch lights up the buttons for 10 seconds.
Ultra-Low 30dB Noise Level
Means You’ll Hear Every Sigh
and Whisper
Yamaha went to extreme lengths to make the DPX-1 as
noiseless as possible. We started with a low-noise yet
powerful Sirocco fan to cool the lamp housing, and
designed the unit with innovative duct architecture and a
silencing chamber in the front of the body. The hot exhaust
air passes through the duct below the lens barrel and is
led to the silencing chamber, which is lined with porous
foam to absorb sound. Finally, the air is exhausted from
the front so it won’t annoy viewers and in a direction that
prevents the temperature
difference from causing
an air current in front of
the screen and swaying
the image.
Keystone
Correction Off
Keystone
Correction On
This “Silent”
Projector
Gives You a Lot to Like . . .
The DPX-1’s beauty is more than screen deep — it’s
also a pleasure to use. We began with the actual
environment, knowing it’s hard to enjoy a movie when
you can hear the projector. Even a small noise is
annoying. So we tasked our engineers with the
development of a “silent” projector, and they
succeeded admirably. You’ll also love the on-screen
display. Not only does it give you more (and more
useful!) capabilities than ever before, it’s also a breeze
to use. Everything else, from source compatibility to
set-up, is designed to eliminate any potential problems.
All you have to worry about is . . . the snacks.
The DPX-1 gives you every thing you want . . .
and none of what you don’t want (noise!).
Digital Cinema Projector
DPX-1
Sirocco fan and silencing chamber
On-Screen Display with
Extensive Menus
The on-screen display, selectable via the remote control
unit, offers a wide range of parameters that can be
adjusted to provide the highest possible image quality in
all situations. There are Setup and Initial (default) menus,
and for detailed adjustments, Image and Signal menus.
This extremely detailed assortment of choices ensures that
you can achieve the best looking picture for all input
formats, sources and room conditions. You can even vary
the position of the menu on the screen!
Selecting parameters calls up sub-menus for more detailed
adjustment. A Status Memory allows various combinations of settings
to be memorized and factory default settings can be easily recalled.
The rear panel with operating controls glows with a soft green light
so you can change settings in the dark.
Connection panel