


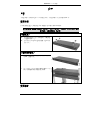


Dimension Ethernet Switches
2
ENGLISH
Introduction
This Quick Start Guide is for use with all ZyXEL Ethernet switches. Your device may differ from the
illustrations below.
Installation
All switches can be used as a standalone device while some can alternately be mounted on standard EIA racks.
For proper ventilation, allow at least 4 inches (10 cm) of clearance at the front and 3.4
inches (8 cm) at the back of the switch. Leave space between switches if stacking.
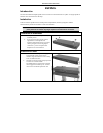
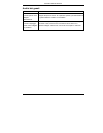
Desktop Installation
1. Set the switch on a smooth, level surface.
2. If your switch comes with unattached
rubber feet, attach them to each corner on
the bottom of the switch. These rubber feet
help protect the switch from shock or
vibration and ensure space between
devices when stacking.
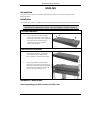
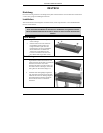
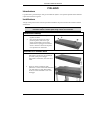
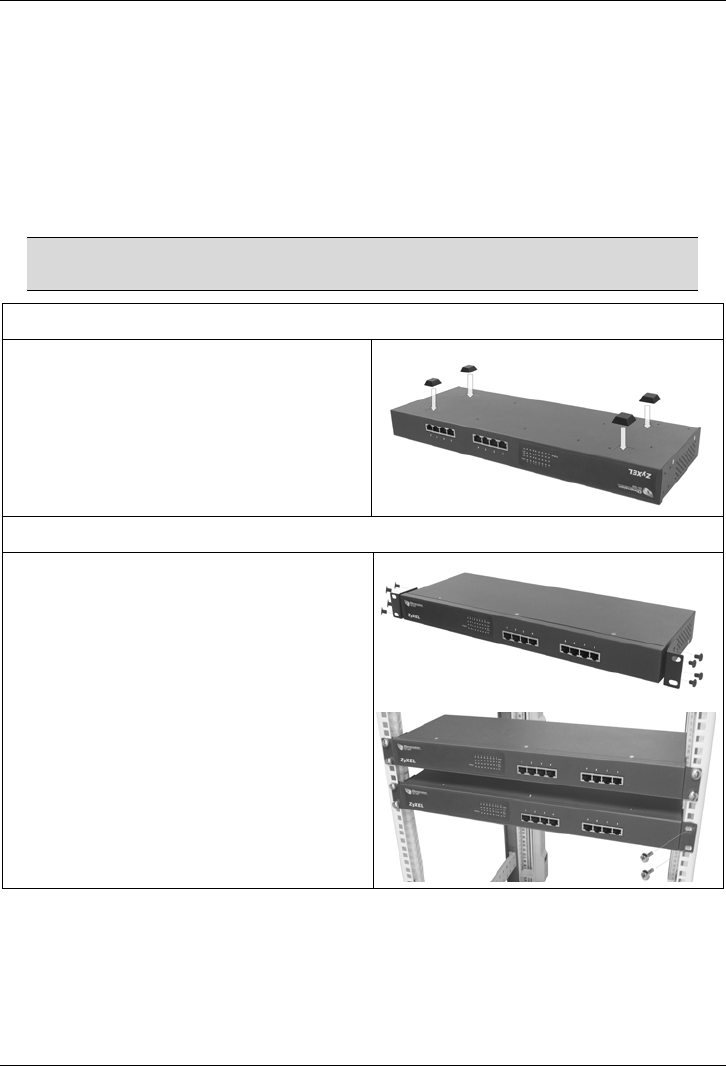
Rack-mounted Installation
1. Align one bracket with the holes on one side
of the switch and secure it with bracket
screws smaller than the rack-mounting
screws. Similarly, attach the other bracket.
2. After attaching both mounting brackets,
position the switch in the rack by lining up
the holes in the brackets with the appropriate
holes on the rack. Secure the switch to the
rack with the rack-mounting screws.
Hardware Connections
Auto-negotiating and Auto-crossover RJ-45 ports