39
Maintenance and
Troubleshooting
STEP
1
Introduction
STEP
2
STEP
3
Before using the printer
Using only this printer (No PC)
A lithium battery is supplied in order to maintain the settings for the internal clock when
the printer unit is not plugged in to a normal power supply. If the clock settings need to be
reset every time the printer unit is unplugged from its normal power source, then the
battery must be replaced.
For the replacement lithium battery, purchase CR2032 (recommended manufacturer:
Hitachi Maxell, Ltd., FDK Corporation, Matsushita Electric Industrial Co., Ltd., Sony
Corporation, Toshiba Corporation and VARTA Microbattery Inc.).
• Use only the authorized battery for the printer.
• Dispose of the used battery in accordance with all
applicable federal, state and local regulations.
• When storing or discarding the battery, wrap it with
adhesive cellophane tape or similar material to prevent
it from short-circuiting.
• It is recommended to replace the battery every two
years.
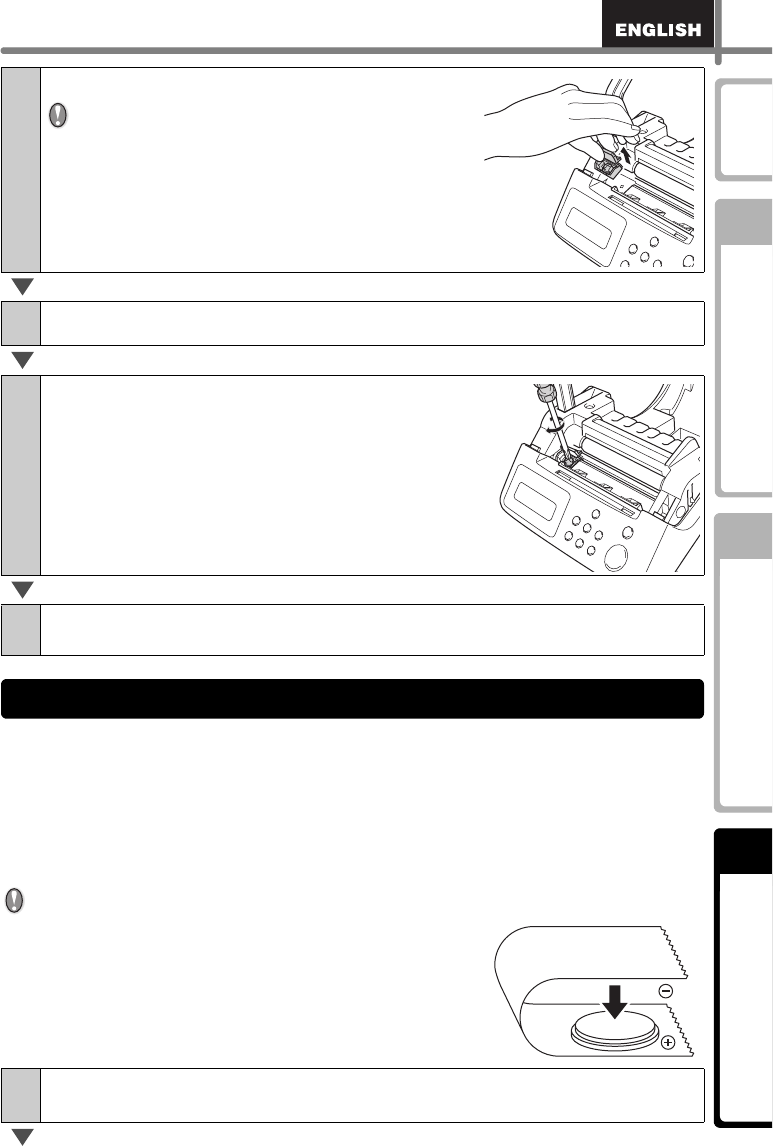
6
Grip the tab and lift out the cutter unit.
Take care not to touch the blade of the cutter.
7
Set the new cutter unit in the correct position.
8
Once set in the correct position, tighten the
screw which holds the cutting blade unit in
place.
9
Set the DK Roll and close the DK Roll cover.
For details, see "Installing the DK Roll" on page 16.
1
Turn OFF the power to the printer and pull the power cord out of the
outlet.
Replacing the lithium clock battery
Adhesive cellophane tape etc.
Battery
Example of grounding of battery


