167
Before Use
Basic Guide
Advanced Guide
1
Camera Basics
2
Auto Mode /
Hybrid Auto Mode
3
Other Shooting Modes
5
Tv, Av, M, C1, and C2 Mode
6
Playback Mode
7
Wi-Fi Functions
8
Setting Menu
9
Accessories
10
Appendix
Index
4
P Mode
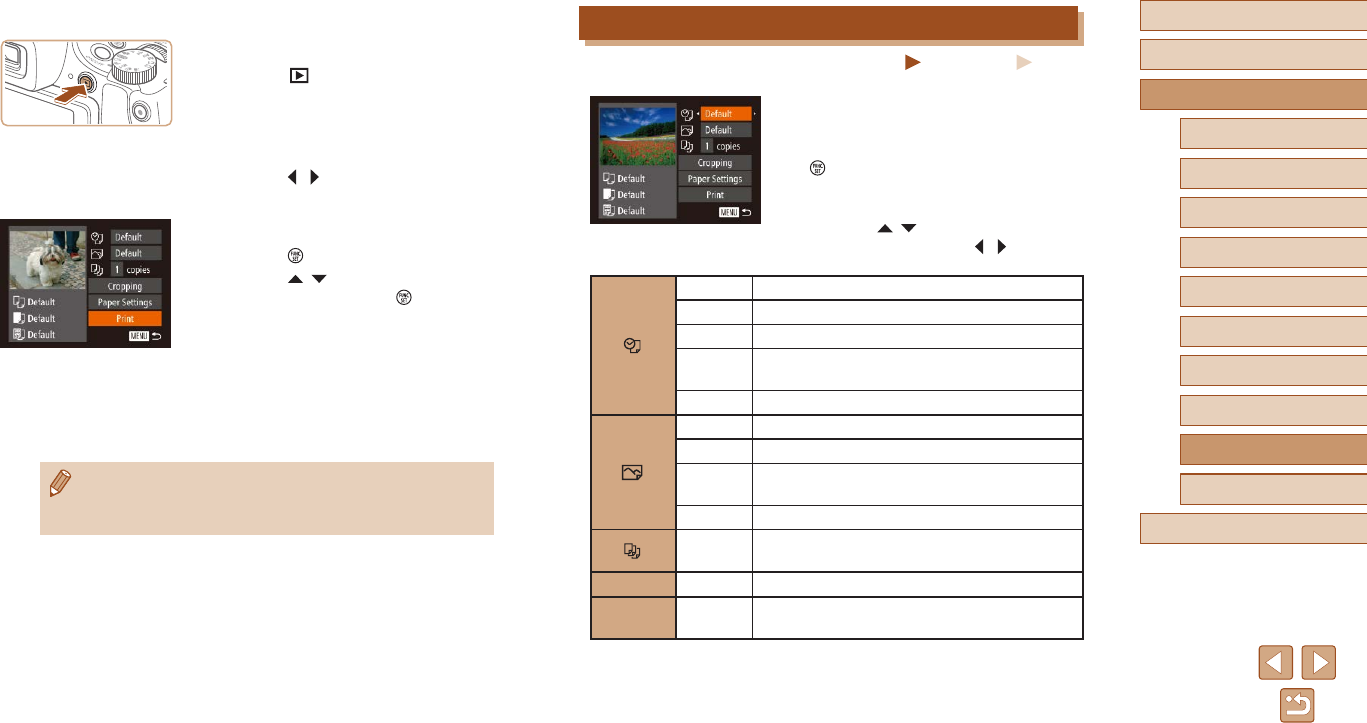
Conguring Print Settings
Still Images
Movies
1
Access the printing screen.
● After following steps 1 – 5 in “Easy Print”
(
=
166) to choose an image, press the
[ ] button to access this screen.
2
Congure the settings.
● Press the [ ][ ] buttons to choose an
item, and then press the [ ][ ] buttons to
choose an option.
Default Matches current printer settings.
Date Prints images with the date added.
File No. Prints images with the le number added.
Both
Prints images with both the date and le
number added.
Off
–
Default Matches current printer settings.
Off
–
On
Uses information from the time of shooting to
print under optimal settings.
Red-Eye 1 Corrects red-eye.
No. of
Copies
Choose the number of copies to print.
Cropping
–
Specify a desired image area to print (
=
168).
Paper
Settings
–
Specify the paper size, layout, and other details
(
=
168).
3
Turn the printer on.
4
Turn the camera on.
● Press the [ ] button to turn the camera
on.
5
Choose an image.
● Press the [ ][ ] buttons to choose an
image.
6
Print the image.
● Press the [ ] button.
● Press the [
][ ] buttons to choose
[Print], and then press the [ ] button.
● Printing now begins.
● To print other images, repeat the above
procedures starting from step 5 after
printing is nished.
● When you are nished printing, turn the
camera and printer off and disconnect
the cable.
● For Canon-brand PictBridge-compatible printers (sold separately),
see “Printers” (
=
156).
● RAW images cannot be printed.


