Operating the Monitor
User’s Guide 5–3
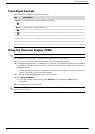
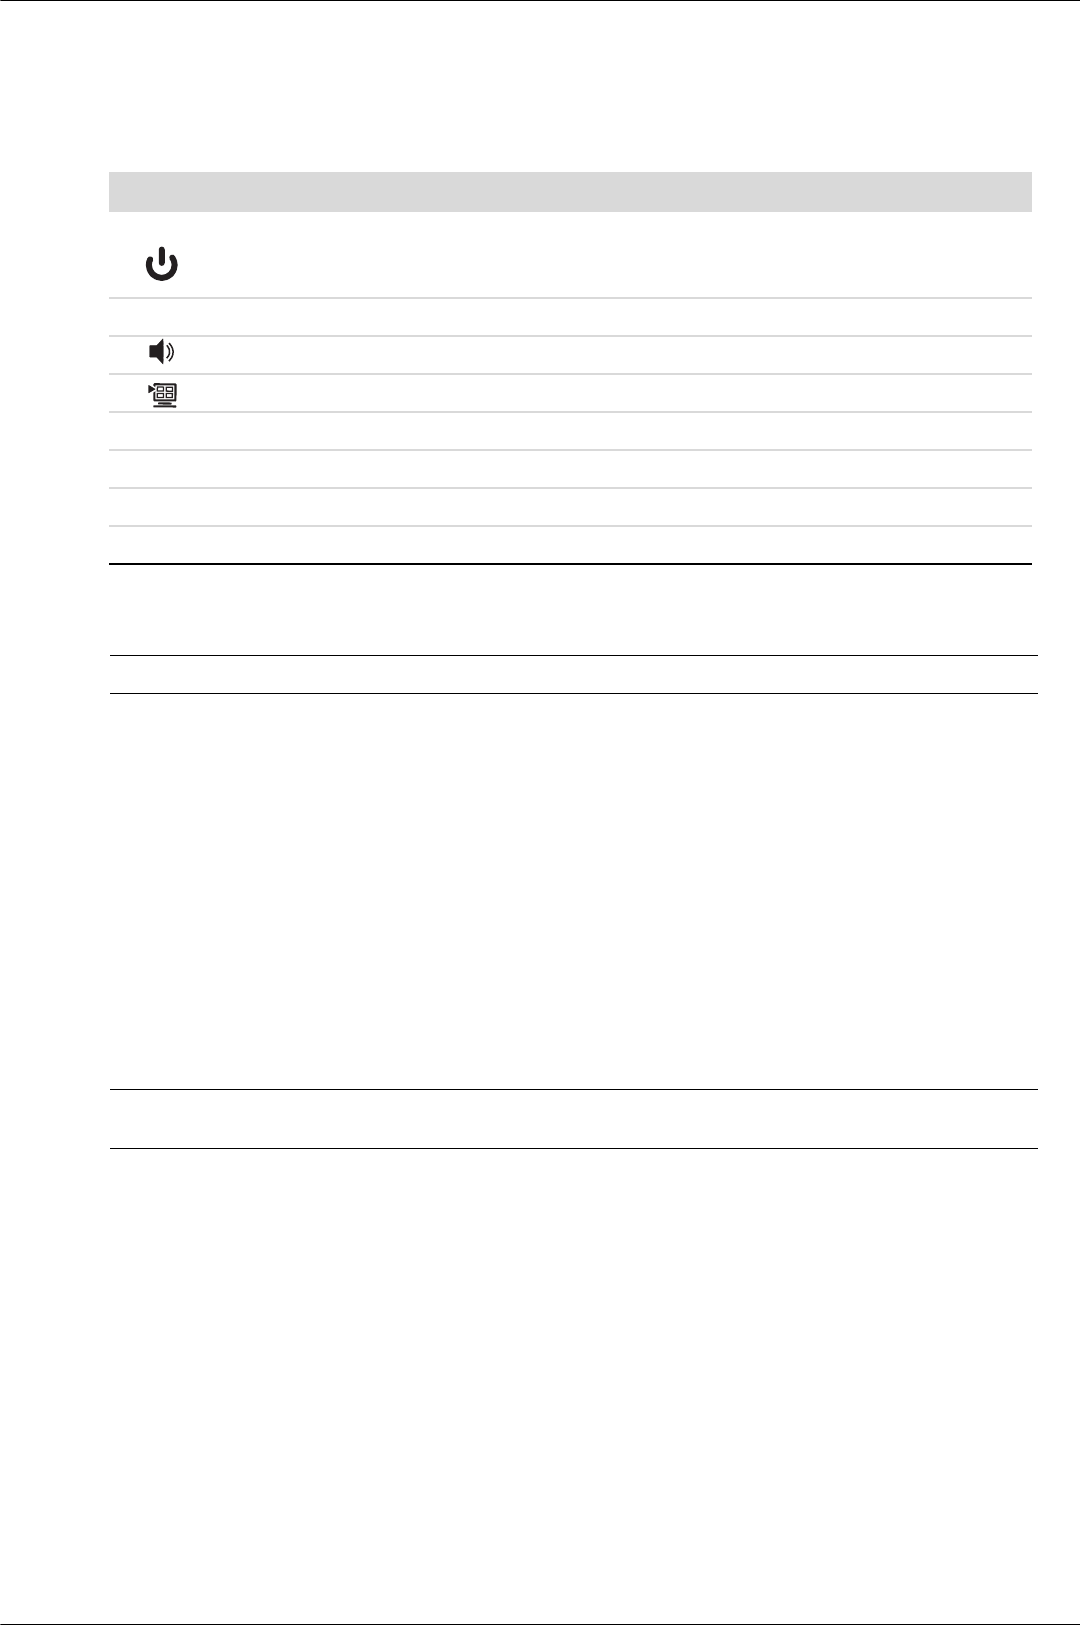
Front-Panel Controls
Control buttons are located on the front of the panel:
Using the Onscreen Display (OSD)
✎
You can use My Display OSD software (select models only) or the front-panel control buttons to adjust settings.
1. If the monitor is not already on, press the Power button to turn on the monitor.
2. To access the OSD menu, press the Menu button. The OSD Main Menu displays.
3. To navigate through the Main or Sub-Menu menu, press the + (Plus) button on the monitor’s front panel
to scroll up, or the – (Minus) button to scroll in reverse. Then press the Auto/Select button to select the
highlighted function.
❏ The menu moves to the top if you scroll down at the bottom of the selections. The menu moves to the
bottom if you scroll up at the top of the selections.
4. To adjust the scale of a selected item, press the + or – button.
5. Select Save and Return.
❏ If you don’t want to save the setting, select Cancel from the Sub-Menu or Exit from the
Main Menu.
6. Press the Menu button to exit the OSD.
✎
When a menu is displayed, if the buttons are untouched for 30 seconds (factory default), adjustments and settings are
saved and the menu closes.
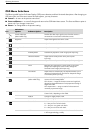
Icon Description
Power Turns the monitor on and to standby or sleep mode.
Menu Opens, selects, or exits the OSD menu.
Adjusts the volume level.
Opens the Quick View menu to quickly adjust settings for gaming, video, photo, and text.
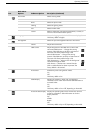
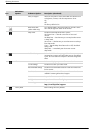
– Navigates backward through the OSD menu and decreases adjustment levels.
+ Navigates forward through the OSD menu and increases adjustment levels.
Auto Auto-adjusts the display to the ideal setting.
Select Enters the selected option.