7
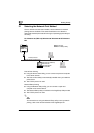
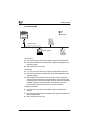
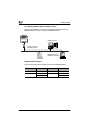
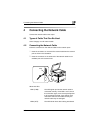
Connecting the Computer and Copier
7-10 NC-6
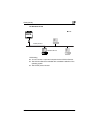
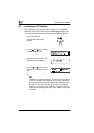
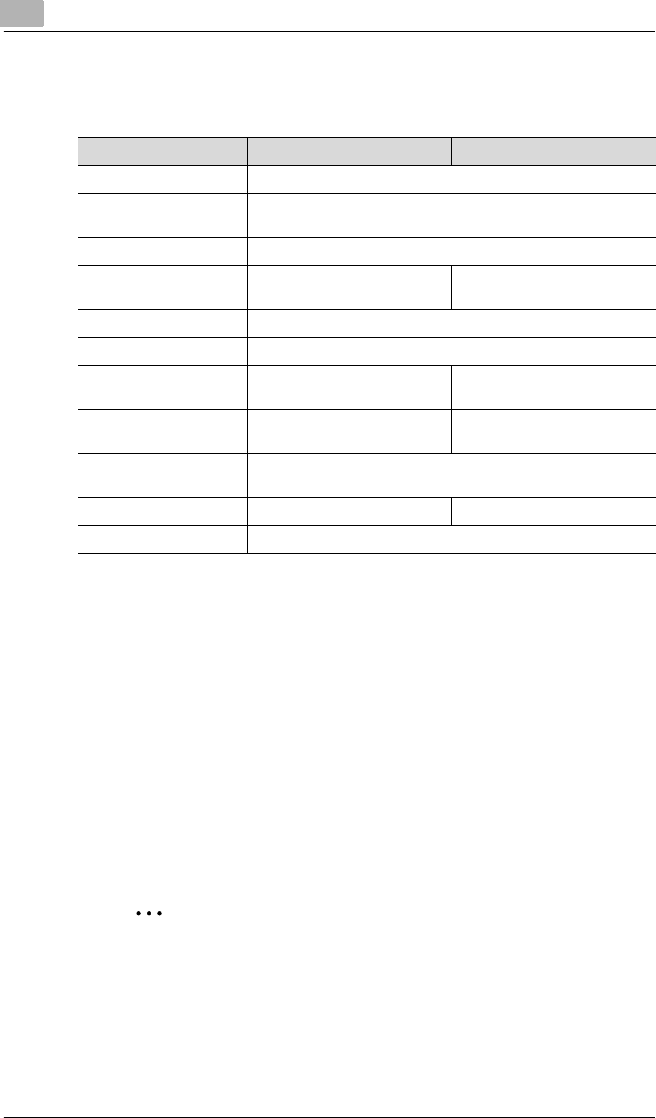
7 Select the connection settings, and check that the PServer you
created is listed in the active connections section.
* If changes are made to settings marked with “*”, turn the machine off, then on again.
Setting Up NetWare 4.x/ 5.x/ 6 Remote Printer Mode
1 Log in with administrator privileges.
2 Start up NWadmin.
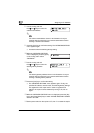
3 Select the print service system or category container, and then select
“Print service quick setup” from the Tool menu.
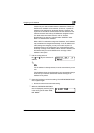
4 Enter settings into the Print server name, Printer name, Print queue
name, and Volume name boxes, select Remote parallel, LPT1
under Type name, and then save the settings.
✎
Note
Specify the users who can use the queue, printer options, number
of queues, and password. Refer to the NetWare documentation for
details.
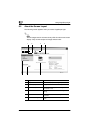
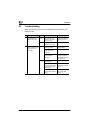
NDS Bindery
[Enable NetWare] [*] Enable (Enabled if check box is selected.)
[Frame Type] [*] Auto detect (Select the frame type suitable for your network
environment.)
[Print Server Name] Manually enter the name of the print server created in step 4.
[NDS Context Name] The context name for the
Pserver
No settings required
[Print Server Password] (Only specify this setting if it is also set on the NetWare server.)
[Password Retype] (Only specify this setting if it is also set on the NetWare server.)
[Preferred File Server] No settings required The file server name for the
Pserver
[Preferred NDS Tree] The tree name for Pserver
login
No settings required
[Print Queue Scan Rate]
[*]
1 (Change as necessary.)
[Connection Mode] Directory Services Bindery
[Mode] [*] PServer