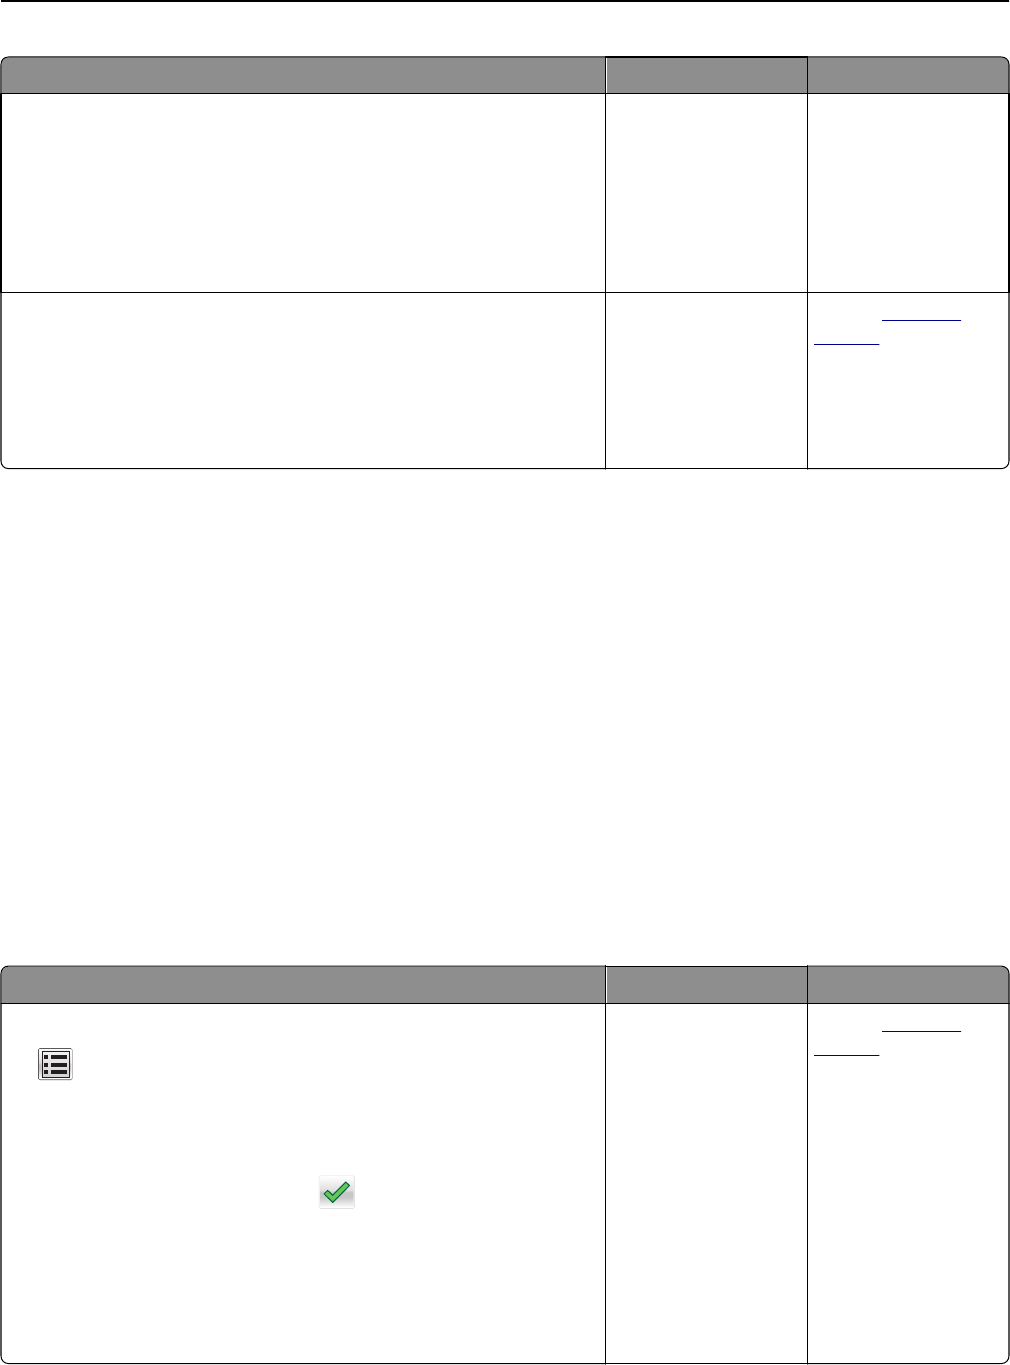
Action Yes No
Step 2
Check if the paper size setting matches the size of the paper loaded in the
tray.
From the Paper menu on the printer control panel, check the Paper
Size setting.
Does the paper size setting match the size of the paper loaded in the tray.
Go to step 3. Change the paper size
setting to match the
paper loaded in the
tray, or load the tray
with paper that
matches the paper size
setting.
Step 3
a Specify the paper size. Depending on your operating system, specify
the paper size in Printing Preferences or the Print dialog.
b Resend the print job.
Do copies print properly?
The problem is solved. Contact
customer
support.
Solving fax problems
• “Fax and e-mail functions are not set up” on page 303
• “Caller ID is not shown” on page 304
• “Cannot send or receive a fax” on page 304
• “Can send but not receive faxes” on page 306
• “Can receive but not send faxes” on page 307
• “Received fax has poor print quality” on page 308
Fax and e-mail functions are not set up
Notes:
• Before you troubleshoot, check if the fax cables are connected.
• The indicator light is blinking red until you set up fax and e‑mail.
Action Yes No
a From the home screen, navigate to:
> Settings > General Settings > Run initial setup > Yes >
Submit
b Turn off the printer, and then turn it back on.
The “Select your language” screen appears on the printer display.
c Select a language, and then touch .
d Select a country or region, and then touch Next.
e Select a time zone, and then touch Next.
f Select Fax and E‑mail, and then touch Next.
Are fax and e‑mail functions set up?
The problem is solved. Contact
customer
support.
Troubleshooting 303
