34 4. TV Menus
Adjust, continued
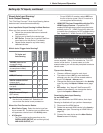
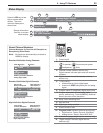
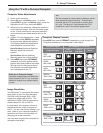
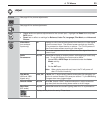
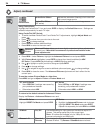
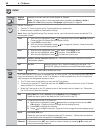
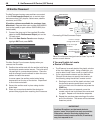
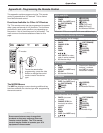
P icture+
PerfectColor
PerfectColor Sliders
Adjusts the saturation (intensity) of six colors for
the current image source.
PerfectTint Sliders
(837 series)
Adjusts six hues for the current image source
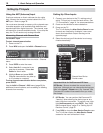
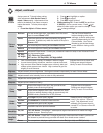
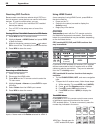
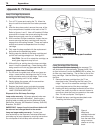
Using PerfectColor:
Highlight the PerfectColor™ icon and press
ENTER
to display the PerfectColor menu. Settings are
retained independently for each TV input.
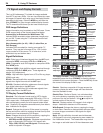
Using PerfecTint (837 Series):
• To switch between PerfectColor™ and PerfecTint™ adjustments, highlight Adjust Mode and
press
.
• Press to move from one color bar to the next.
• Press to change settings.
• Press
CANCEL
to restore default settings.
• Press
MENU
to return to the main menu.
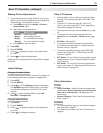
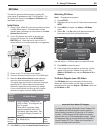
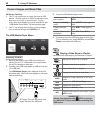
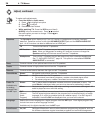
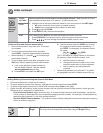
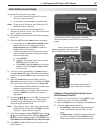
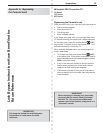
Adv anced
Picture
Advanced Picture allows you to save highly customized picture adjustments
for each input. Mitsubishi recommends a professional installer make
these adjustments.
Press 1.
MENU
. Under Picture+, highlight the Advanced Picture icon and press
ENTER
.
With 2. Picture Mode highlighted, press
ENTER
to change
from blank (undefined)
to
ADV
.
837 Series: Choose
ADV1
(daytime settings) or
ADV2 (nighttime settings)
Use 3.
to
highlight an option you wish to change and press
ENTER
.
Press 4.
to change settings.
Use 5.
to
navigate through the screen to additional options and press
to change settings
.
Press 6.
MENU
to close the menu
. The
Advanced Picture adjustments will be in effect for the
current input.
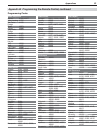
To use the custom Picture Mode at a later time
Press
MENU
and go to Adjust > Picture > Picture Mode and:
737 and C9 Series 837 Series
Select •
SPECIAL if settings were saved by
your professional installer.
Otherwise select • ADV.
Sele•
ct ISF Day or ISF Night if settings were
saved by your professional installer.
Otherwise select • ADV1 or ADV2.
To return to the default values for Advanced Picture
Display the Picture+ > Advanced Picture menu and:
737 and C9 Series 837 Series
Highlight RESET Pic Mode and press
ENTER
.
Highlight the 1. Advanced Picture mode to change.
H2. ighlight RESET Pic Mode and press
ENTER
.
Repeat this separately for both ADV1 and ADV2.
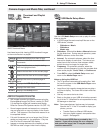
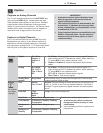
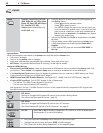
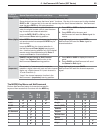
3 D Mode
3D Mode
On, Off
Use the
On
setting for video games and movies that require 3-D
glasses. This setting applies only to the current input.
Note: 3D options are available only for 1080p 60-Hz video
sources connected to an HDMI input.
Glasses L-R Standard,
Reverse
Synchronizes the 3D glasses with the image on screen to provide
the best 3D effect. Try
Reverse
if
Standard
seems incorrect.