18 Chapter 1
Connections & Setup
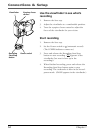
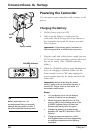
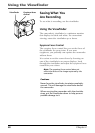
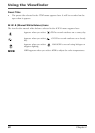
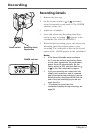
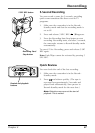
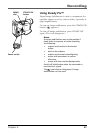
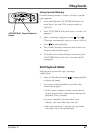
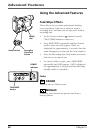
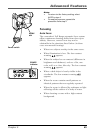
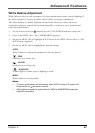
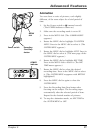
1. Follow steps 1-3 in “Charging the Battery” (see
page 16).
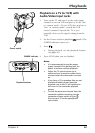
2. Press and hold the REFRESH button for 2
seconds. (The REFRESH indicator blinks. When
the battery has been refreshed, charging
automatically starts and the CHARGE indicator
blinks.)
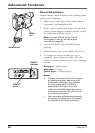
Notes:
• If you store a partially charged battery
for a long period of time, its
performance is reduced.
• During charging or discharging, the
camcorder can’t be operated.
• Charging and discharging isn’t possible if
the wrong type of battery is used.
• If the battery operation time remains
extremely short even after having been
fully charged, the battery is worn out
and needs to be replaced. Please
purchase a new one.
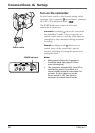
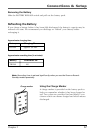
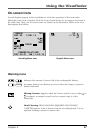
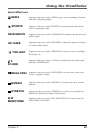
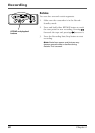
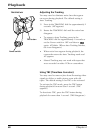
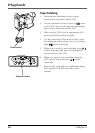
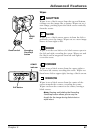
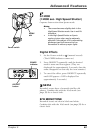
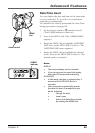
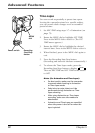
Battery Level Icon
The battery level icon appears in the viewfinder and
reveals the amount of power left in the rechargeable
battery.
Note: The battery level icon is not recorded
on the tape.
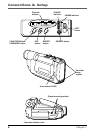
CHARGE
STOP R RETAKE F
CO
U
N
TER
R
/M
FAD
E/W
IP
E
P
. A
E
D
IG
IFEC
T
POWER
REFRESH
EJECT
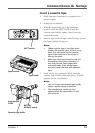
CHARGE
indicator
REFRESH button
REFRESH
indicator
M
E
N
U
/
T
R
A
C
K
I
N
G
5
S
E
C
.
R
E
C
V
O
L
S
E
T
A
D
Y
P
I
X
/
T
B
C
+
+
P
L
A
Y
O
F
F
A
M
S
T
O
P
R
R
E
T
A
K
E
C
O
U
N
T
E
R
R
/
M
F
A
D
E
/
W
I
P
E
P
.
A
E
D
I
G
I
F
E
C
T
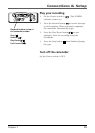
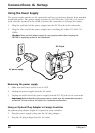
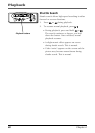
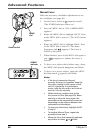
BATTERY
RELEASE switch