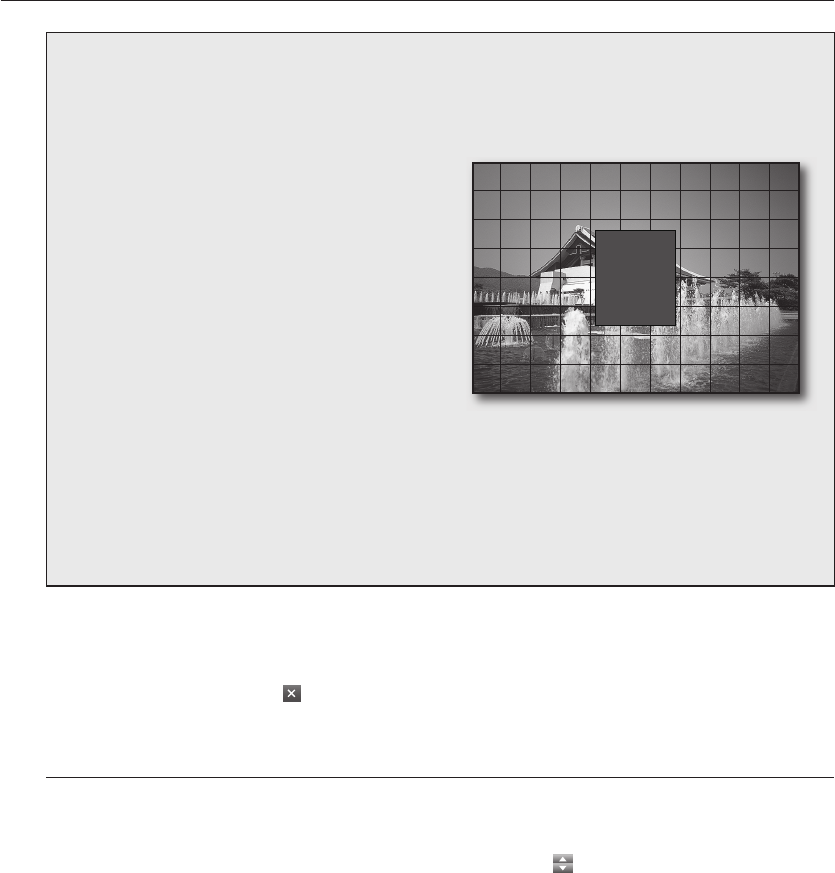
MOTION SENSOR AREA
Select <AREA> on the right pane of the MOTION SENSOR window to display the MOTION SENSOR
area setup screen. The borders of the selected MOTION SENSOR area cells will be shadowed.
Selecting an area with the mouse
Click a desired cell or click a point and drag it to
extend as much as you want.
- The selected area will be marked yellow.
Selecting an area on the front panel or
the remote control
Click a cell and press the [ENTER] button, and use
the direction buttons (
$%_+
) to move to a desired
cell and press the [ENTER] button to select the area.
- The selected area will be marked yellow.
Area setup using the menu
❖
❖
❖
SELECT ALL
DESELECT ALL
CANCEL
SAVE & EXIT
EXIT
Right-click, or press the [RETURN] button on the front panel or the remote control to display the menu.
SELECT ALL : Selects all areas.
DESELECT ALL : Deselects all areas.
CANCEL : Cancels your settings.
SAVE & EXIT : Saves your settings and exits the menu.
EXIT : Exits the area setup menu.
•
•
•
•
•
When your settings are completed, click <APPLY> on the bottom.
Your settings will be applied.
When done, if you want to move to the previous menu, press the [RETURN] button on the front panel or
the remote control, or click <
>on the top right corner.
Sound
You can confi gure the settings of AUDIO and BUZZER.
Using the mouse may help easier selection of related items.
You must press the [RETURN] button for the item selected using the <
> buttons before you can move to a
different menu item.
In Live screen, right-click any area or press the [MENU] button on the front panel or the remote control.
Use the up/down buttons (
$%
/ENTER) to select <SYSTEM SETUP>.
You will see the "LOGIN" dialog.
5.
6.
M
1.
2.
ON
02235A_SHR-1041K_ENG.indb 28 2009-02-17 오전 10:50:50
