INSTALLING THE SOFTWARE
49
7
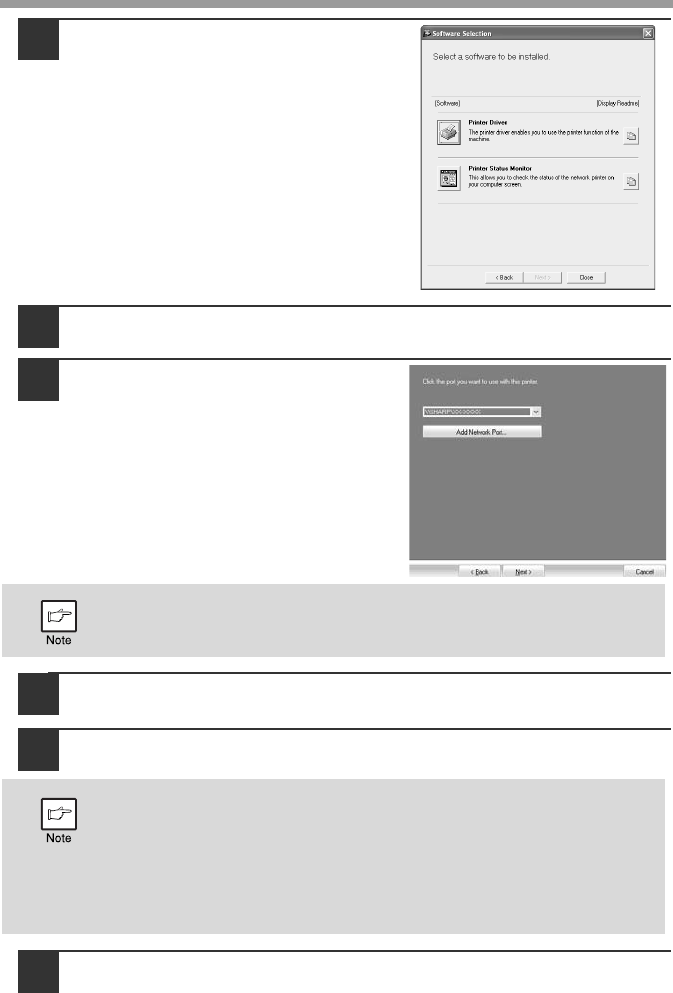
Click the "Printer Driver" button.
To view information on the software,
click the "Display Readme" button.
8
Select "Shared Printer" and click the "Next" button.
9
For the port to be used, select the
machine set as a shared printer,
and click the "Next" button.
If you are using Windows 2000/XP, you
can also click the "Add Network Port"
button and select the printer to be
shared by browsing the network in the
window that appears. (In Windows Vista/
7, the "Add Network Port" button does
not appear.)
10
When the model selection window appears, select model name
of your machine and click the "Next" button.
11
Follow the on-screen instructions.
12
When the installation completed screen appears, click the "OK"
button.
If the shared printer does not appear in the list, check the settings in the
printer server.
• If you are using Windows 2000/XP/Server 2003
If a warning message regarding the Windows logo test or digital
signature appears, be sure to click the "Continue Anyway" or "Yes"
button.
• If you are using Windows Vista/7/Server 2008
If a security warning window appears, be sure to click "Install this
driver software anyway".


