E-12
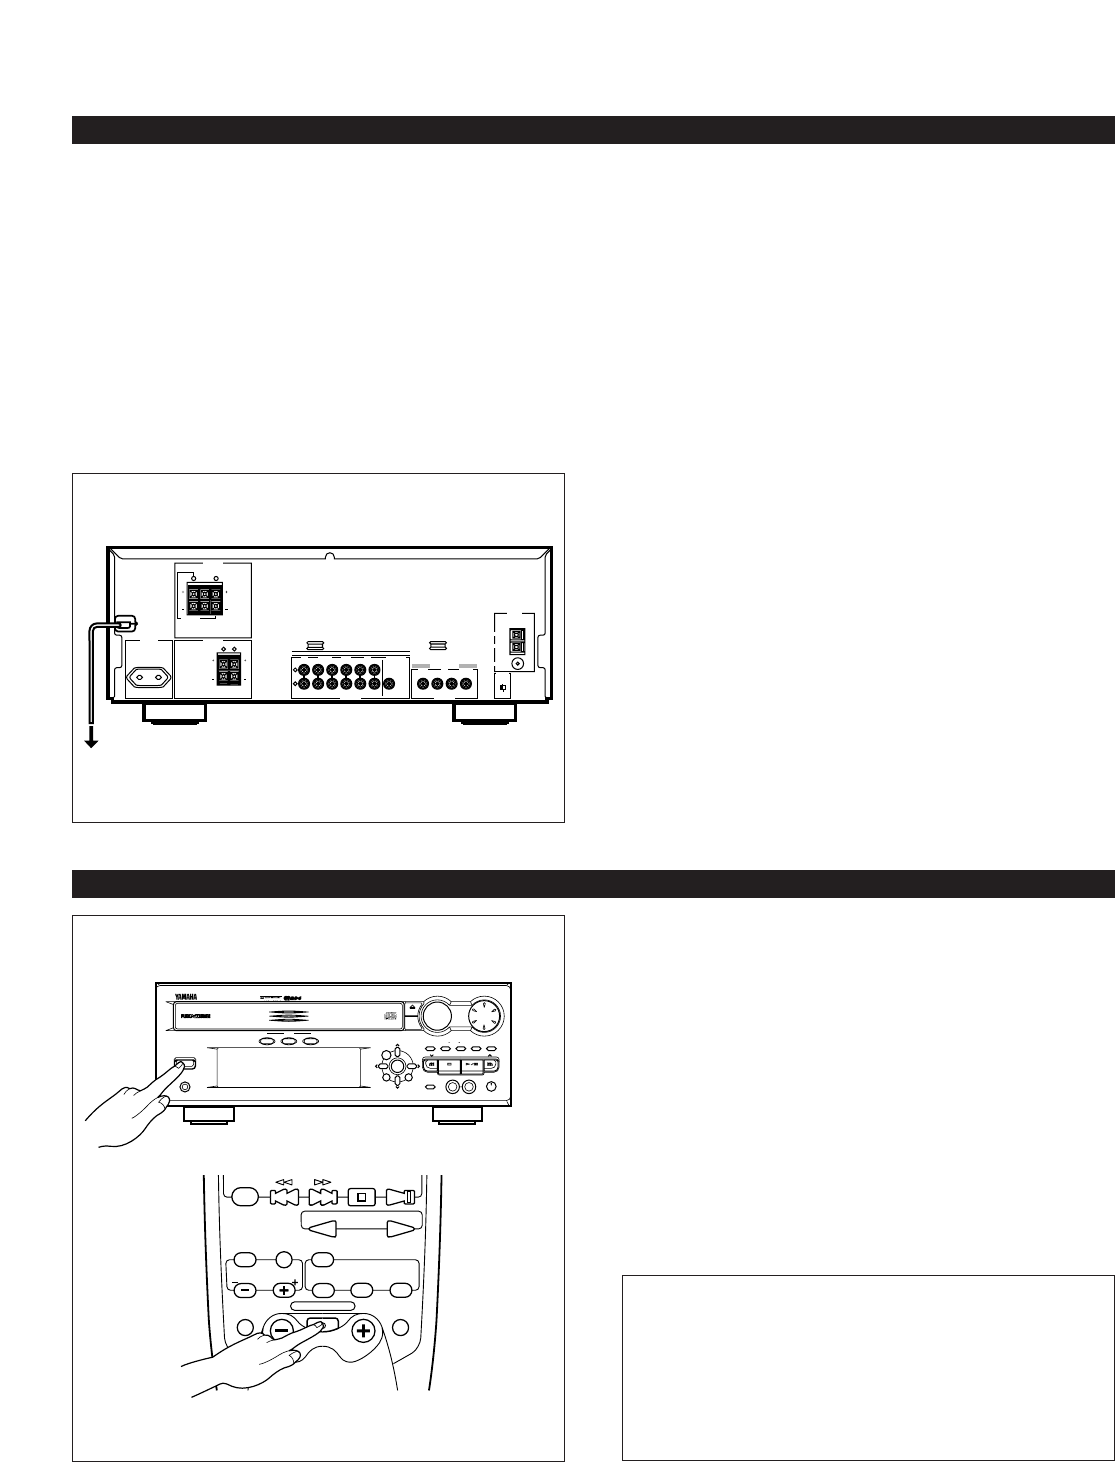
STANDBY mode
While the power is on, pressing the STANDBY/ON switch
(or the STANDBY/ON switch on the remote control
transmitter) switches this unit to the standby mode. (In this
mode, the display shows only the time.) In this mode, main
voltage is still present inside the unit. If you want to switch
off this unit completely, disconnect the AC power plug from
the AC outlet.
TURNING THIS UNIT ON OR INTO THE STANDBY MODE
If the AC supply lead is connected to the AC outlet, this unit
can be turned on and turned into the standby mode by
pressing the STANDBY/ON switch on the front panel of this
unit or the STANDBY/ON switch on the remote control
transmitter.
Automatic turning this unit into the standby mode
This unit will be automatically turned into the standby mode if
there is no operation on the control parts of this unit, no
illumination on the graphic equalizer level indicators and no
playback of CD for about 30 minutes.
* This function is not available unless time setting is made
on the built-in clock.
CONNECTIONS
Connecting external components
(See figure 8 on page 88.)
This unit can be connected with external audio and video
components. Make connections between this unit and other
components using RCA pin plug connector cables correctly,
that is to say L (left) to L and R (right) to R. Also, refer to the
owner’s manual for each component to be connected to this
unit.
*
: AC OUTLET (UNSWITCHED)
The power cord of any audio/video unit can be connected to
this outlet.
The power to this outlet is not controlled by this unit’s
STANDBY/ON switch . This outlet will supply power to the
connected unit even if this unit is in the standby mode.
The maximum power that can be connected to this outlet is
100 watts
Connecting the AC supply lead
•
After completing all connections, plug the AC supply lead
into a convenient AC outlet.
•
Unplug the AC supply lead from the AC outlet if the unit is
not to be used for a long period of time.