


6
MAINTAINING HARDWARE
This chapter covers the following topics:
■ Replacing a Power Module
■ Replacing a Power Supply
■ Replacing I/O Modules
■ Replacing the Fan Assembly
The procedures in this chapter should be performed by trained service personnel
only.
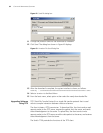
Replacing a Power
Module
To replace a power module, you need:
■ An antistatic wrist strap
■ A screwdriver
WARNING: Insure that the switch is powered off before removing or installing a
power module.
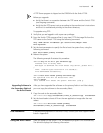
Removing the AC Power
Module
To remove the power module, do the following:
1 Power off the Switch 7750.
2 Remove the power cord from both the power module and the AC power socket.
3 Loosen the retaining screw that secures the power supply on the lower right front
of the power supply.
4 Remove the power supplies approximately 2 inches (5 cm) from the chassis to
disconnect the power supply AC connectors from the AC power module.
5 Loosen and remove the 4 screws at the corners of the power module.
6 Remove the power module from the chassis.
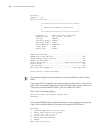
Installing the AC Power
Module
To install the new power module, do the following:
1 Slide the replacement power module into the power module slot in the bottom
rear of the chassis.
2 Insert and tighten the 4 screws at the corners of the power module.
3 Reconnect the power supplies to the power module.
4 Tighten the retaining screw on the lower right front of the power supply.
5 Connect 2 power cords to the power module.