


3Com Corporation Page 3
3 Hardware Installation
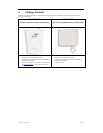
Installing the 3CRWE920G73 Indoor Wireless Bridge
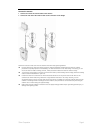
On a flat surface
1 Find a surface that is clear of debris.
2 Set the bridge down on its four rubber feet.
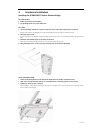
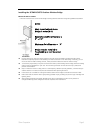
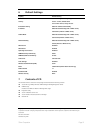
On a wall
1 Use the mounting template as a guide to make two marks 7.40cm (2.91 inches) apart on the wall.
Use the vertical line on the template to ensure that the placement of the marks is plumb to the wall.
2 Drill holes at the marks.
Use a 5-mm (3/16-inch) drill bit if using the provided screw anchors; use a 3-mm (1/8-inich) drill bit if using the screws
only.
3 Install the two flathead screws at the marks on the wall.
Leave the screw heads protruding 6-mm (1/4 inch) from the surface of the wall.
4 Hang the bridge on the screws, using the mounting holes on the back of the bridge.
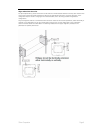
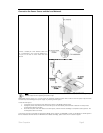
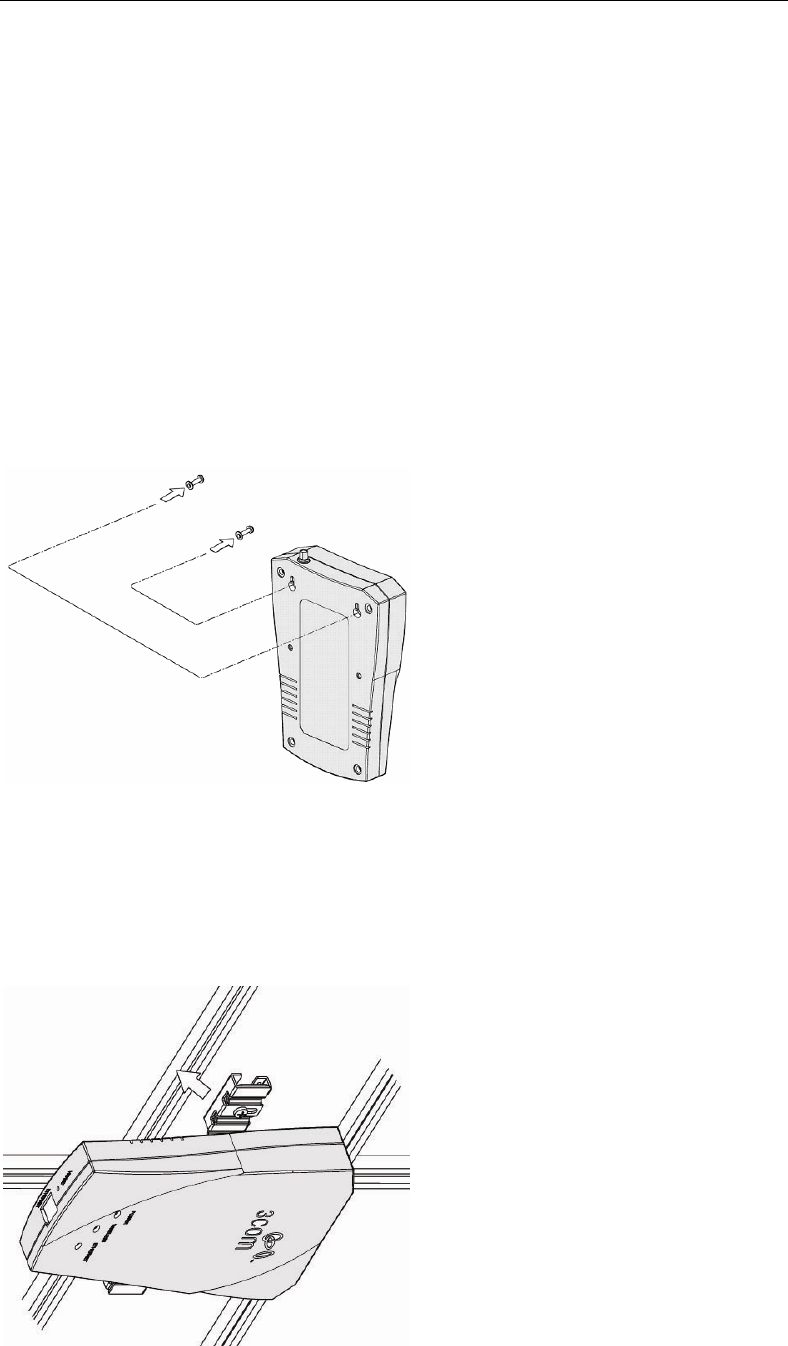
On an acoustical ceiling
1 Attach the mounting bracket to the back of the bridge with two number 6 panhead screws.
2 Align the T-rail grips with the ceiling T-rail, and adjust them so that they grip the T-rails securely.
3 Tighten the screws on each T-rail grip.
After installation, there may be some play in the fit of the T-rail grips if the T-rails are very narrow. If necessary, add a
shim to achieve a secure grip.