


4
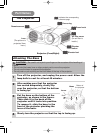
Part Names
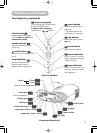
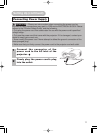
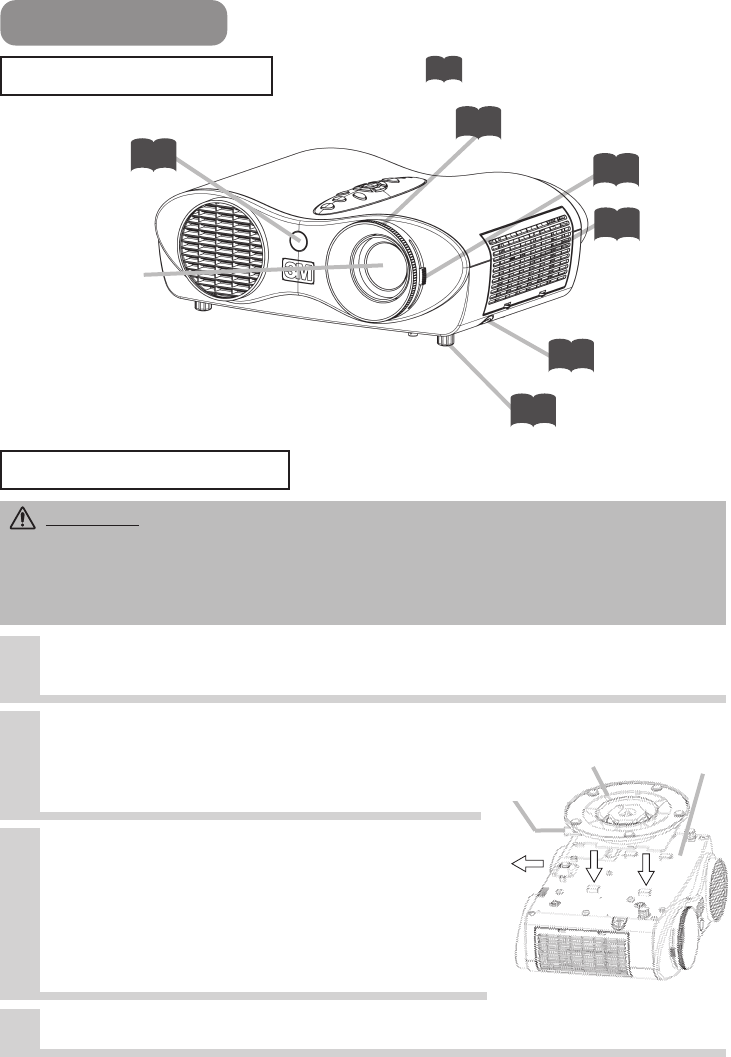
The Projector
Indicates the corresponding
reference page
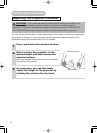
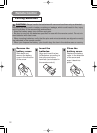
Attaching The Base
Zoom knob
Focus ring
Air filter cover
(An air filter is
inside.)
Elevator
button
Elevator feet
Lens
(The picture is
projected from
here.)
Remote sensor
Projector (Front/Right)
1
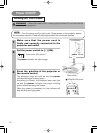
Turn off the projector, and unplug the power cord. Allow the
lamp bulb to cool for at least 45 minutes.
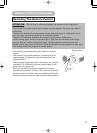
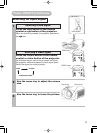
2
After making sure that the projector
has cooled adequately, slowly flip
over the projector, so that the bottom
is facing up.
3
Put the base on the bottom of the
projector, as shown in the fugure.
Then slide it to the back of the
projector until it locks into position.
To remove it, slide the base to the
front of the projector pinching the
lever of the base.
4
Slowly turn the projector so that the top is facing up.
Lever
Back
Base
Bottom of
the projector
CAUTION •
Be careful not to pinch your finger on the occasion of the handling of
a base.
• Do not hold the base, lens or other project part to move the projector.
• Do not use the base to suspend the projector.
• Do not push or put anything on the both sides of the top of the projector.